5
6
Basic operations
Product Overview
IMPORTANT: To ensure proper operations, please follow all related sequences carefully.
Power Indicator (Green LED)
• Press the power button once to turn unit on. When power is ON, the power
indicator LED will be lit.
Low Battery Indicator (Red LED)
• After the power is on, if battery is low, the low battery indicator LED will be lit.
• Once LED is lit you will need to replace the batteries.
Volume Control
• Rotating the volume control clockwise will decrease the speaker volume level.
• Rotating the volume control counter–clockwise will increase the speaker volume
level.
Brightness Control
• Pressing the brightness button once will increase the brightness of the display
one level.
• The brightness control has a total of 8 levels. When the brightness is set to
maximum, press the brightness button again and the brightness will go back to
the minimum level.
Contrast Control
• Pressing the contrast button once will increase the contrast of the display one
level.
• The contrast control has a total of 8 levels. When the contrast is set to maximum,
press the contrast button again and the contrast will go back to the minimum
level.
7
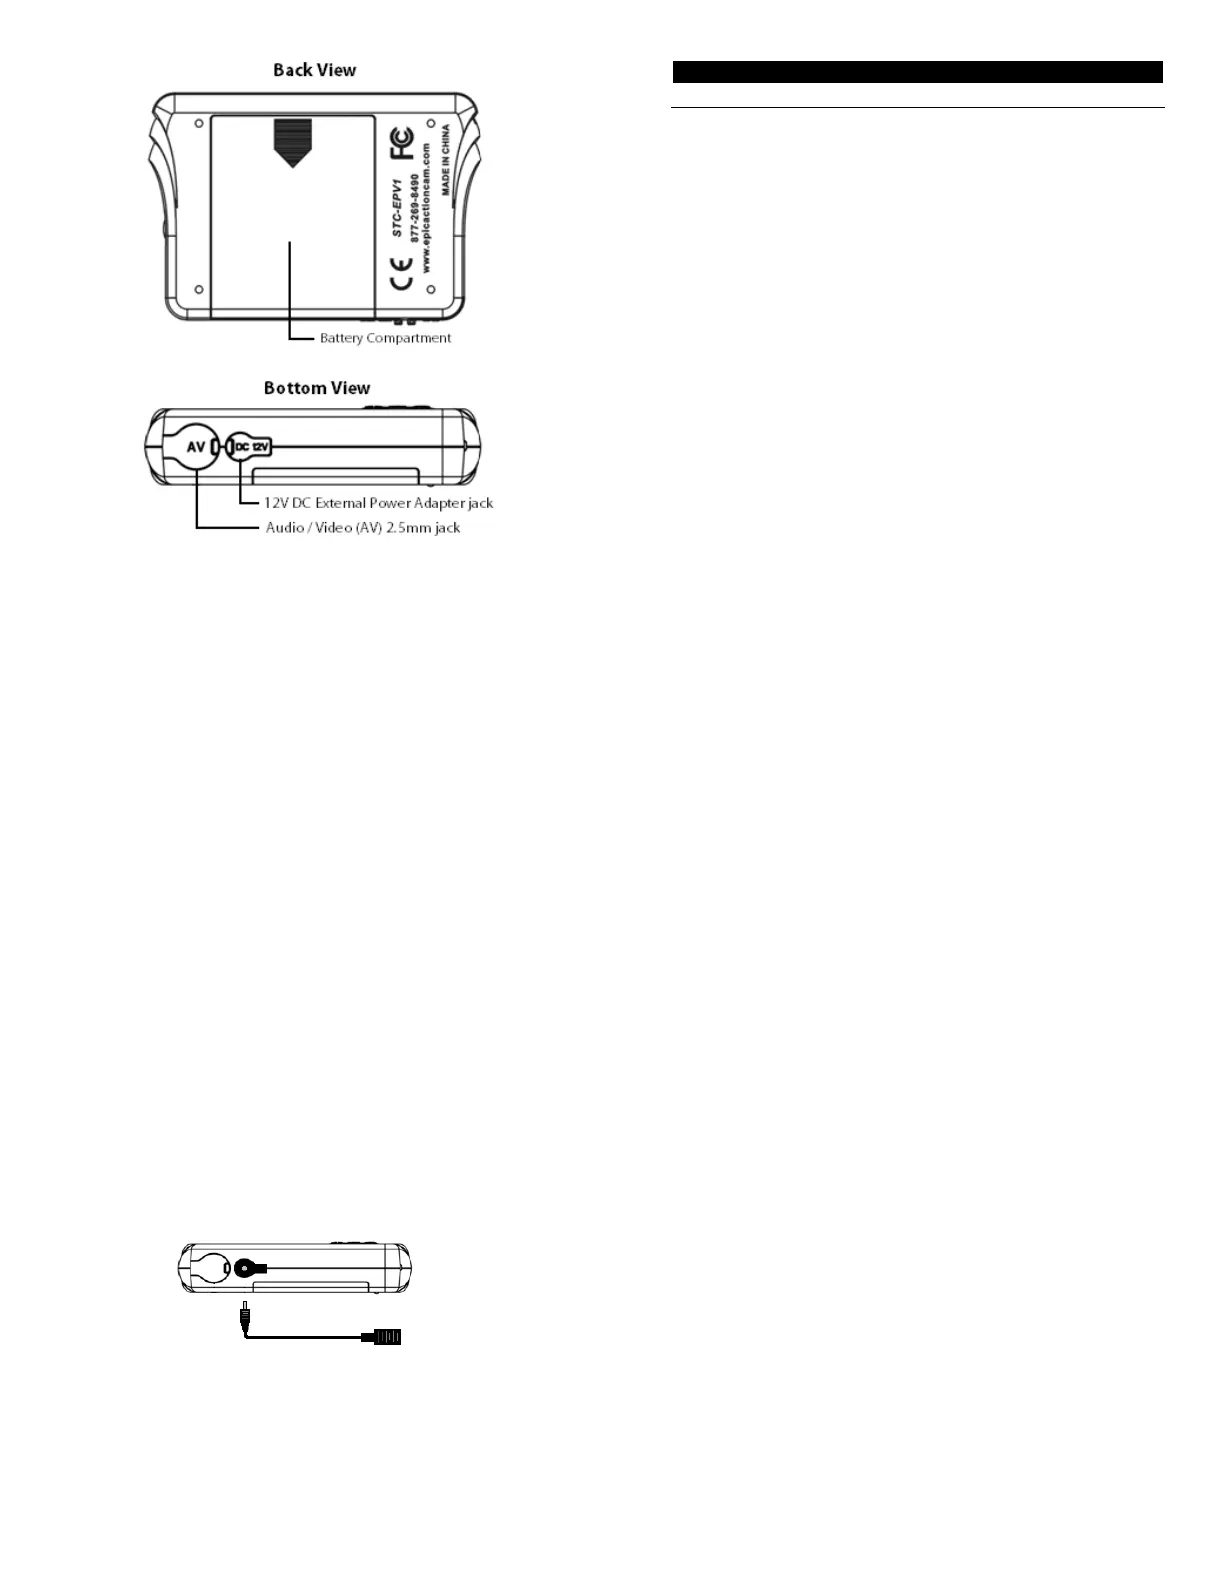
Battery Installation
The Epic Viewer (STC-EPV1) is designed to operate using two different types of power
options.
Internal Batteries - 4 “AAA” (not included)
The internal battery compartment accepts 4 “AAA” cell batteries. Be sure to use high quality
brand name Alkaline or Lithium batteries.
• Slide battery cover off the back of the viewer.
• Install batteries in correct polarity (+/-) as noted inside the compartment.
NOTE: As normal operation, before installing / replacing batteries, the EPIC Viewer should
not be connected to any device. Once batteries are installed / replaced, the unit will
automatically power ON.
NOTE: Please remember to turn the power off until ready for use.
External Battery - 12V DC power supply
The viewer is also equipped with an external 12V DC power adapter port which allows you to
utilize the provided converter cable.
• Plug the metal barrel shaped end of the converter cable into the viewer and the
other end into your 12V DC battery source.
NOTE: When viewer is plugged into external 12V battery power, it will bypass the internal
“AAA” battery power and will only draw power from the external 12V battery source.
8
Preview Mode
Allows you to preview the picture or video you are about to take.
• Plug the provided A/V cable into the EPIC viewer and turn the viewer on by
pressing the Power button.
• Turn the EPIC camera on by pressing the (M) button then plug the other end of
the A/V cable into the camera.
• The camera will display tv-N and the viewer will display live video.
• You can adjust the contrast and brightness on the viewer by pressing the
applicable buttons. (See Overview)
• To exit the preview mode, turn off both devices and then unplug the A/V cable.
Review Mode
Allows you to review the pictures and/or videos you have already taken.
• Plug the provided A/V cable into both the EPIC Viewer and the EPIC camera.
• Turn on the EPIC Viewer by pressing the Power button and then turn on the
EPIC camera by pressing the (M) button.
• The camera will display tv-N and the viewer will display the first picture or video
on your memory card.
• Toggle through all your pictures and/or video files by pressing the UP or DOWN
arrows on the EPIC camera.
• Once you’ve chosen a video that you would like to watch, press the (S) button to
start playing. To stop the video, press (S) again.
• You can adjust the contrast and brightness on the viewer by pressing the
applicable buttons. (See Overview)

 Loading...