Edition Manual Chapter Page
2014-09-09 Workshop Manual, GGP Park 6 Control wires 4
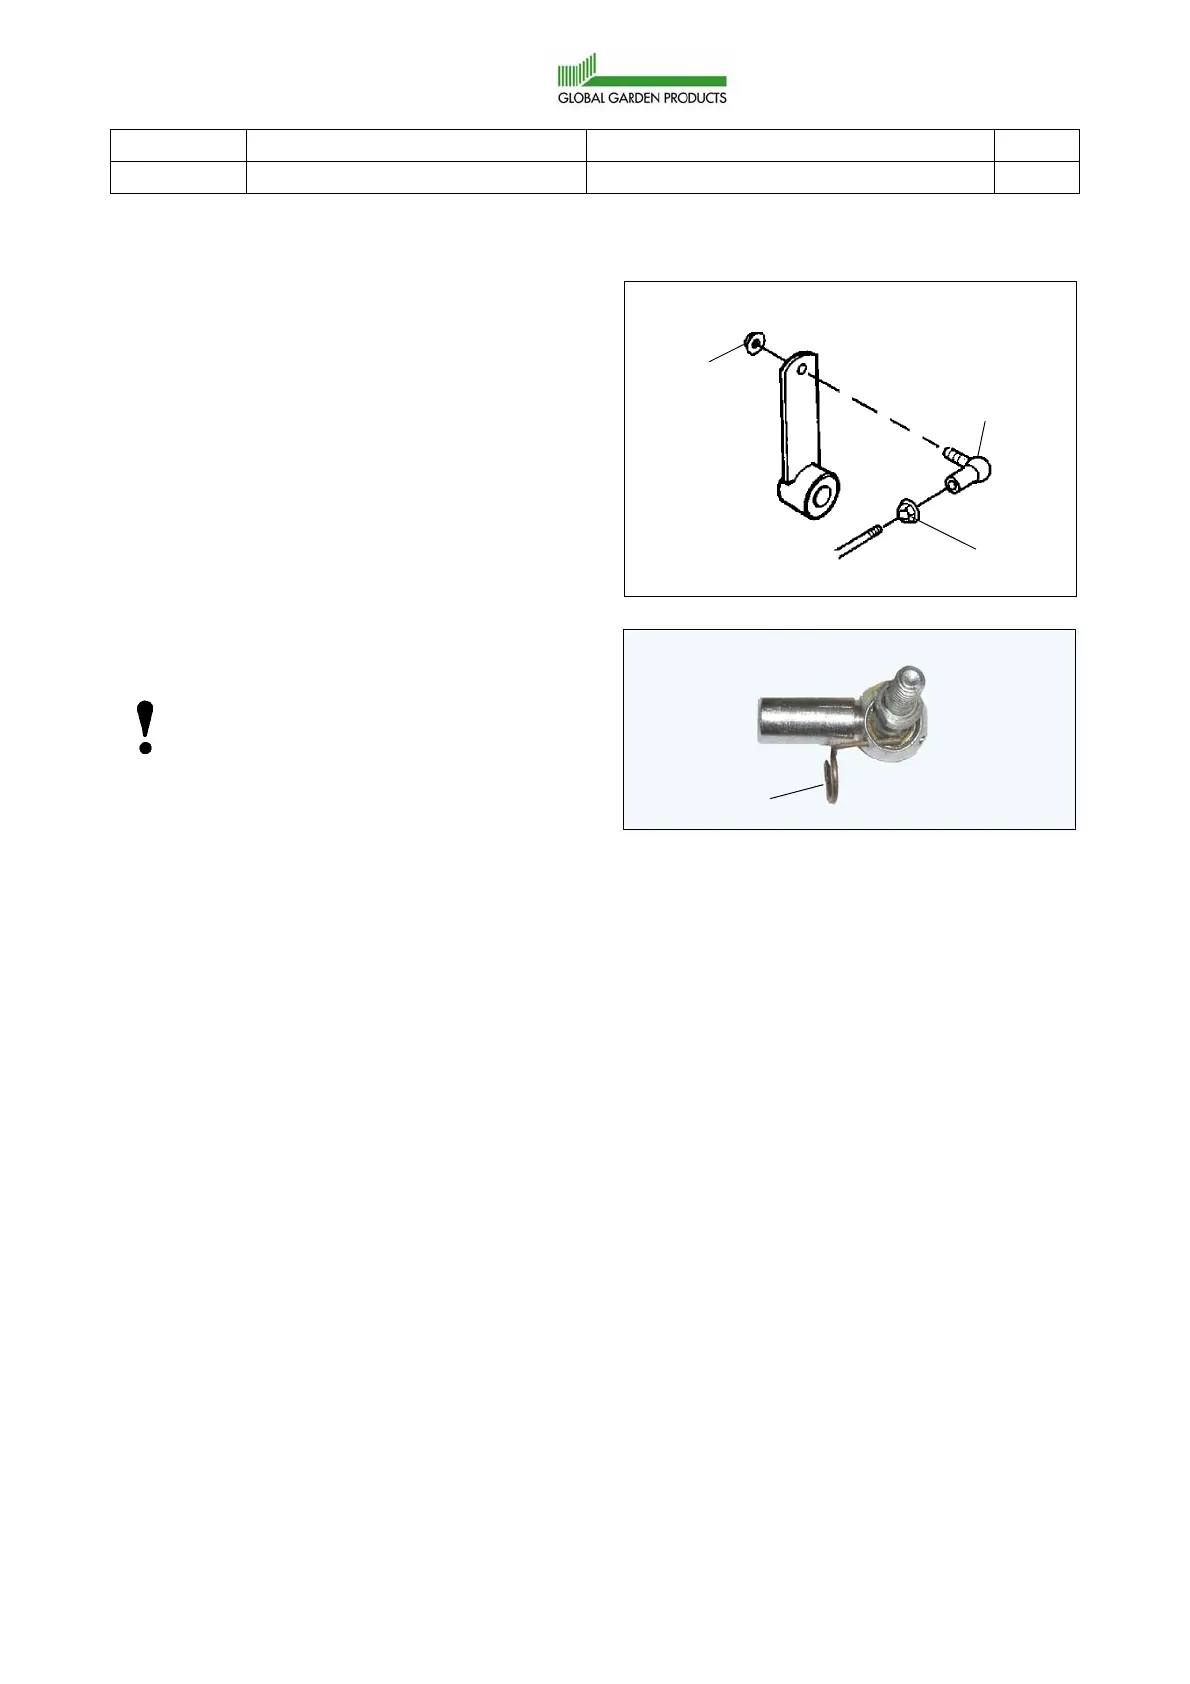
Adjustment
1. Loosen the nut (3) with a 8 mm wrench.
2. Apart the elbow link as described above.
3. Screw the link body in the desired direction
on the wire stud. If neseccary, move the nut
(3) on the stud.
4. Check the adjustment result by pressing on
the elbow link onto the sphere and without
assembling the circlip.
5. After adjustment, assemble in the reverse
order and tighten the nut (3) against the
elbow link body.
Note!
It is important that the circlip (4) is
inserted in both holes in the elbow link
body, otherwise the link will separate
during operation.
1
2
3
4
 Loading...