Release 00 - 03/2018
Engine TRE 0701-TRE 0702-TRE 0801
pag. 23
17
18
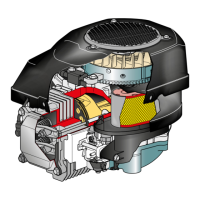
7. CARBURATION
8 - Check that no impurities or dirt are deposited in
the seat of the needle (16) and of the jet.
Verify that the rubber tip of the needle is not mar-
kedorworn.
9 - Clean the carburettor (4), the main jet (14) and
the pilot jet (15) thoroughly by immersing them in
clean petrol (or a detergent) for 24 hours. Dry with
compressed air, blowing well through the carbu-
rettor holes.
10 - Mount the carburettor following the previous
points 7, -6 and 5 in reverse order, remembering
that:
- It is always advisable to replace the washer
(13) and the gasket (10) of the float chamber.
- the oat (12) must oscillate freely on the pin (11);
- the jet (14) should never be modied or replaced
with others even if they seem to have the same
specications;
- the choke (17) must open and close regularly;
- the oat chamber drain screw (18) must be facing
forwards.
11 - Remount the tie rods (6) and (7) checking
that the governor system moves smoothly without
stopping.
12 -
Always replace washers (3) and (5) when
re-mounting the carburettor onto the engine.
13 - Fit the air lter with relative nuts (2) to the indi-
cated couple.
7.2. Replacing the carburettor
1 - Perform operations 1 - 2 - 3 - 4 - 10 - 11 - 12 - 13
indicated in section [
7.1] above.
16
 Loading...