SODISE NIU 10434 V.2.2
SODISE 85 Route de Pont Gwin 29510 Briec
FRANCE 10
house.
Do not insert a 110V-120V plug into a 220V-240V socket (or vise versa) as this may be very dangerous
for your personal safety. The plugs and socket have completely different shapes to prevent this from
happening accidentally.
If in doubt, contact a qualified electrician.
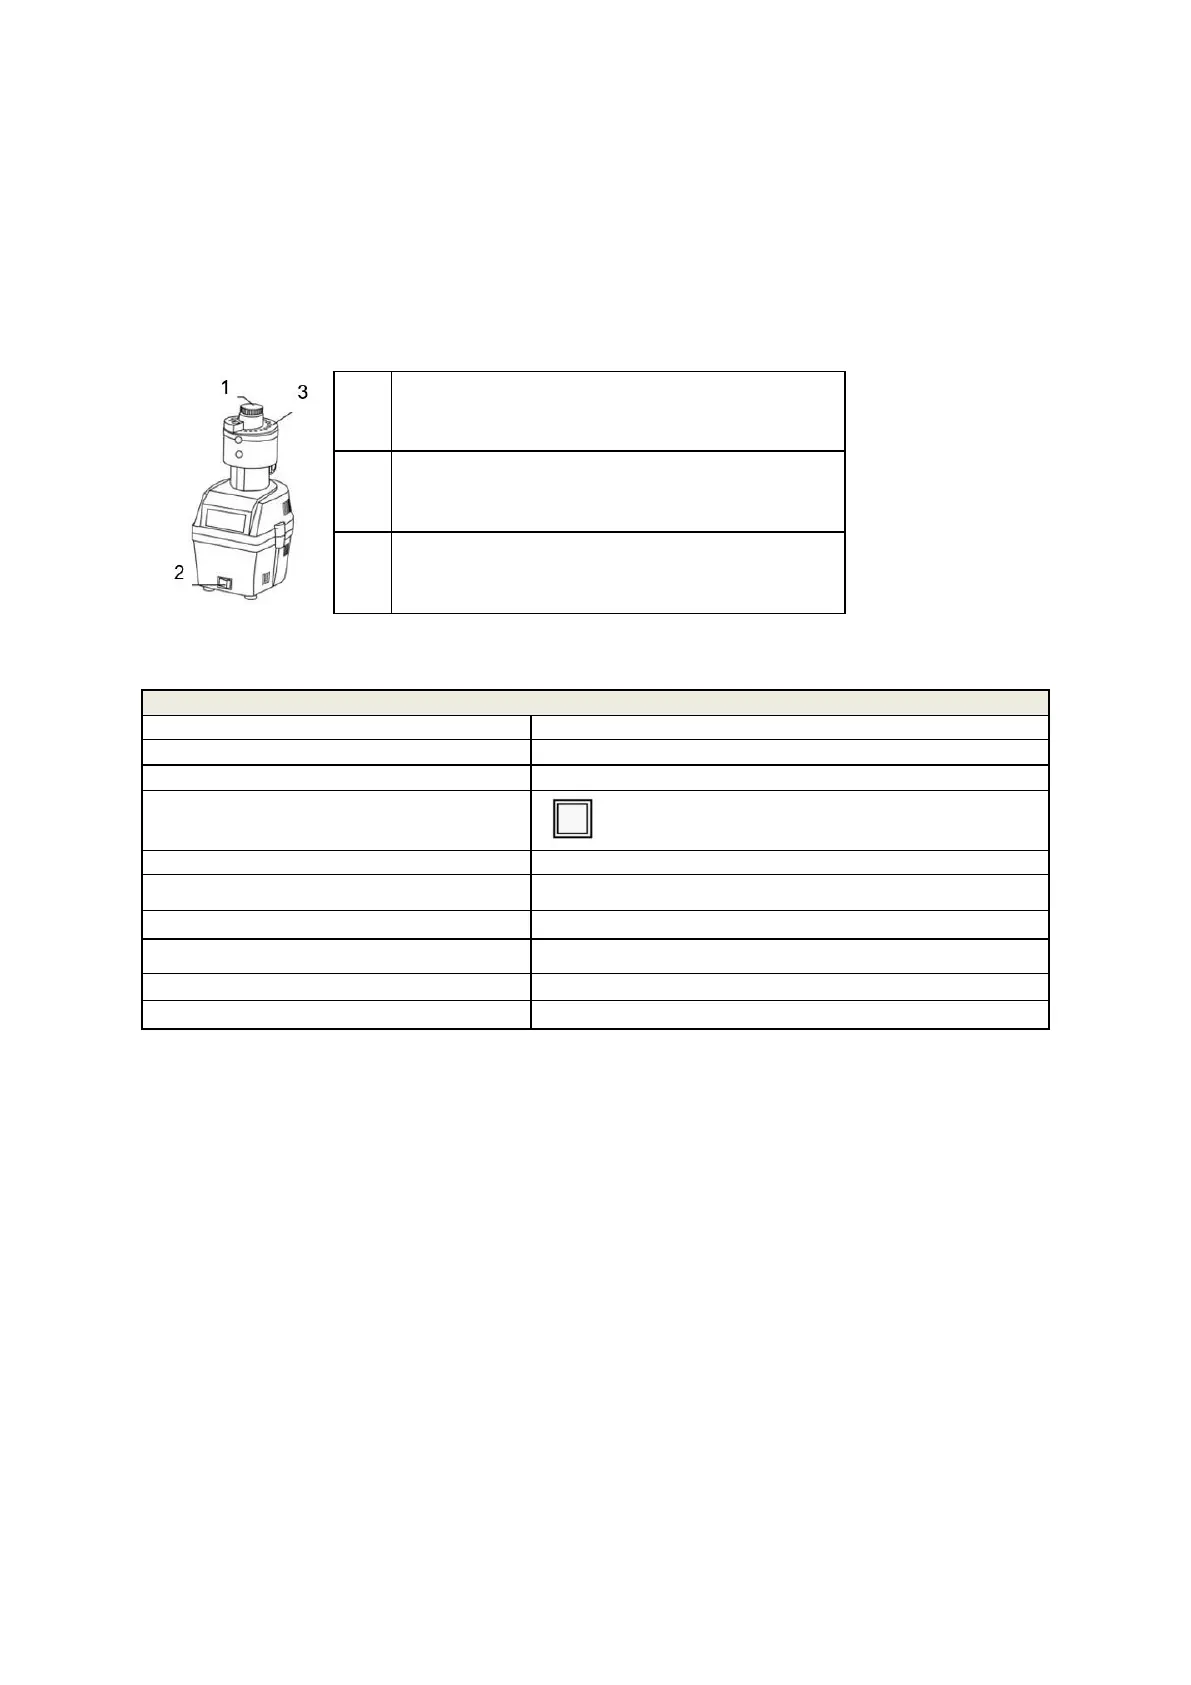
2. Presentation
2.1. General view
3. Operation
3.1. Refining procedure
1. Position the drill sharpener on a flat and stable surface, then connect it.
2. The drill bit must be clean.
Select a sharpening drill. Select the hole corresponds to the drill bit on the sharpener head.
3. Position the drill bit in the appropriate hole.
4. Turn the switch to position I.
5. The drill bit must be in motion when it is in the drill. Apply light pressure to the drill bit down, then
turn the drill bit forward and backward approximately 20 degrees while sharpening is being
performed (see Figure 2).
6. Stop the affuser (switch on O), after 5 to 10 seconds.
7. Inspect the drill bit in accordance with paragraph 5
8. Repeat the operations indicated in the previous points on the other side of the drill bit by turning it
180° in the hole. Sharpen both sides for an equal amount of time, using the same pressure.
9. Repeat the above operations as many times as necessary to achieve the correct sharpening of the
drill bit.
 Loading...