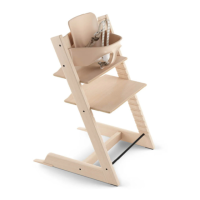
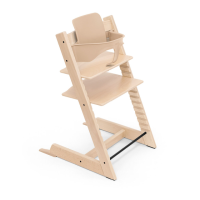
TRIPP TRAPP
®
THE CHAIR THAT GROWS WITH THE CHILD
INSTRUCTIONS
PARTS
• Never leave child unattended.
• Always use the restraint system
when the seat is in one of the
top 3 grooves.
• Always keep child in view.
• Do not use as a stepstool.
• Do not use with a booster seat.
• The child should be secured in
the high chair at all times by the
restraining system.
• TRIPP TRAPP
®
is intended for use
when your child is capable of
sitting upright unassisted
(approximately 6 months).
• Do not modify with accessories
not provided by STOKKE
™
.
• Front of footrest not to exceed
front legs of chair at floor level.
WARNING: Prevent serious injury or death from falls or sliding out.
10 Metal Screws
2 Metal Cross Bars
1 Wooden Base Cross Bar
1 Allen Wrench
2 Curved Backrests
6 Metal Nuts
1 Seat
1 Footrest
2 Legs
1
3
5
2
4
Slide seat and footrest into
slots, with straight edge fac-
ing forward. Make sure the
height and depth of the seat
and footrest suit the size of
your child.
Place chair on level surface
and tighten all screws, start-
ing from bottom.
Attach the two metal
crossbars, to the
same leg, and tighten
loosely.
Attach the two
curved back rests, to the
same leg, insert metal nut
with shallow end in first,
and tighten loosely.
NOTE: Backrest with strap
goes into bottom slots.
Insert shallow end of
metal nut first. Attach
the base cross bar to
the left leg (grooves
face inside).
Insert screw and
tighten loosely.
Curved side
goes toward
back
Design: Peter Opsvik
NOTE!
Seat
Footrest
See guidelines for seat and footrest adjustments on page 2
> > >
The restraint system can be removed when your child has reached the age of 36 months AND is able
to sit safely on the Tripp Trapp
®
.
Use a tool to remove the spring under the seatplate to detach the crotch strap. Use a screwdriver to
detach the rest of the harness from the backrest.
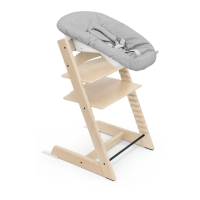
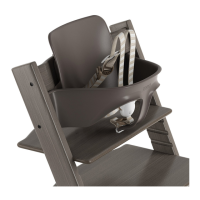
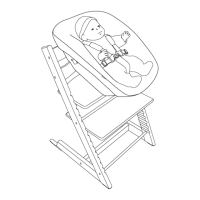
TRIPP TRAPP
®
approved accessories
(sold seperately)
Tripp Trapp
®
Baby rail Tripp Trapp
®
Cushion
Insert shallow end of metal
nut first. Attach the
base cross bar to the left
leg (grooves face inside).
Insert screw and tighten
loosely.