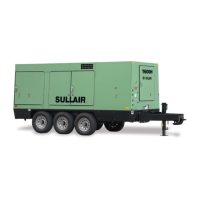
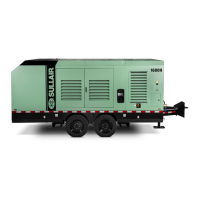
1600H T4F Perkins User Manual 7: Maintenance
02250248-733 R03
Subject to EAR, ECCN EAR99 and related export control restrictions. 67
7.6.5 Separator element replacement
Refer to Figure 7-4. Use the following procedure for sep-
arator replacement.
1. Remove the air receiver tank lid by removing
the hex head capscrews and washers.
2. Remove the element from the tank. An
access panel in the roof is provided and the
element is equipped with lifting provisions.
3. Scrape the old gasket material from the tank
flange and lid of tank. Do not allow gasket
material to fall into separator tank.
4. Reinsert new element with gaskets attached.
Take care not to damage the element
against the side of the tank.
• Do not remove grounding staples.
• Do not use anti-seize compound on gaskets.
5. Install, lubricate and torque bolts to 200 lbf ft
(271 N m).
• Perform a continuity check between ele-
ment flange and tank body and lid after
torquing bolts.
6. Reconnect all piping making sure the return
line tube is ¼" above the bottom of the sep-
arator element.
7. Clean or replace fluid return line strainer and
return line orifice.
7.6.6 Running gear—brake shoe
maintenance and adjustment
The electric brakes have a self-adjusting feature. Should
manual adjusting be needed, use the following proce-
dure:
1. Jack up compressor and secure on ade-
quate capacity jack stands. Make sure the
wheel and drum rotates freely.
Figure 7-4: Separator element assembly
1. Receiver tank
2. Separator element
3. Capscrew
4. Spring lock washer
5. Lid davit support
CAUTION
To assist with the removal of the tank lid, Sullair
has provided a jack bolt at the bottom of the lid
pivot shaft. Simply jack the lid up and rotate out
of the way.
WARNING
Before proceeding, park or locate the compres-
sor on flat stable ground. Block or chock both
sides of all wheels. Use proper personal protec-
tion equipment when performing these tasks
described below.
 Loading...