3
1. Open battery compartment door and install four 1.5V ‘AA’ batteries.
2. Press the Collet Lock Button and turn the Collet to open.
3. Insert grinding band into the Collet.
4. Hold the Collet Lock Button and turn the Collet to close and secure band.
5. Test to make sure the band is secure.
6. Place the Safety Guard on the trimmer by screwing on and securing tightly.
NOTE: Using the Lighted Nail Trimmer without the Safety Guard can cause injury or
damage to unprotected areas.
GET THE LIGHTED NAIL TRIMMER READY
Always start in position 1 (speed). Hold the unit near
the pet for a few seconds before ling to ensure the
pet’s comfort.
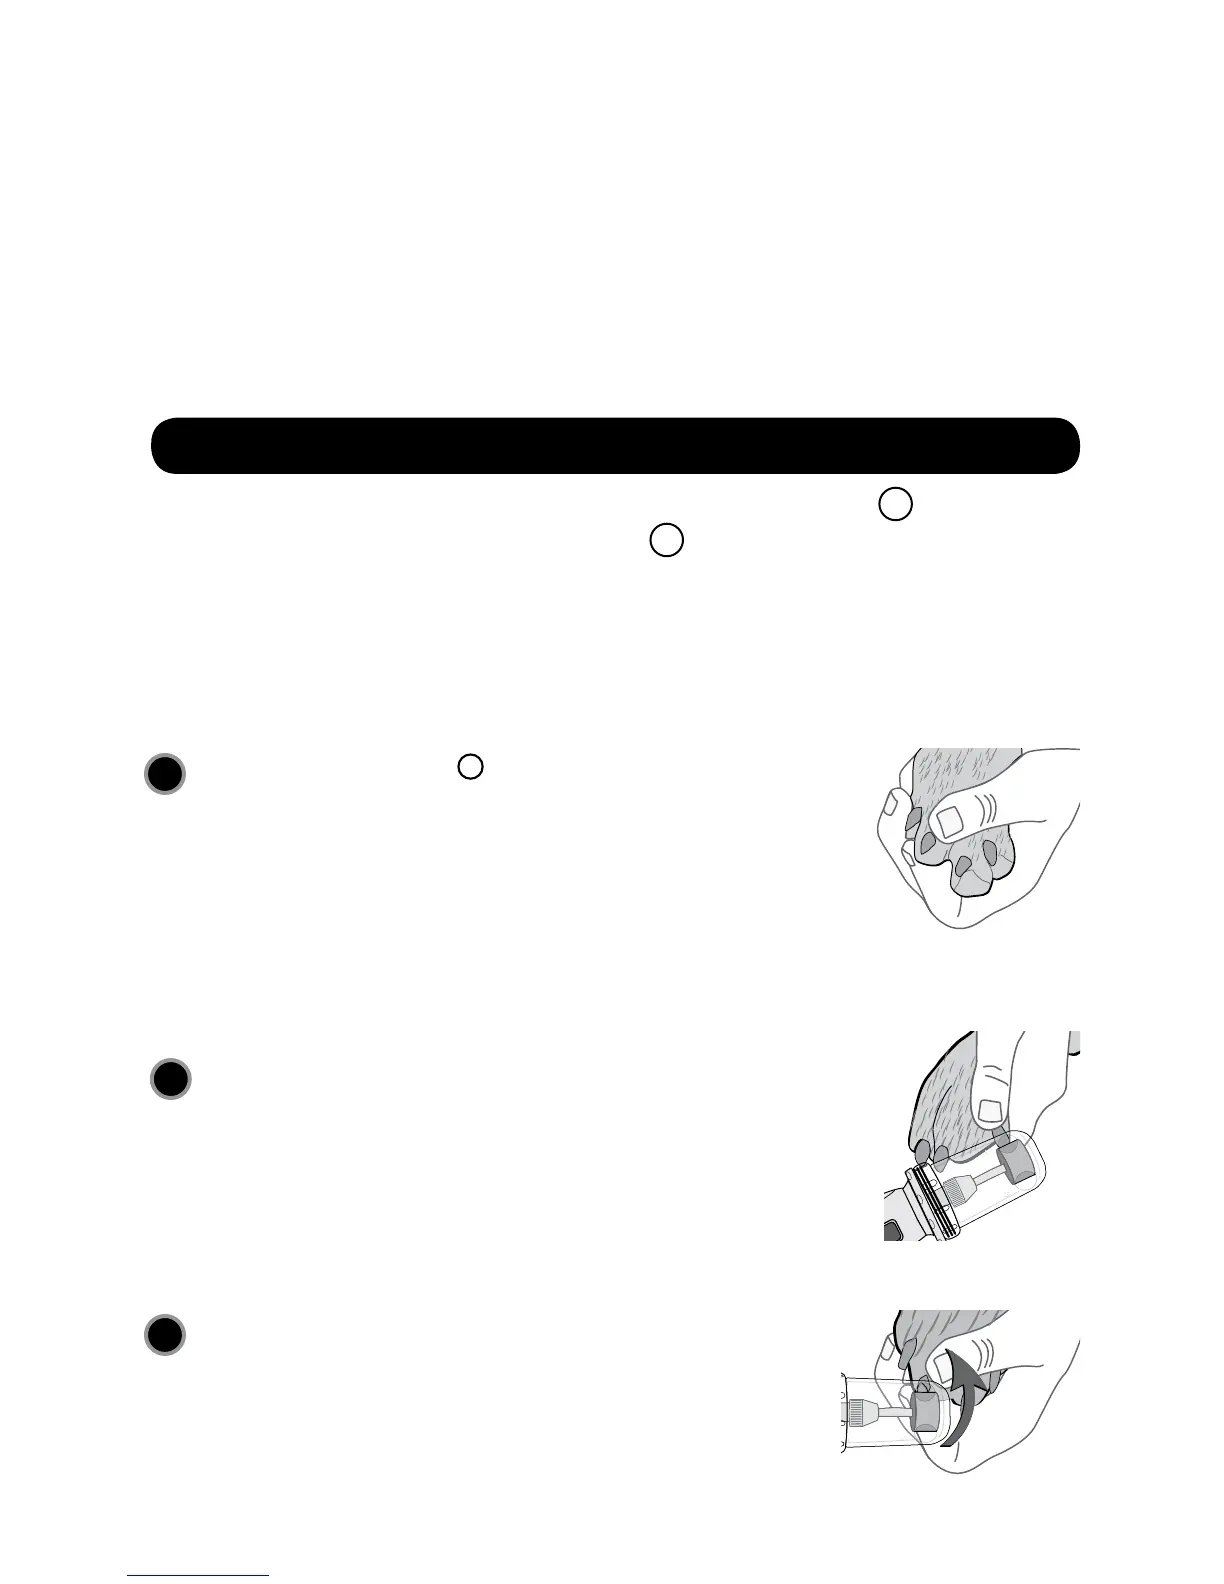
Take the pets paw and gently squeeze the nail
between the thumb and pointer nger to extract nail.
(See back for tips on Long Hair Breeds.)
1
TRIM PETS NAILS
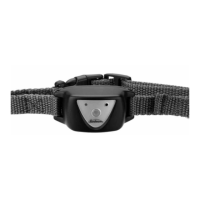
Insert a nail into the Safety Guard opening that is best for
your pet’s nail size.
Begin ling each nail, no more than, 2-4 seconds. NEVER
trim one nail completely. Alternate between each nail.
2
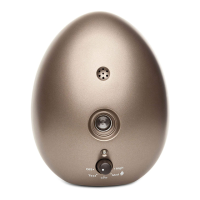
Look at the nail each time you le to ensure you are
taking o layer by layer.
Work the Lighted Nail Trimmer from the bottom of
the nail to the top – in a slow methodical motion.
This will round o the nail and leave a smooth nish.
3
Always use the Lighted Nail Trimmer in position 1
rst then change to position 2 only if necessary
STOP