8
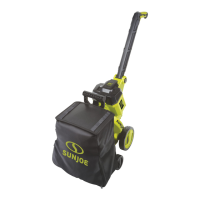
4. Insert the vacuum hose in the air inlet/hose connector,
and push rmly to secure (Fig. 4).
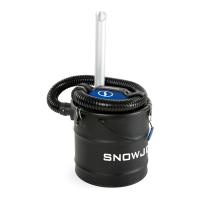
5. Two extension tubes are equipped with the unit.
If needed, insert the rst extension tube into the vacuum
hose end, and press rmly to lock. Follow the same
instruction to assemble the second and third extension
tubes (Fig. 5).
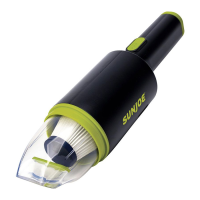
6. Select desired attachment, connect it with the end of the
extension tube, press rmly to lock securely. Your wet/dry
vacuum is ready for use (Fig. 6).
Operation
m
WARNING! This equipment incorporates parts such
as switches, motors or the like that tend to produce arcs or
sparks that can cause an explosion. Do not pick up ammable,
combustible, or hot materials. Do not use around explosive
liquids or vapors, as electrical devices produce arcs or sparks
which can cause a re or explosion – do not use at lling
stations or anywhere gasoline is stored or dispensed.
Starting + Stopping
Do not switch on the wet/dry vacuum until it has been
completely assembled. Before switching on the unit, always
check the power cord for signs of damage. Use only
intact cords.
mWARNING! Damaged cords pose a severe risk of injury.
Replace damaged cords immediately.
mWARNING! Before switching on the wet/dry vacuum,
make sure that it is not in contact with any foreign objects.
1. Make sure the proper lter is installed before starting.
See page 11 to determine which lter to use.
2. Make sure the power head and the vacuum hose are
installed properly and locked securely.
3. Install the desired brush attachment onto the end of the
hose. Use the extension tubes if needed.
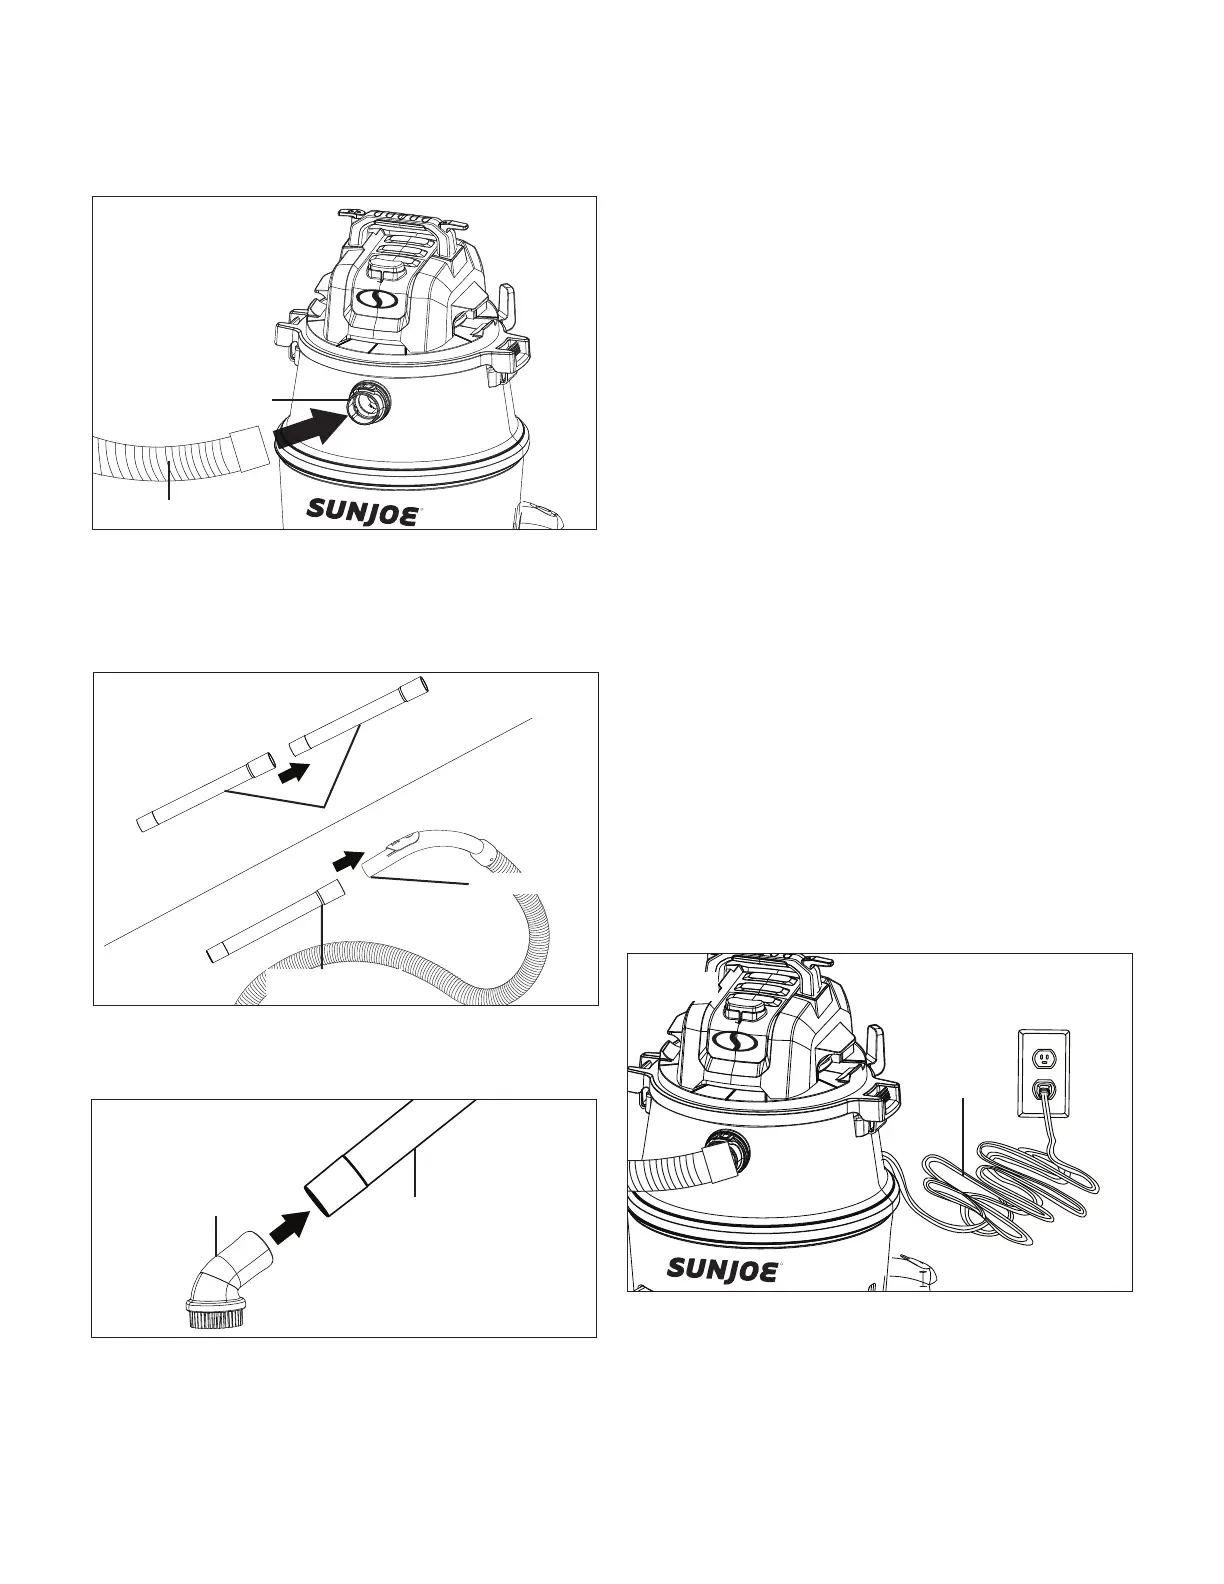
4. Check that the electrical supply voltage and frequency
(Volt/Hz) correspond to those specied on the rating plate.
Plug the power cord into the outlet (Fig. 7). If an extension
cord is used, make a knot with the two cords as shown in
Table 1.
Fig. 4
Vacuum hose
Air inlet/hose
connector
Fig. 5
Vacuum hose
Extension tube
Extension tubes
Fig. 6
Selected accessory
Extension tube end
Fig. 7
Power cord
 Loading...