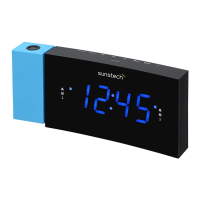
7
11. Display
12. Alarm 2 indicator (alarm)
13. Alarm 2 indicator (radio)
14. Alarm 1 indicator (radio)
15. Alarm 1 indicator (alarm)
16. USB charging port
17. DC IN jack
18. Battery compartment
19. Antenna
20. Speaker
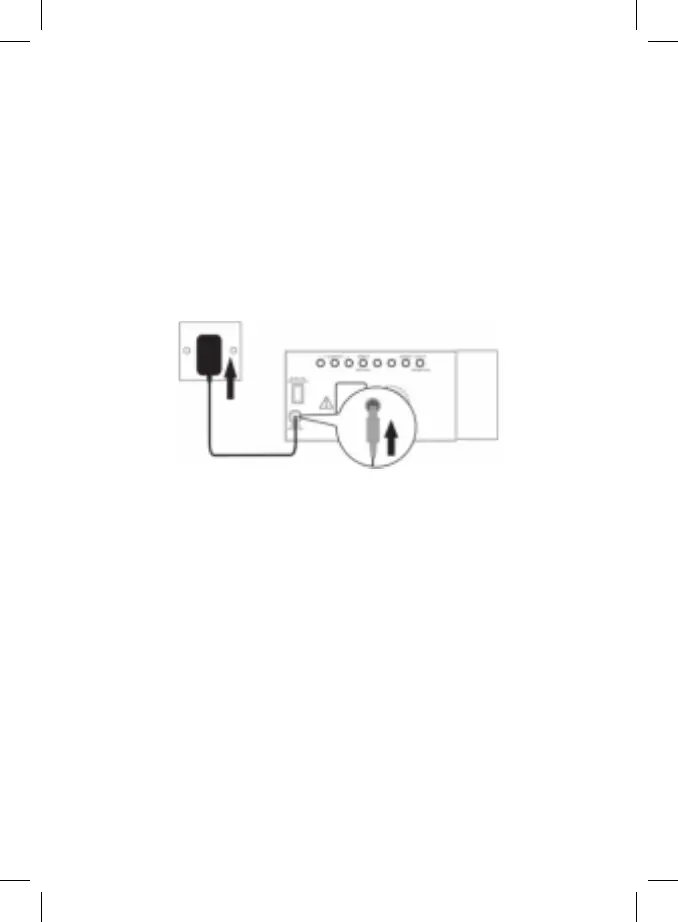
Getting started
Connecting to power
1. Connect the cord of the power adapter to the DC IN jack of the radio.
2. Connect the plug of the power adapter to a wall socket.
The radio is powered and in standby mode when you see the display is
switched on.
Backup system
•Theradioisequippedwithabackupsystem.Itrequiresa3Vlithiumbattery
(type: CR2032). Insert the battery into the battery compartment and make
sure the positive and negative (+ or -) sides of the battery are in contact with
the corresponding terminals in the battery compartment.
•Ifapowercutoccurs,theradioautomaticallyswitchestothebatterypower
supply and keeps the clock and timer settings.
•Toopenthebatterycompartment,useascrewdrivertodetachthescrewon
the compartment door.
•Whenreplacingthebattery,donotdisconnectthepoweradapter.Otherwise,
all clock and alarm settings will be lost.