25 DE | EN24 DE | EN
C
D
E
B
F
A
23 14
C
F
E
A
B
D
2 14 3
DU_gen2_Active_Performance_CX_assembled_20150618
GEWICHT:
A4
BLATT 1 VON 1
MASSSTAB:1:5
ZEICHNUNGSNR.
BENENNUNG:
ÄNDERUNG
ZEICHNUNG NICHT SKALIEREN
WERKSTOFF:
DATUM
SIGNATUR
NAME
ENTGRATEN
UND SCHARFE
KANTEN
BRECHEN
OBERFLÄCHENGÜTE:
WENN NICHT ANDERS DEFINIERT:
BEMASSUNGEN SIND IN MILLIMETER
OBERFLÄCHENBESCHAFFENHEIT:
TOLERANZEN:
LINEAR:
WINKEL:
QUALITÄT
PRODUKTION
GENEHMIGT
GEPRÜFT
GEZEICHNET
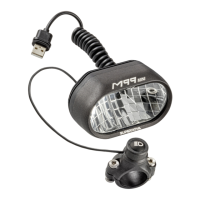
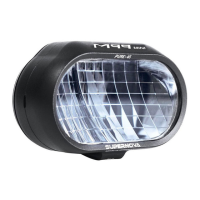
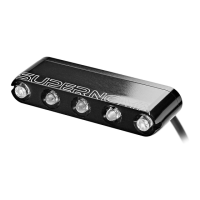
INSTALLATION M99 TAIL LIGHT VERSION 2
B
Bosch Rücklichtkabel |
Bosch tail light cable
Art. No: P-BC150R
M99 Tail light Installation | M99 Tail light installation
Rücklicht Port | Tail light port
A
M99 Tail Light Installation | M99 Tail Light installation
1
2
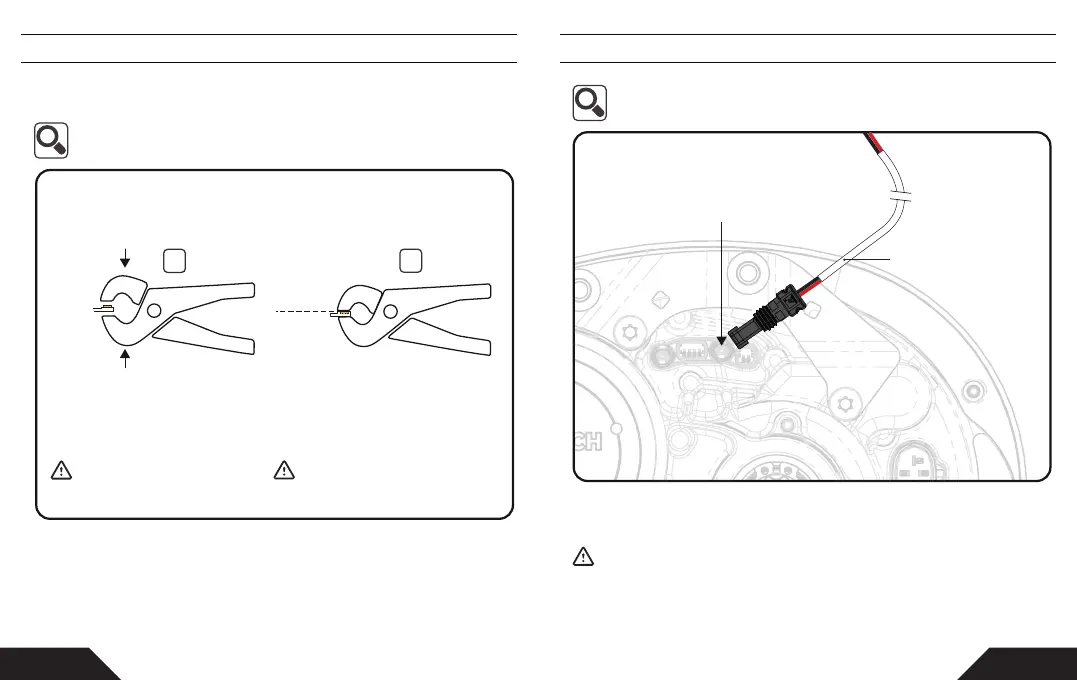
WICHTIG! Kappe bündig zum
Gehäuse rein drücken, nicht tiefer! |
IMPORTANT! Do not press the Scotchlok
tap deeper than the edge of the housing!
ACHTUNG! Kabelenden nicht abisolieren. |
ATTENTION! Do not remove insulation.
INSTALLATION M99 TAIL LIGHT VERSION 2
WICHTIG!
Bitte prüfen Sie ob der Lichtanschluss auf 6 V
oder 12 V geschaltet ist oder ob er überhaupt
aktiviert ist. Das können Sie bei einem
Bosch-zertifizierten Händler tun. Falls vorher
ein Licht montiert war, können Sie sich an
dessen Spannung orientieren.
IMPORTANT!
Please check if the light port is set to 6 V or 12
V or if it is activated at all. A Bosch-certified
service dealer can check this for you. If
another light was installed before, you can use
that as voltage reference.