3
BEFOREFIRSTUSE
CHARGE&CALIBRATEBATTERY
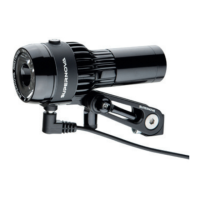
MOUNTING
Beforefirstuse,thebatterymustbechargedcompletely.
Wealsohighlyrecommendthatyoucalibrateit(seepagefive).
IMPORTANTSECURITYINFORMATION
!
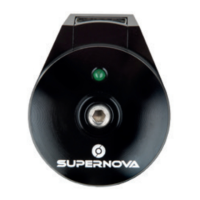
Theremote-
chargestatusdisplay
CHARGER
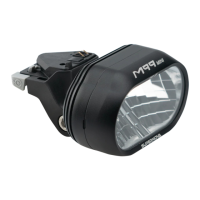
Slide the mount over the handlebar with the quick-turn-screw facing the rear of the bike and pointing
upwards. Use the rubber shims included if necessary to ensure a tight fit. Tighten the screw enough
that the mount and lamp will sit firmly under vibrations from riding, yet loose enough that the lamp can
be adjusted to shine where intended. Slide the lamp forward onto the mount until you hear a “click” and
the lamp is locked into place. To remove the lamp, push the lever on the mount (below the rear of the
lamp), to the side while pulling the lamp to the rear. For oversize handlebars please use the Supernova
oversize handlebar mount ( article #E778)
The SUPERNOVA charger is integrated in the battery lid. Current is supplied via the adapter or car
adapter (optional). The adapter can be used world-wide between 100 and 240 volts. The car
adapter can only be used with 12 volts (not in trucks with 24 volt batteries!). The charger has a built
in temperature gauge that prohibits charging below 0 degrees Celsius (32F) and above 45
degrees Celsius (113F). When the charger is within the allowed charging temperature range,
charging will occur automatically. Charging is done in two stages. In the first stage, the battery is
charged with maximum current. To prevent damage and ensure a longer life for the battery, the
current intake is reduced while charging the last 15% of the battery. Stage one therefore takes
approximately 2.25 hours to charge the battery to 85% capacity. Stage two takes another 2 hours
to charge the remaining 15%. Basic rule: As long as the battery lid is warm, the battery is still in
charging mode. To get an accurate charge status, connect the battery to the headlight. The
remote lights up in different colors to indicate battery status.
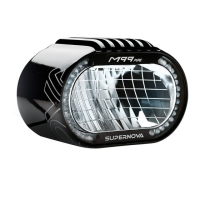
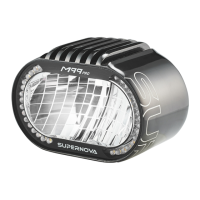
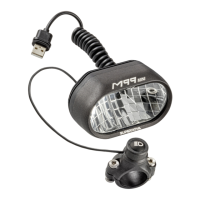
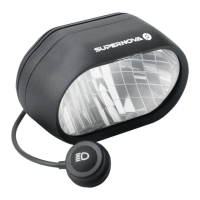
XENONP99-D
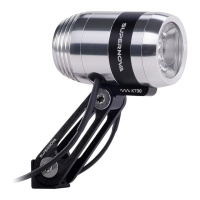
SUPERNOVAP99-D
Steadybluelight: Chargestatus 100%
Flashingbluelight: Chargestatus 75-99%
Flashinggreenlight: Chargestatus 50-75%
Flashingyellowlight: Chargestatus 25-50%
Flashingredlight: Chargestatus 0-25%
1.Alwayspullontheplugdirectly,neverpullthecable.
2.Thealuminumlidandadaptercangetverywarmwhilecharging.
Makesurethatthecoolingventsarenevercovered.
3.Atemperaturegaugeprohibitschargingoutsideofatemperaturerangebetween
0degreesCelsius(32F)and45degreesCelsius(113F).
4.Unpluglampwhennotinuse.
5.Donotuselightingsystemwhenplugisdamaged.
6.Donottamperwiththelightingsystem.OnlySUPERNOVAauthorizedpersonnelmayopenthe
lightingsystemcasing.
7.Onlyuse12voltswiththeoptionalcaradapter-never24volts(trucksforexample).
6
4
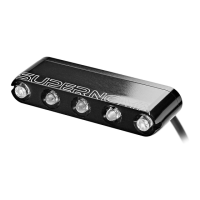
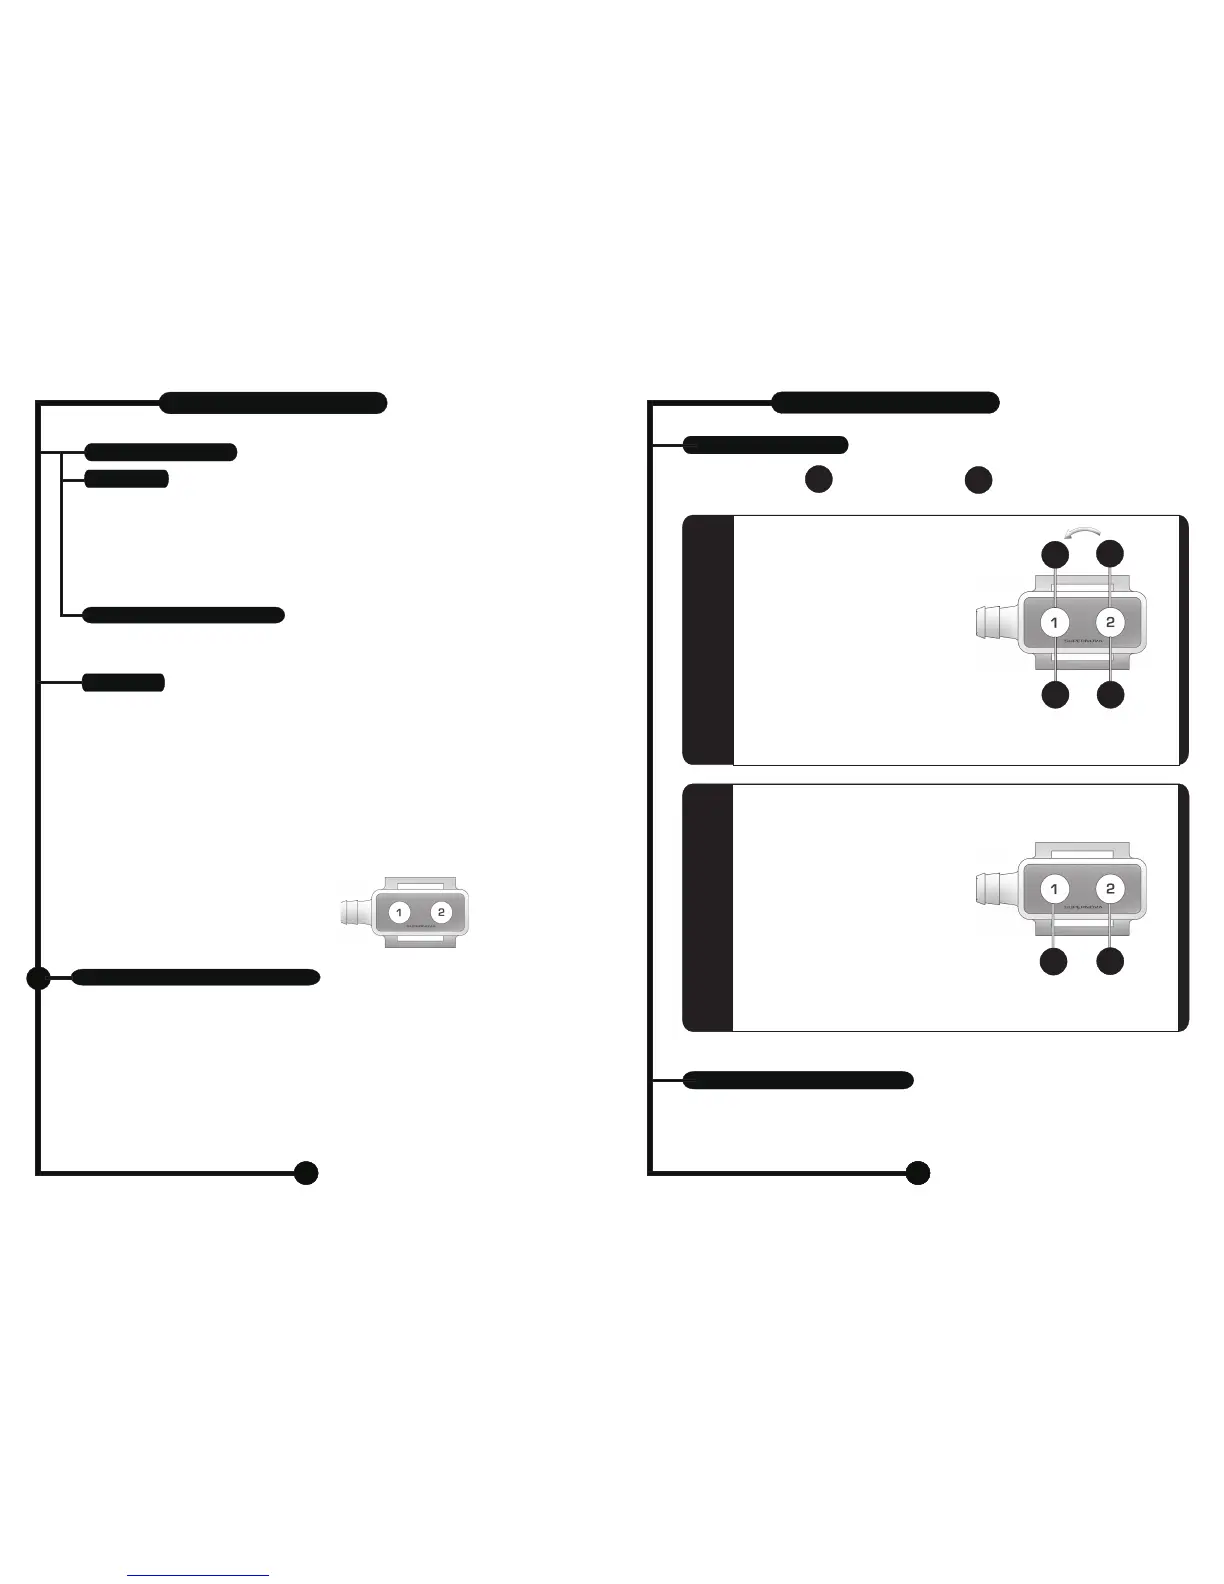
REMOTECONTROL
STROBOSKOPFUNKTION/SOS-ZEICHEN
SWITCHOFF
2s
=ON
S
+
Akey-lockensuresthatthelightingsystemisnot
turnedoninvoluntarily.
Pressbutton#2andthenbutton#1inquick
successiontomakelamp1lightupatthe
highestenergylevel.Pressbutton#1
andthenbutton#2tolightuplamp2first.
Pleasenote!Youneedtowaitforapprox.
5secondsbeforeswitchingonthesecondlamp.
Onlypressthesecondbuttonshortly!
Iflamp2doesnotignite,pressagain(shortly).
Toturnofflamp1,pleasepressbutton
#1forabout2seconds.
Toturnofflamp2,pleasepressbutton
#2forabout2seconds.K
oturnofftheotherlampaswell.
eeppressing
anyofthebuttonst
SWITCHON
S
BULB#1
OFF
S
Bothbulbscanbedimmed:
Bulb#1withbutton#1
Bulb#2withbutton#2
Whenbothbulbsareon,
thelightswillbedimmedtogether.
LIGHTINGLEVELS
Explanations:
S
=
PRESSSHORTLY
2s
=
PRESSBUTTONFOR2SECONDS
ThelifespanofyourXenonbulbswillbeshortenedbyfrequentlightings,notbytheoverallburntime!
Wedonotrecommendturningyourlamponandoffveryfrequently.
Theswitchtoenergysavingmodedoesnoteffectthelifespanofthebulb.
ADDITIONALINFORMATION
2s
BULB#2
OFF
S
BULB#1
OFF
Dim
BULB#1
Dim
BULB#2
XENONP99-D
SUPERNOVAP99-D
 Loading...