0800 112 3201
info@personalalarms.org
www.personalalarms.org
Step 1:
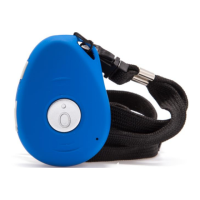
Attach the lanyard provided to the
SureSafeGO pendant. Alternatively, place
the SureSafeGO into the belt-clip, if
purchased separately.
Step 2:
Plug your SureSafeGO charging station
into a power socket using the power cable
provided.
Place your SureSafeGO into the charging
station to charge it up. Check that
SureSafeGO ‘clicks’ into the charger to be
sure that it is in correctly. You will hear a
beep sound when the pendant is placed
into, or taken out of, the charger.
Leave the device on charge for a minimum
of 3 hours before rst use. The green LED
will ash every 3 seconds while charging.
The green LED stays on solid when it is
fully charged. You cannot overcharge the
battery.
Step 3:
The SureSafeGO should automatically
turn on when you place it in the charging
station. If it does not, turn it on by holding
down the side button until it vibrates.
Step 4:
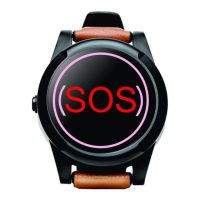
Test the SureSafeGO by pressing and
holding the SOS button on the front of the
device for 3 seconds.
You will feel the SureSafeGO vibrate and
hear it beep. The red and green LED
will also ash together. The SureSafeGO
will then call through to the SureSafe
Response Centre, and a response
operative will answer your call and talk
to you through the pendant. They will
also conrm if you are at home, or your
approximate location based on the GPS
position if you are away from the home.
Let the SureSafeGO response operative
know that it is a test call for a new alarm.
You are now fully set-up, tested and ready
to go. We recommend that you wear your
SureSafeGO at all times.
4 easy steps to set up...
 Loading...