Rear Suspension: 2C-5
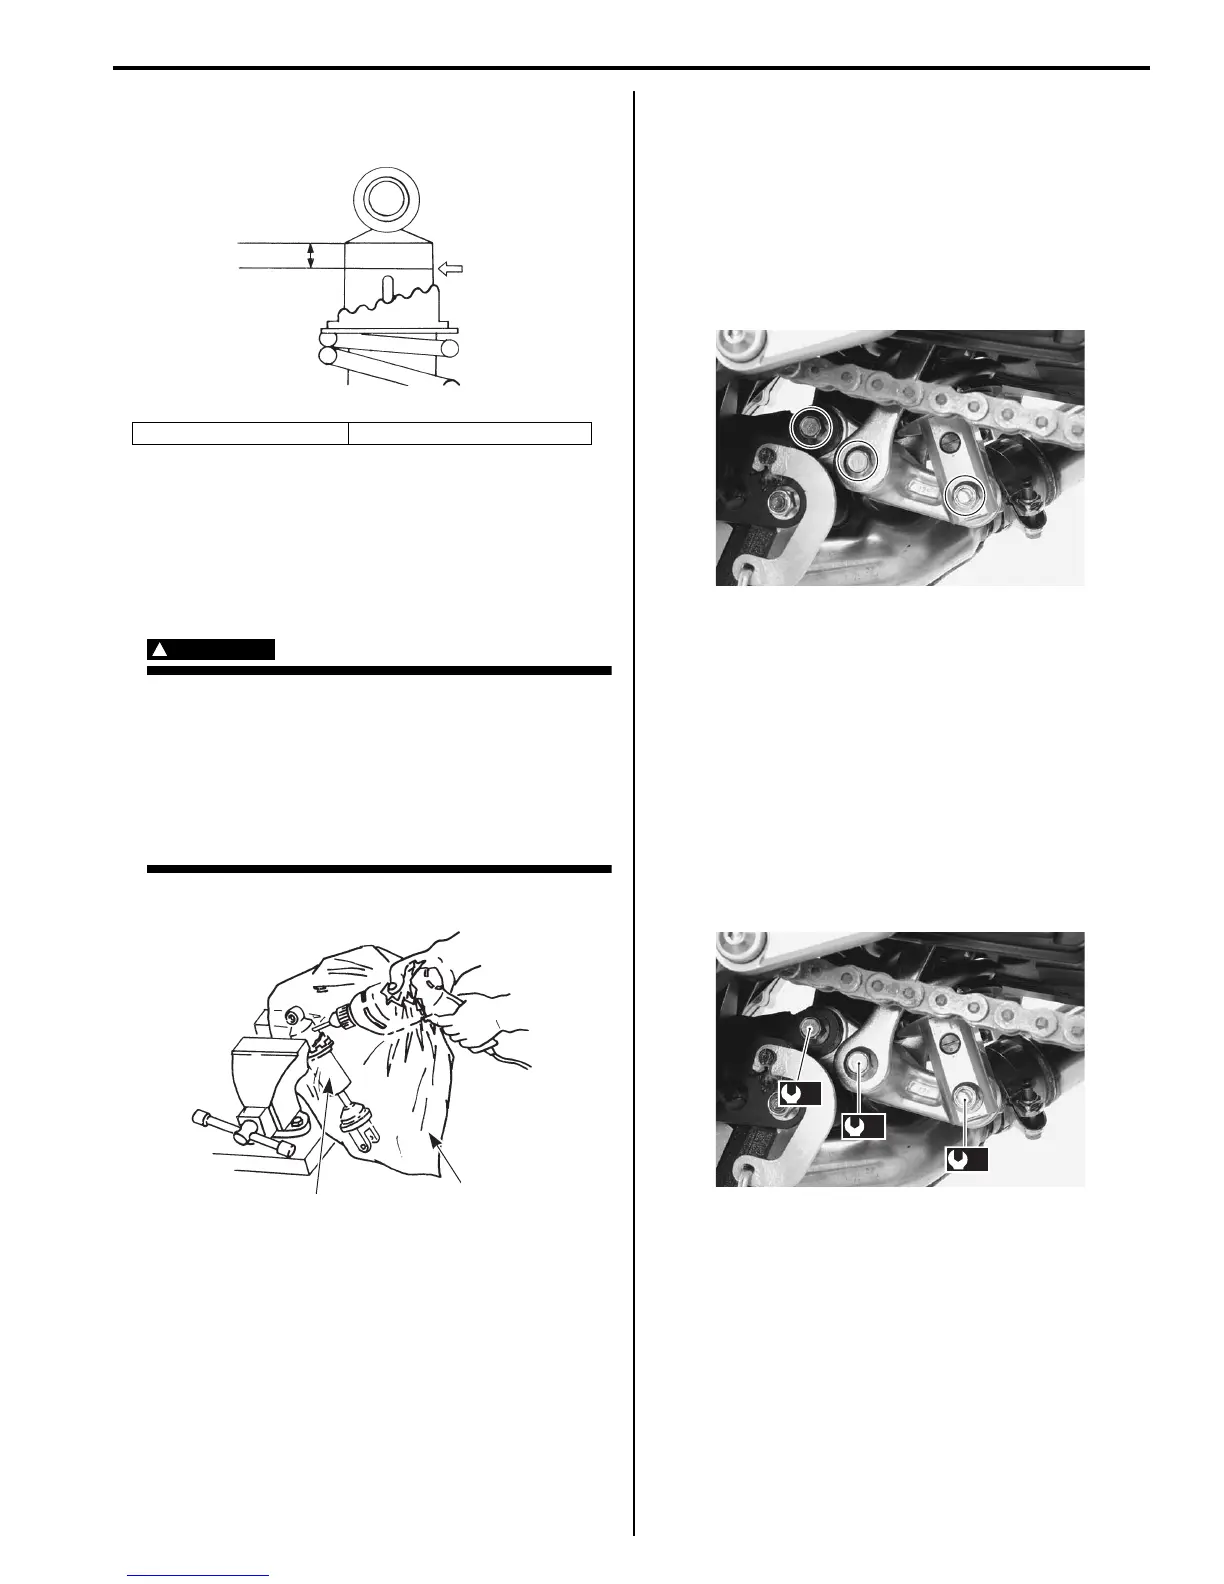
1) Mark the drill center at the location “A” using a center
punch.
2) Wrap rear shock absorber (1) with a vinyl bag (2)
and fix it on a vise as shown.
3) Drill a 2 – 3 mm (0.08 – 0.12 in.) hole at the marked
drill center using a drilling machine and let out gas
while taking care not to get the vinyl bag entangled
with the drill bit.
WARNING
!
• Be sure to wear protective glasses since
drilling chips and oil may fly off with
blowing gas when the drill bit has
penetrated through the body.
• Make sure to drill at the specified position.
Otherwise, pressurized oil many spout out
forcefully.
Cushion Lever Removal and Installation
B718H12306008
Removal
1) Place the motorcycle on the center stand and
support the motorcycle with a jack to be no load for
the cushion lever.
2) Remove the cushion lever by removing its related
bolts and nuts.
Installation
Install the cushion lever in the reverse order of removal.
Pay attention to the following point:
• Tighten each nut to the specified torque.
Tightening torque
Cushion lever mounting nut (a): 78 N·m (7.8 kgf-
m, 56.5 lb-ft)
Cushion rod mounting nut (b): 78 N·m (7.8 kgf-m,
56.5 lb-ft)
Rear shock absorber mounting nut (c): 50 N·m (
5.0 kgf-m, 36.0 lb-ft)
“a”: 10 mm (0.39 in.) “A”: Mark the drill hole
“a”
“A”
I649G1230008-02
1
2
I649G1230009-03
I718H1230007-01
(a)
(b)
(c)
I718H1230008-01

 Loading...


