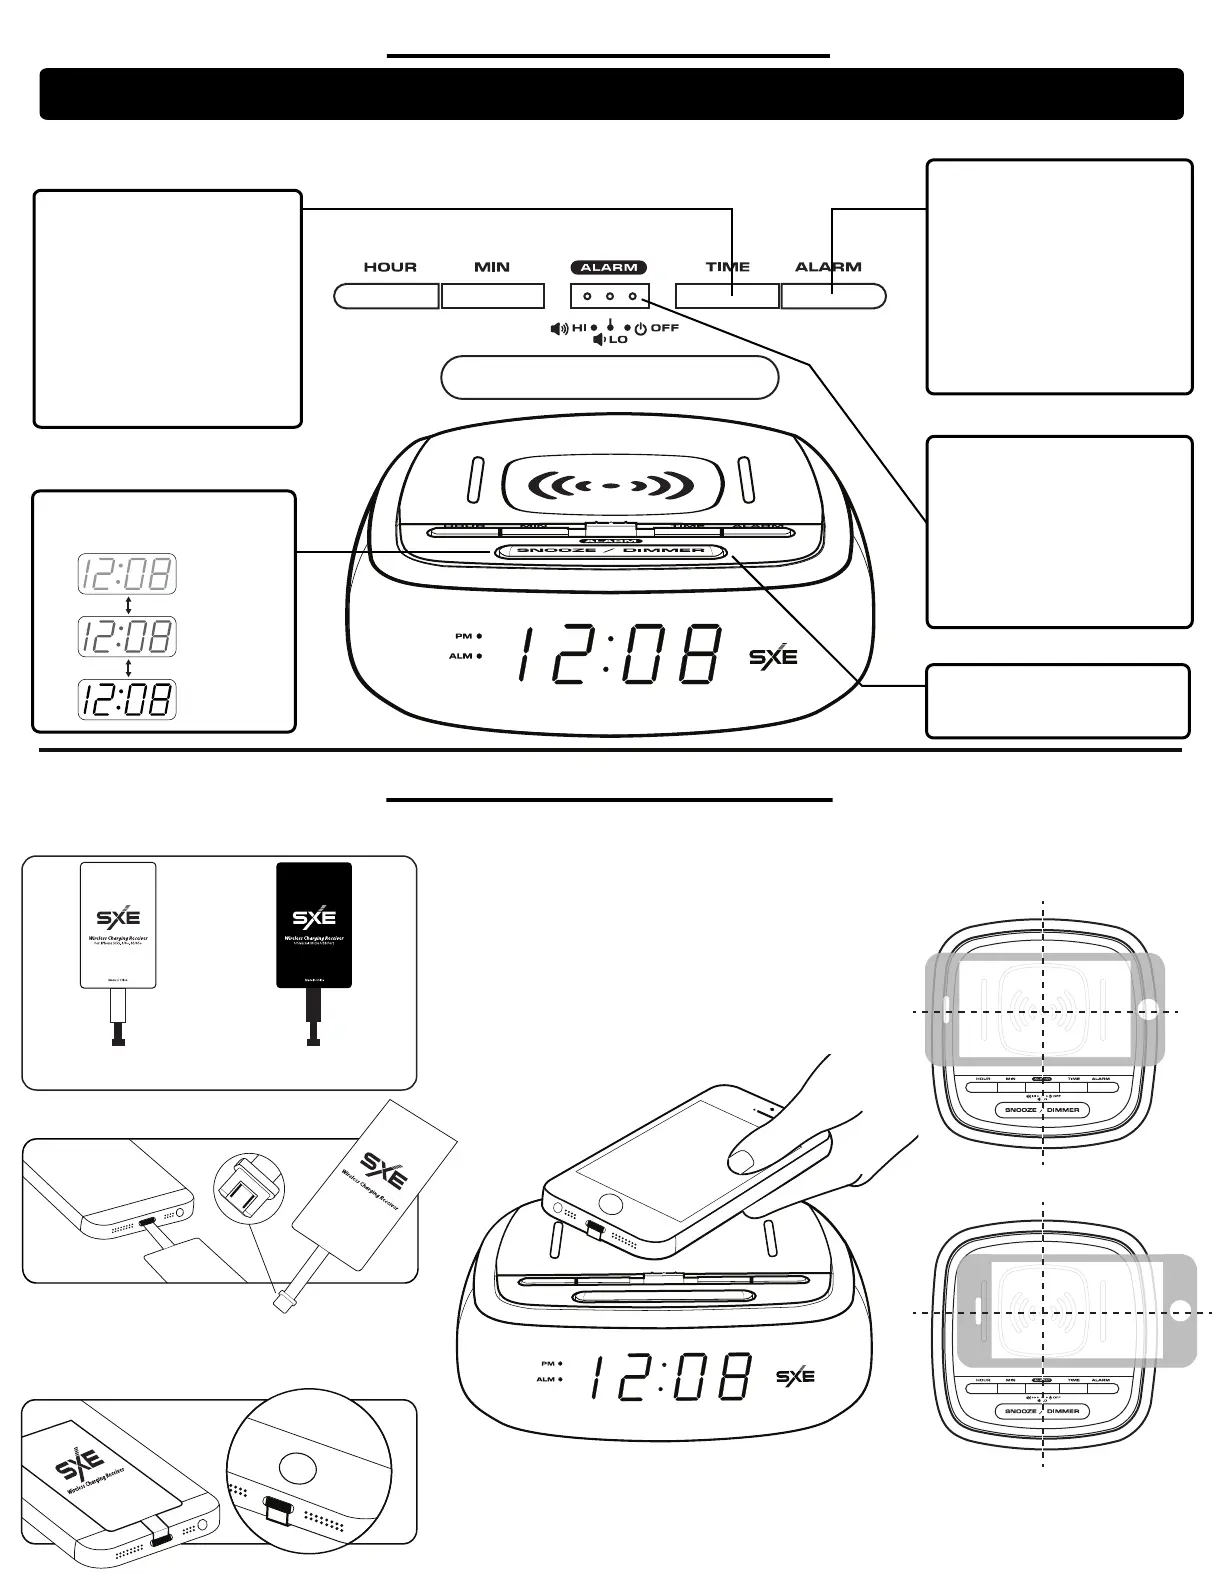
TIME SET
1. Press and hold the TIME button for 3
seconds until the hour and minute
digits flash.
2. Press the HOUR and MINUTE
buttons as needed until the correct time
is shown on the display.
Note: When setting the time, make sure
you are in the correct AM or PM period
as indicated by PM indicator on
the display.
3. Press the TIME button to save and
exit the time setting.
ALARM SET
1. Press and hold the ALARM button for
3 seconds until the hour and minute
digits flash.
2. Press the HOUR and MINUTE
buttons as need until the desired alarm
time shown on the display.
Note: When setting the alarm time,
make sure you are in the correct AM or
PM period as indicated by PM indicator
on the display.
3. Press the ALARM button to save and
exit the alarm time.
ALARM ON / OFF (HI / LO)
1. To turn the alarm ON, slide the
ALARM SWITCH to either the HI or LO
position. The ALARM ON indicators will
be shown on the display, indicating the
alarm is activated.
Note: When turning the alarm ON,
choose between HI (Loud) and LO
(Normal) Alarm Volume.
2. To turn the alarm off, slide switch to
OFF. The ALARM ON indicators will no
longer be shown on the display.
SNOOZE
Press the SNOOZE bar when the alarm
is sounding. The alarm will be silenced
temporarily, but will resume sounding
after 9 minutes.
DISPLAY DIMMER
Press the Dimmer button to select
between the 3 levels of Display
brightness (Dim, Medium or Bright)
Note: If no settings are made within 5 seconds, the clock will automatically return to display the normal time.
If this happens, you will need to start the setting procedure again from step 1.
SETTING YOUR CLOCK
SNOOZE / DIMMER
DIM
MEDIUM
BRIGHT
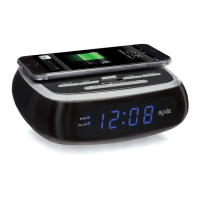
Compatible with wireless charging enabled smartphones. Other smartphones like iPhone need to use the included wireless charging adapters to work.
2.) Connect the wireless charging adapter to your
phones charging port. Fold the adaptor back
so it lays at against the back of the phone.
3.) Replace your phone cover.
*Note: The wireless charging receiver ts discreetly under
most protective cases.
4.) Place your phone with the wireless adapter on the center
the of the wireless charging area on top of the clock.
WIRELESS CHARGING
1.) Remove your protective phone cover.
CORRECT
WRONG
*Note: When the phone is being charged your phones charging indicator will show as normal.
*Note: For maximum charging eciency, the phone must be aligned with the center of the charging area.
*Note: Phones that are enabled with wireless charging capability, may need to be placed slightly o center.
The built-in wireless receiver may not be centered inside the phone. This varies from brand / model.
White Charging Reciever
For iPhone 5/5S, 6/6+, 6s/6s+
Black Charging Reciever
For Android: Universal USB Port
 Loading...