6
4.2. Wireless Wi‑Fi6 home network enabler
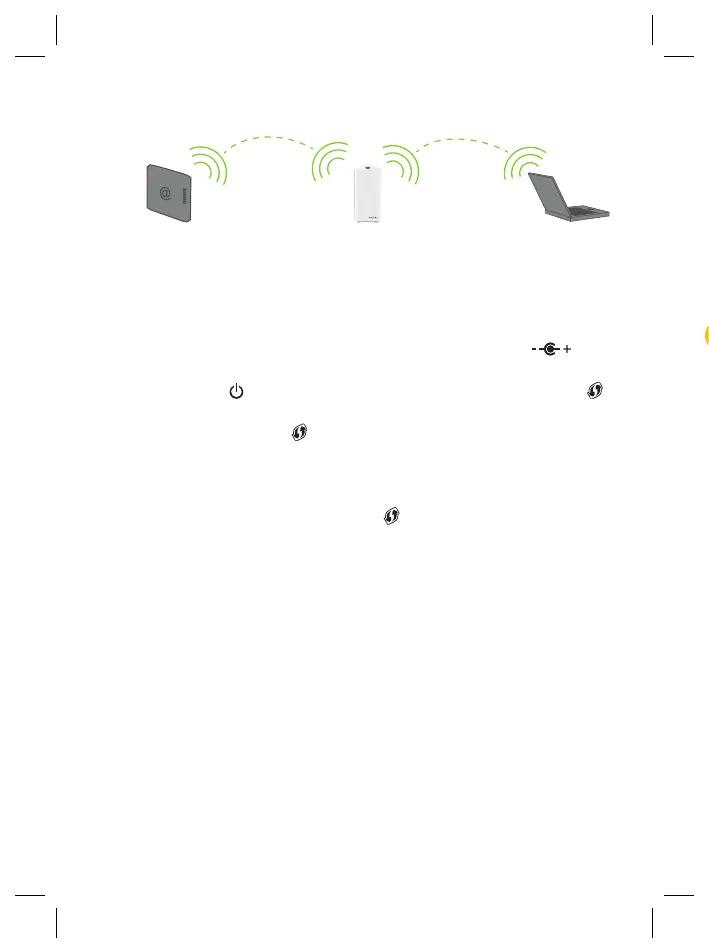
This scenario allows you to add (extra) Wi-Fi6 coverage using the OWA3111.
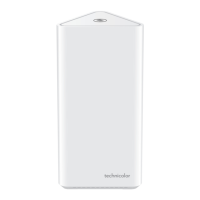
OWA3111
Wi-Fi 6 access point
Wi-Fi deviceInternet gateway
Wi-Fi extender
Wi-Fi
Wi-Fi 6
Step 1: Set up the Wi‑Fi extender
1 Position your OWA3111 half-way between your Internet gateway (or extender) and
your Wi-Fi devices.
2 Take the power supply, plug the small end into the power inlet port (
) of the
OWA3111 and then plug the other end into a nearby power outlet.
3 Press the power (
) button on the back of the OWA3111. The Status LED ( )
will first be solid yellow during startup.
4 Wait until the Status LED (
) slowly blinks yellow.
5 Pair the OWA3111 with your Internet gateway (or extender) using WPS. For
detailed instructions, see “5.2. Pairing the OWA3111 with your Internet gateway” on
page8.
6 Check the link quality via the Status LED (
) on the OWA3111. If it is:
Solid green, then link quality is optimal.
Solid yellow, then link quality is fair, but not optimal.
Solid red, then link quality is bad. It is advised to reposition your OWA3111.
See “5.6. Optimizing the link quality” on page10 for more information.
Step 2: Connect your Wi‑Fi devices
If your Wi-Fi device:
• Supports WPS, use WPS to pair it with the OWA3111. For more information, see
“5.4. Pairing Wi-Fi devices to your OWA3111” on page10.
• Does not support WPS, configure it with the Wi-Fi network name (SSID) and
wireless key that are printed on the product label on the bottom of the OWA3111.
For more information, consult the user documentation of your device.
Step 3: Connect an Ethernet device (optional)
You can use both of the OWA3111’s Ethernet ports to connect Ethernet devices (for
example, a Set-Top Box, a NAS drive or computer) to your home network.
4.3. EasyMesh home network extender
This scenario allows you to extend Wi-Fi coverage in your home by retransmitting
Wi-Fi messages from your existing Wi-Fi EasyMesh network.
OWA3111
EasyMesh agent
Wi-Fi deviceInternet gateway or OWA3111
as EasyMesh controller
Wi-Fi 6
EasyMesh
Wi-Fi 6
Requirements
Your Internet gateway or another EasyMesh-capable Wi-Fi device must be
enabled and configured as the EasyMesh controller.
Step 1: Set up the repeater and onboard to the EasyMesh network
1 Position your OWA3111 half-way between your Internet gateway (or extender) and
your Wi-Fi devices.
2 Take the power supply, plug the small end into the power inlet port (
) of the
OWA3111 and then plug the other end into a nearby power outlet.
3 Press the power (
) button on the back of the OWA3111. The Status LED ( )
will first be solid yellow during startup.
4 Wait until the Status LED (
) slowly blinks yellow.
5 Enable EasyMesh on your OWA3111 if not done yet. For more information ,see
“5.7. Configure your Wi-Fi extender to your needs” on page11.
6 Onboard the OWA3111 to the EasyMesh network using WPS. For detailed
instructions, see “5.3. Joining your OWA3111 with an existing EasyMesh network” on
page9.
7 Check the link quality via the Status LED (
) on the OWA3111. If it is:
Solid green, then link quality is optimal.
Solid yellow, then link quality is fair, but not optimal.
Solid red, then link quality is bad. It is advised to reposition your OWA3111.
See “5.6. Optimizing the link quality” on page10 for more information.
Step 2: Connect your Wi‑Fi devices
Because the OWA3111 now uses the same Wi-Fi settings as the EasyMesh home
network, Wi-Fi devices that were already connected to your home network will also
be able to connect to the OWA3111, and vice versa.
 Loading...