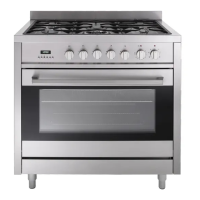
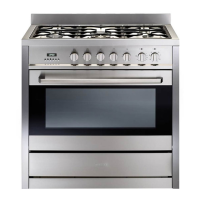
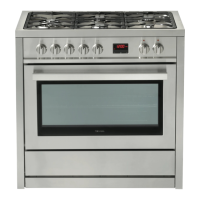
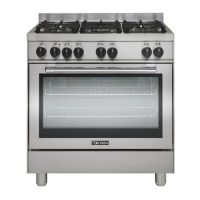
Use and Care
6 BUTTON DIGITAL CLOCK
This model has a digital display, 24hr clock with 6 control buttons.
When the power is connected, the screen displays 3 flashing
numbers and ‘AUTO’.
Adjusting the digital clock
To set the correct time, press the button first, then + or - button
to advance forward or backward until the correct time is displayed.
Manual operation setting
If ‘AUTO’ is flashing, automatic or semi-automatic program has
been set. Press button, ‘AUTO’ will clear from the display and
the oven can be operated manually.
Automatic setting
Automatic setting of the oven allows you to select the end time,
cooking time, temperature and cooking mode. The oven will switch on,
cook according to the selected cooking mode and temperature and
then switch off automatically.
1. Press button, set cooking time with + and - buttons.
2. Press button, set roast finish time with + and - buttons.
3. Set cooking temperature and cooking mode by turning the
thermostat knob and selector knob.
After the above setting, ‘AUTO’ will illuminate, which means the
automatic cooking feature of the oven is set.
For example: if cooking time takes 45 minutes and you want it to
finish at 14:00:
1. Press and set the cook time to 45 minutes using + and -
buttons.
2. Press and set the finish time to 14:00 using + and - buttons.
After the above setting, the current time is displayed and ‘AUTO’
will flash, indicating that the automatic cooking feature is set. When
the clock displays 13:15, the oven will start cooking automatically.
While cooking, ‘AUTO’ and will flash.
When the clock displays 14:00, the oven automatically stops
cooking. The alarm will ring and ‘AUTO’ will flash, press the
button and the ringing will stop.
16
 Loading...