Do you have a question about the Techno Line WS 6830 and is the answer not in the manual?
The WS 6830 is an instruction manual for a weather station with an integrated clock, alarm, and weather forecasting capabilities. This device provides indoor and outdoor temperature readings, time display, and predicts future weather conditions.
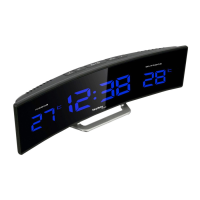
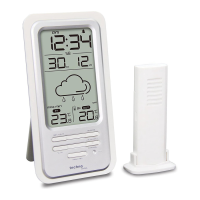
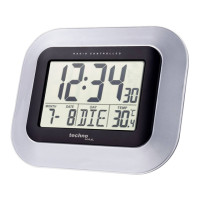
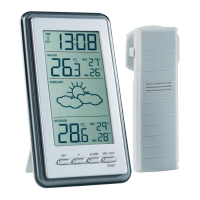
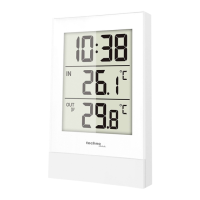
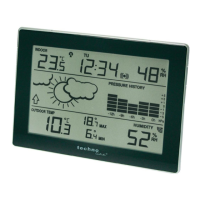
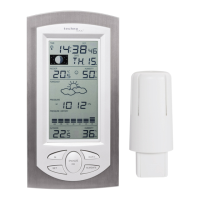
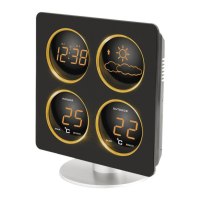
The weather station primarily functions as a clock with an alarm, displaying the current time in a clear LED format. It also acts as a thermometer, showing both indoor and outdoor temperatures. A key feature is its weather forecasting capability, which predicts future weather conditions based on barometric pressure changes. The device receives DCF radio-controlled time signals to ensure accurate timekeeping.
To set up the device, first, attach the round base to the back pole and secure it by turning it to the right. Then, plug the AC/DC adapter into a 230V European AC household outlet and connect the DC jack to the lower back of the clock. Upon power-up, the clock will display ":00" and show indoor-outdoor temperatures along with the weather forecast.
For battery backup, slide open the battery door on the back, insert three AAA batteries with correct polarity, and replace the cover. When AC power is off, these batteries will maintain the clock's time and alarm settings, though the LED panel will be off.
After plugging in the AC power, the clock automatically begins receiving the DCF signal. A blinking icon indicates reception, and the display shows "г:00". A strong DCF signal is indicated by three bars, while a weak or no signal shows one bar ("1:00" or "1:00"). If the signal is weak, reposition the clock for better reception or unplug and replug the AC/DC jack to restart reception. Signal strength may fluctuate between one and three bars during reception. If the clock fails to catch the DCF time signal within seven minutes, it reverts to the normal time display "00:07". During reception, pressing the TIME button once will switch to normal time display; pressing HR again will return to reception mode and signal strength indication.
When DCF reception is successful, the icon becomes static (stops blinking). If reception fails, the icon disappears. If the signal is weak or absent, the display will show ":00" with an asterisk.
The clock automatically attempts to receive the DCF signal daily at 1:00 AM. If this fails, it tries again at 2:00 AM, then at 3:00 AM. If reception still fails at 3:00 AM, it will attempt reception every three hours until it successfully catches the correct DCF time. To initiate manual reception, press the HR button once at any time; the LED time display will switch to radio-controlled reception mode ":00".
After power-up, if the TIME button is pressed once, the time digits will go to "0:00 AM" (default start-up time), and the clock will continue to receive the DCF signal with the icon blinking. Pressing the HR button once will return to radio-controlled reception mode.
To set the time, press and hold the TIME button while simultaneously pressing the HR button once to set the hour. Repeat this process, pressing the MIN button once to set the minute.
To set Alarm 1, slide the Alarm Switch to ALM 1. Press and hold the ALM button while simultaneously pressing the HR button once to set the hour. Repeat, pressing the MIN button once to set the minute. To set Alarm 2, slide the Alarm Switch to ALM 2. Press and hold the ALM button while simultaneously pressing the HR button once to set the hour. Repeat, pressing the MIN button once to set the minute.
To turn on Alarm 1 only, slide the alarm switch to ALM 1; the ALM 1 LED on the upper left of the hour digits will light up. To turn on Alarm 2 only, slide the alarm switch to ALM 2; the ALM 2 LED on the lower left of the hour digits will light up. To turn on both Alarm 1 and 2, slide the alarm switch to ALM 1 + 2; both ALM 1 and ALM 2 LEDs will light up. To permanently deactivate both Alarm 1 and 2, slide the switch to ALM OFF; both ALM 1 and ALM 2 LEDs will turn off.
When the set alarm time (ALARM 1 and/or ALARM 2) is reached, the clock will beep, and the corresponding ALM LED will blink. Pressing the SNOOZE button once will silence the alarm for five minutes, during which the ALM LED will continue blinking. To stop the alarm, press and hold the SNOOZE button for two seconds when the alarm sounds. The alarm will stop, and the ALM LED will become static. The alarm will sound again at the same time the next day. To permanently turn off Alarm 1 and/or Alarm 2, slide the alarm switch to ALM OFF. The alarm sound will stop, and both ALM 1 and ALM 2 LEDs will turn off.
To set the snooze duration (from 5 to 60 minutes), press and hold the SNOOZE button. The time display will show "05" (default snooze duration). Then, press the MINUTE button to set your desired duration.
Press the MAX/MIN button once to view the maximum indoor and outdoor temperatures. Press MAXCLEAR to reset these readings, and the display will show "---" as it begins recording new maximums. Press the MAX/MIN button again to view the minimum indoor and outdoor temperatures. Press MAXMINCLEAR to reset these readings, and the display will show "---" as it begins recording new minimums.
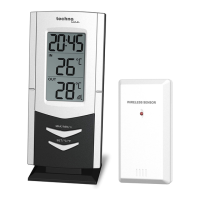
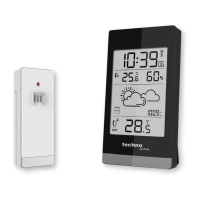
If the outdoor temperature digits show "----", it indicates that the wireless transmission is interrupted or lost. Press the CLEAR button on the back of the weather station, then press the RESET button on the back of the outdoor transmitter. If the outdoor temperature display continues to be lost, try relocating the transmitter to a different position for smooth temperature data transmission.
The weather station includes a built-in barometer that measures barometric pressure. After power-up, the display shows Sunny & Cloudy icons. The device takes approximately 24 hours to gather barometric pressure data and predict the weather conditions for the next 12-24 hours. There are four types of predicted weather conditions displayed: Sunny, Sunny & Cloudy, Cloudy, and Rainy. The weather forecaster also includes a weather tendency indicator: an UP arrow appears when air pressure is rising (indicating improving weather), and a DOWN arrow appears when air pressure is falling (indicating worsening weather). Note that moving the weather station around your house or building can affect its accuracy due to sudden changes in temperature or height/altitude. It will take 24 hours to stabilize and provide accurate predictions again. The predictions are for the next 12-24 hours and may not match current outdoor conditions.
Simply slide the LO-HI DIMMER switch on the back of the clock to adjust the LED brightness to a comfortable level in the dark.
If issues arise, press the RESET button on the back of the base thermometer, then press the RESET button on the back of the outdoor transmitter. This action will reset the clock to its default settings, requiring it to update via the DCF time signal again.
| Model | WS 6830 |
|---|---|
| Brand | Techno Line |
| Display Type | LCD |
| Indoor Temperature | Yes |
| Outdoor Temperature | Yes |
| Humidity | Yes |
| Humidity Range | 20% to 95% |
| Wireless Transmission | Yes |
| Battery Type | AA |
| Forecast | Yes |
| Alarm | Yes |
| Clock | Yes |
| Calendar | Yes |
| Type | Weather Station |
| Radio controlled clock (RCC) | Yes |
| Transmission Range | Up to 100m (open field) |
| Power Source | Battery |
| Temperature Range | -20°C to +60°C (-4°F to +140°F) |