Owner’s Manual - Power supplies
Introduction
The TeddyCap power supply family was designed to power Naim Audio pre amplifiers, CD players,
headphone amplifiers, active crossovers, phono stages, etc. They replace the original products: HiCap,
FlatCap, SuperCap and XPS.
Please follow your Naim Audio product owner’s manual for the corresponding connection diagram.
Note that according to the Naim Audio schema, power amplifiers should be connected to the power
supply rather than to the pre amplifier. Failing to do so may damage the power supply and/or the
power amplifier.
Mains Power
The power supply should be connected to the mains via a standard cable with an IEC plug. For safety
reasons it is preferable to use cables with molded plugs. The power supply should be connected to a
grounded mains socket.
Fuses
The power supply is equipped with a fuse that resides in a small drawer on the IEC socket situated on
the rear panel. Use only “slow blow” fuse for replacement.
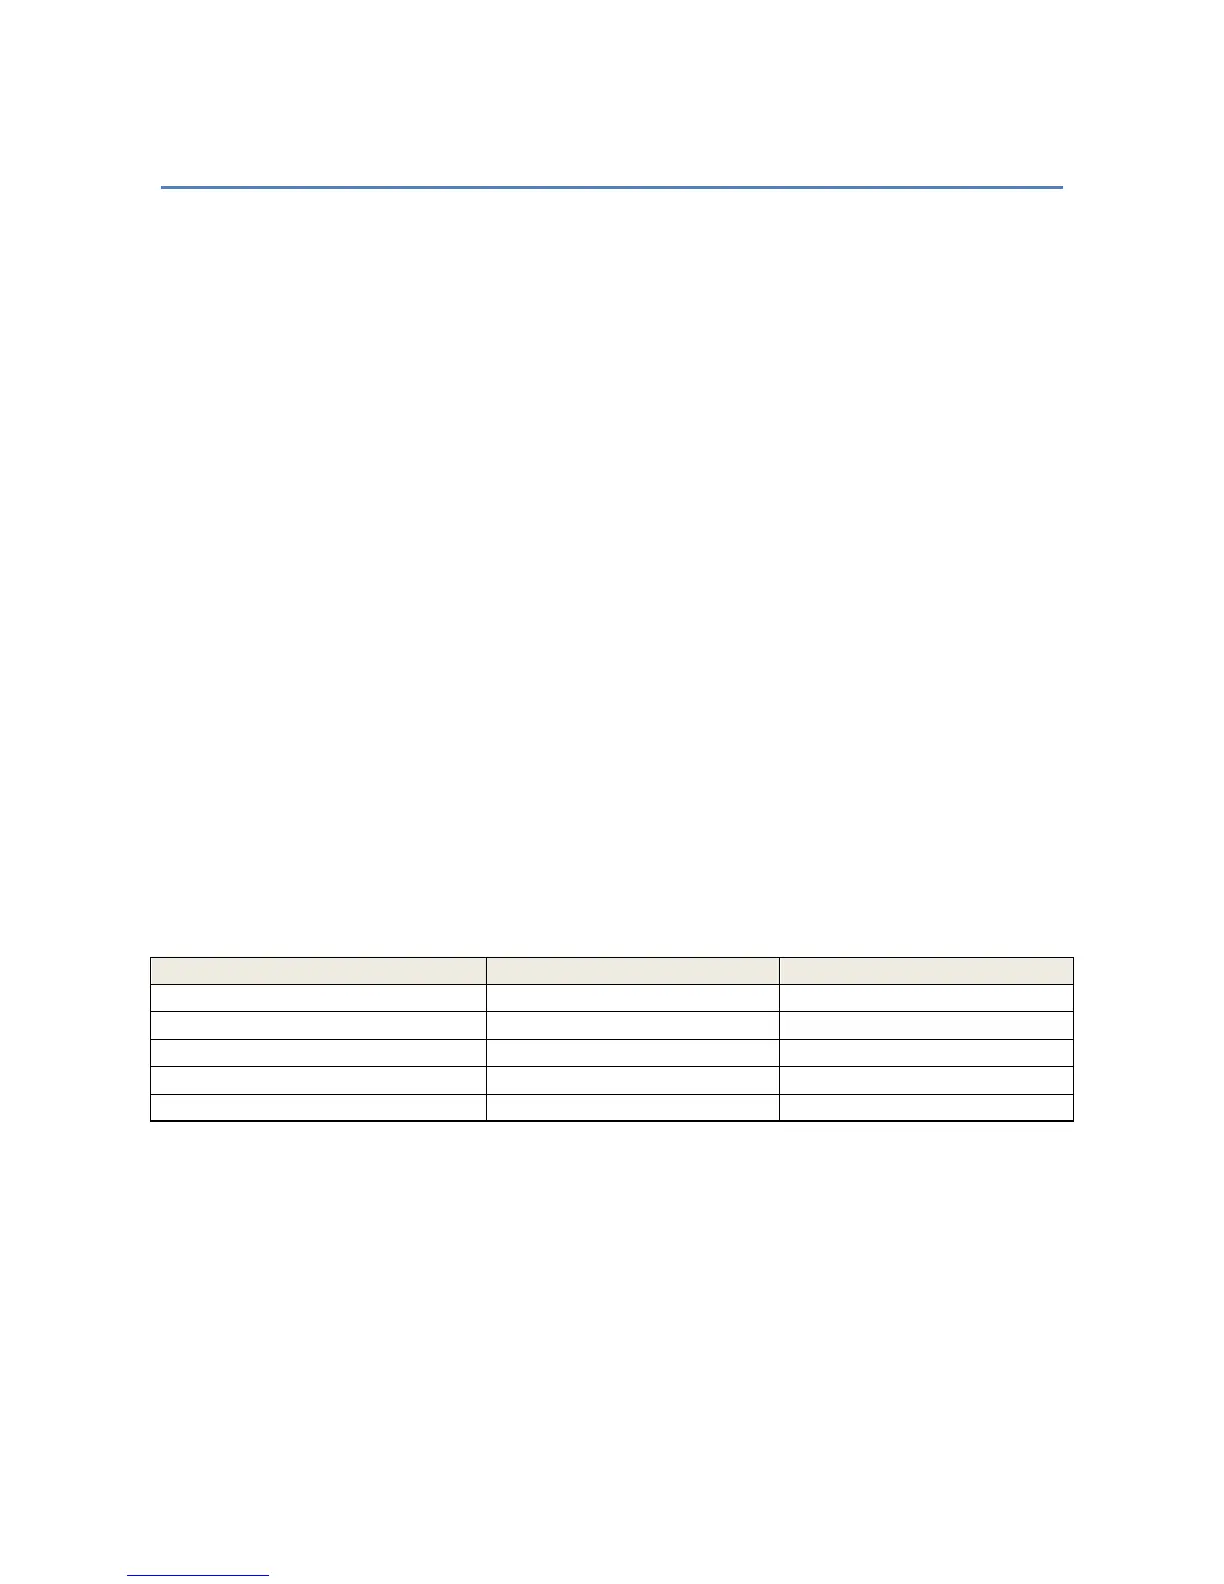
Use the following table to select the appropriate fuse value:
Switching On
In order to switch on and off your power supply use the power switch situated on the rear panel. Best
performance will be achieved when leaving the system switched on for long periods. Power
consumption of the power supplies is in the order of few tens of Watts. The green LED indicates
POWER ON.
 Loading...