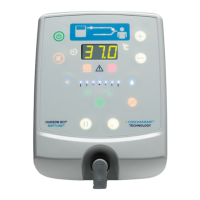
3. Confirm Settings.
The accept button will flash and the humidifier will automatically display the stored
settings for mode (invasive or non-invasive) and patient airway temperature. When using a
heated-wire circuit, the heated-wire and temperature gradient indicators will illuminate.
Patient airway temperature and temperature gradient will default to the last used values for
the present configuration (mode and breathing circuit type). If the configuration has not
been used previously, factory default settings will apply.
To begin operation using the displayed settings, press and release the accept
button. The heater will begin warm-up and then normal operation.
Note: To adjust the displayed settings, see User Adjustable Operation.
Note: Power is not applied to the heater or heated-wires until the settings have been
confirmed.
Note: If the user does not press the accept button to confirm these settings or press
and hold the accept button to enter the User Adjustable Operation within 5 minutes, the
unit will alarm. To clear this alarm, press the accept button .
4. Warm-Up.
During warm-up, the °C will flash and the LED display will show the actual proximal patient
airway temperature. Warm-Up ends when the patient airway temperature reaches within
2°C of the set airway temperature. Once warm-up is complete the °C will stop flashing.
Note: During warm-up, the low temperature alarm is deactivated.
Warm-up Time: 10 minutes (heated-wire circuits)
35 minutes (conventional circuits)
Note: Warm-up times consider that warm-up is achieved when the patient airway tem-
perature is within 2°C of the patient airway set temperature.
17
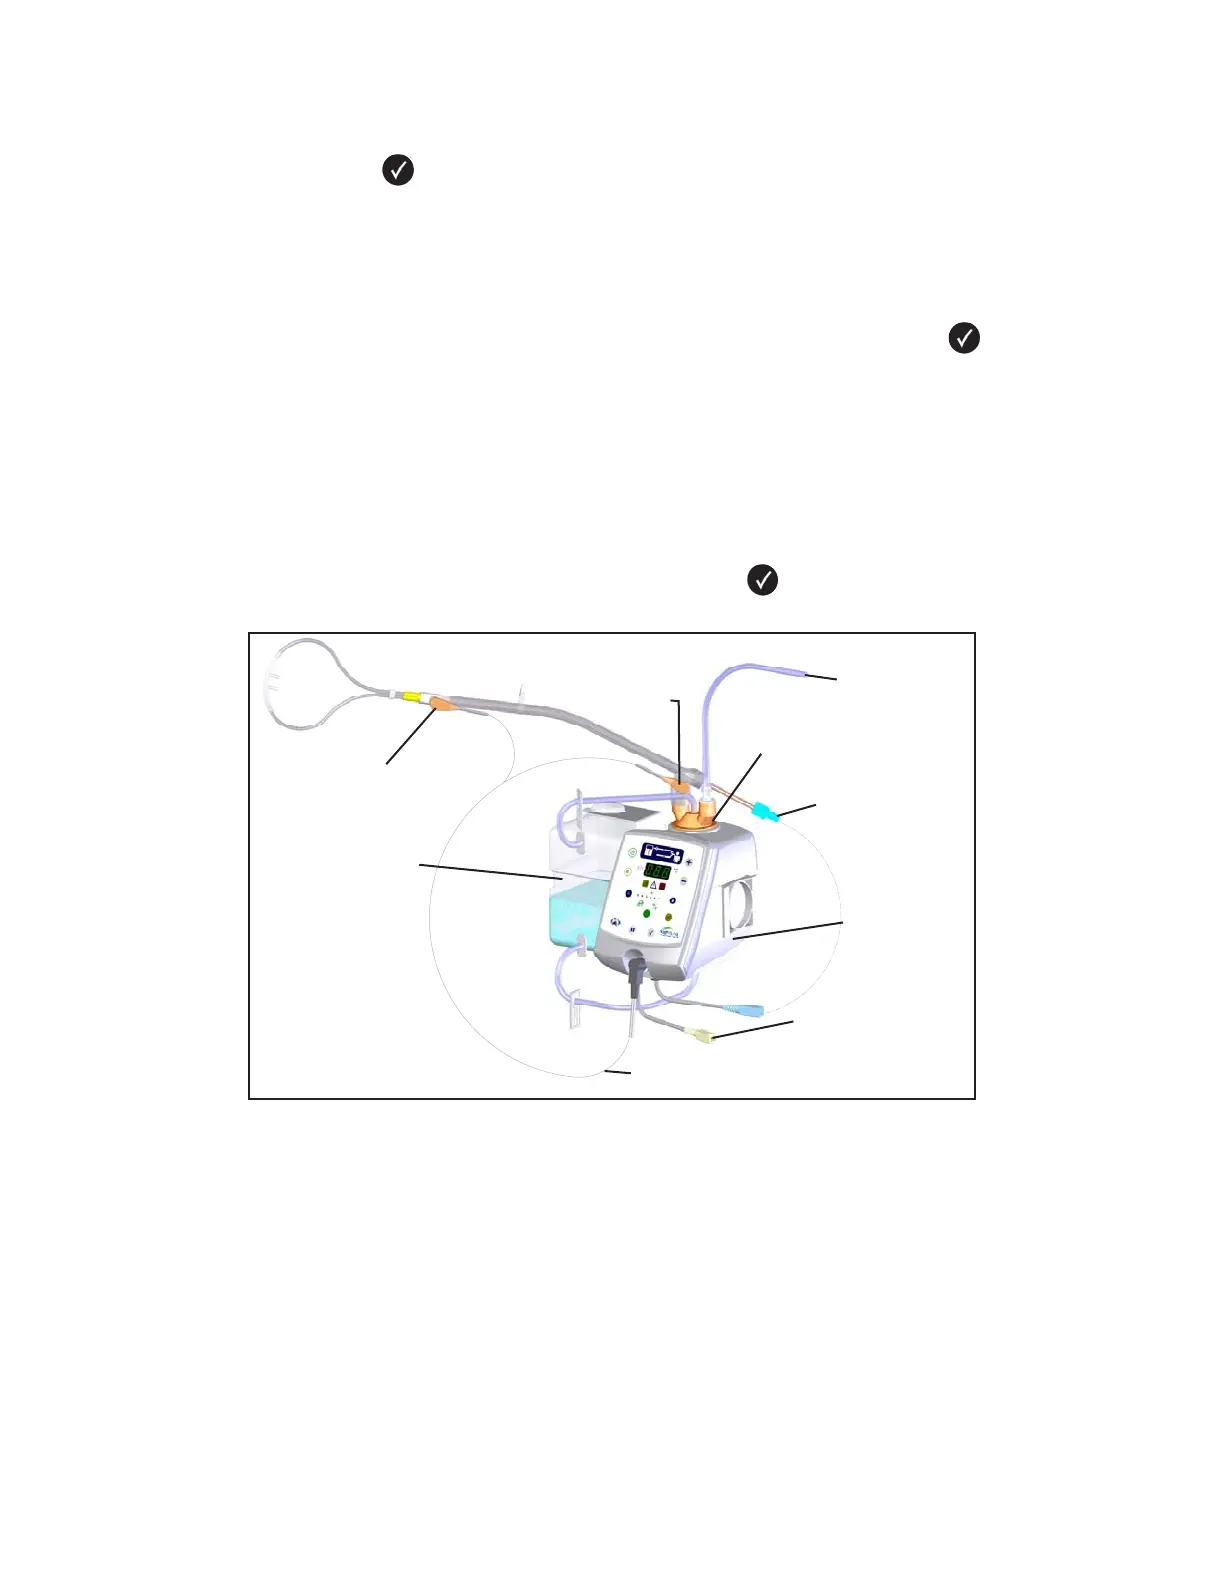
Figure 7: The CONCHATHERM NEPTUNE System for the Comfort-Flo Cannula
PLACE COLUMN
PROBE HERE
CONCHA COLUMN
CONCHA
HEATED HUMIDIFIER
TEMPERATURE PROBE
CONCHA 1650ml
RESERVOIR BOTTLE
PLACE PATIENT
AIRWAY TEMPERATURE
PROBE HERE
HEATED WIRE
INSPIRATORY (BLUE)
HEATED WIRE
EXPIRATORY (YELLOW)
(NOT USED)
FROM REGULATED
OXYGEN SOURCE