4 484 01 3905 04
Specifications subject to change without notice.
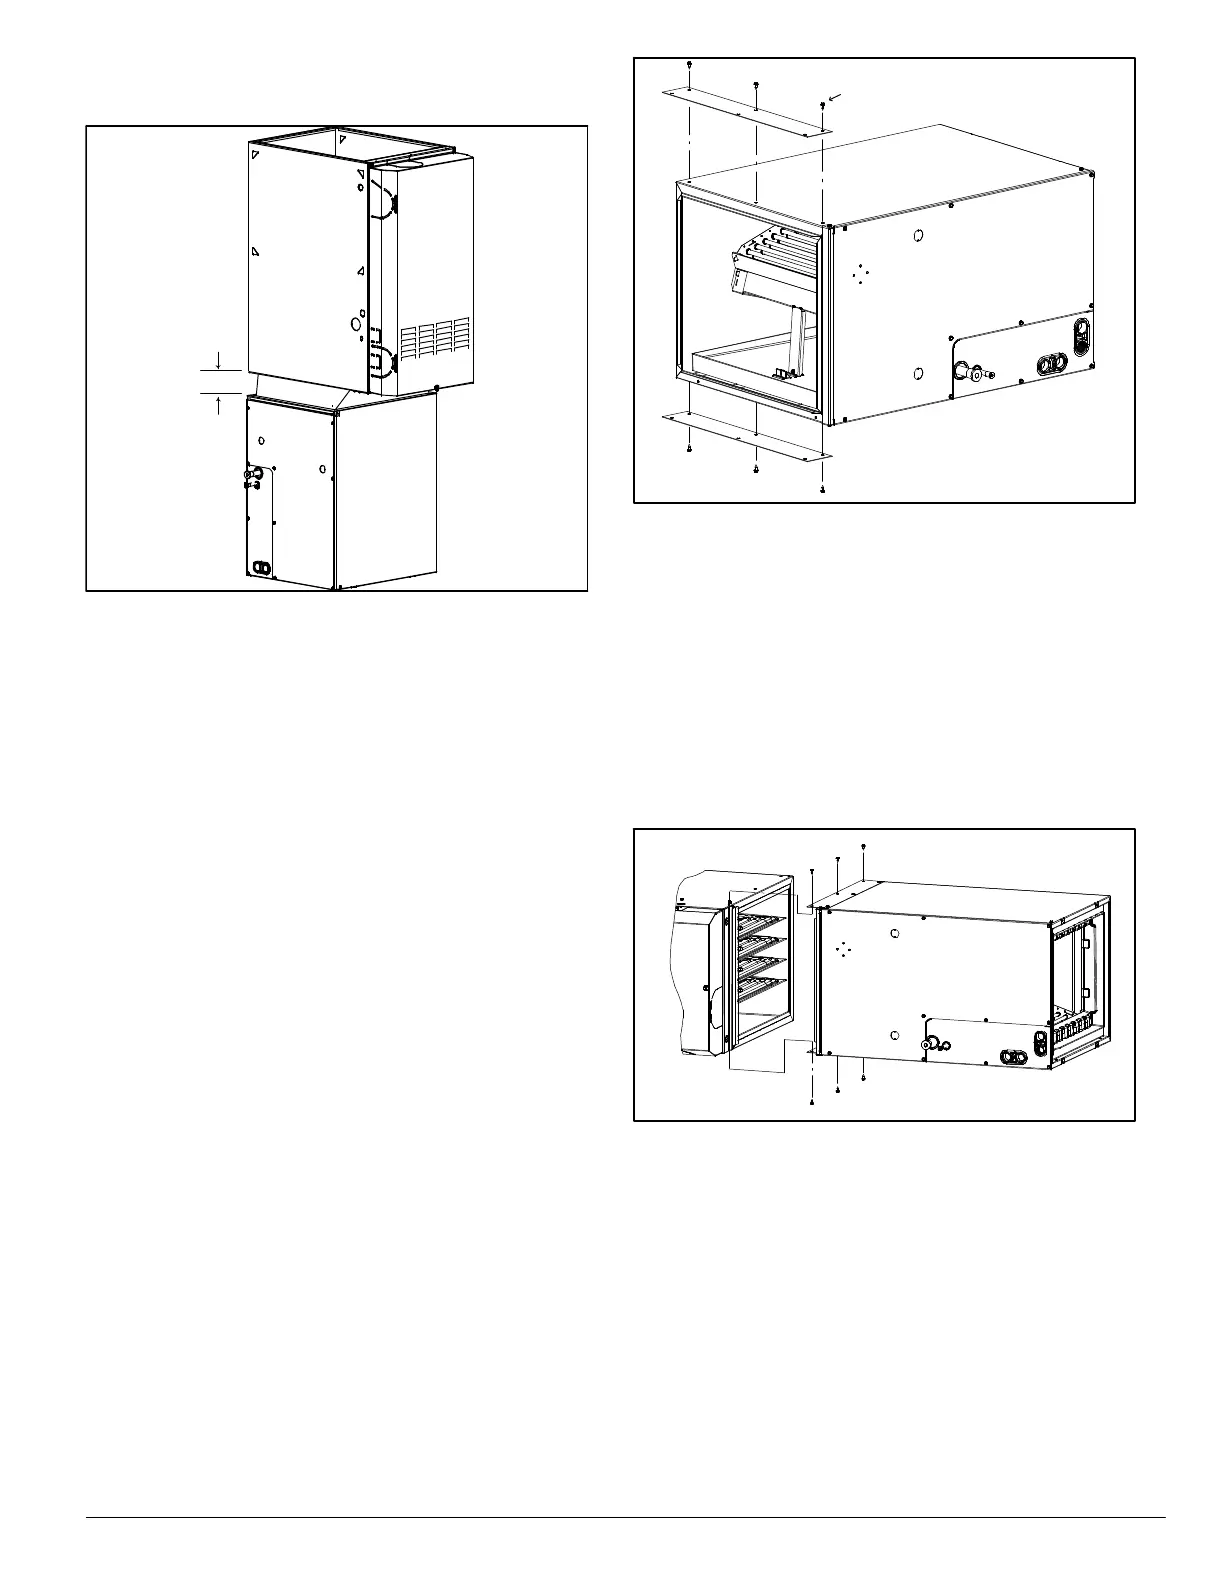
NOTE: In downflow installation with a 4−way multipoise
furnace, break off perforated duct flanges on furnace. See
furnace installation instructions.
4"
A170284
Figure 3 − Downflow Installation with Coil Rotated 905
Horizontal Coil Installation
The unit can be installed on a work platform, secured to roof
truss in attic, suspended from hangers on floor joists in crawl
space, or installed on blocks. It is designed to allow airflow in
either direction, to mate with horizontal−left or horizontal−right
furnace installations. Ensure coil cabinet is level side to side
and front to back. It is allowable to add up to 1/2−in. additional
slope over length and depth of coil cabinet in the direction of
drain pan connection.
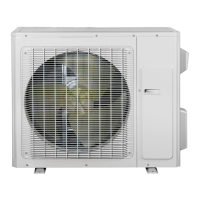
Horizontal Right Installation
1. Use field fabricated attachment plates to secure coil to
furnace. (See Figure 4)
2. Use self−tapping screws to mount attachment plates to
coil casing.
Self-Tapping Screws
A13065
Figure 4 − Horizontal Right Installation
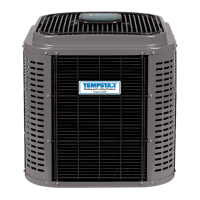
3. Connect furnace snugly against coil casing.
4. Use self−tapping screws to attach furnace. (See
Figure 5)
5. Seal joint between coil casing and furnace to create an
air tight seal using locally approved materials.
6. Use cork tape to create air seal between the undersides
of the pan extension and front of the vertical drain pan as
shown in Figure 6.
7. Install included condensate pan extension and two
corner screws as shown in Figure 7.
8. If coil is wider than furnace, use 4−in minimum transition
and self tapping screws to attach furnace. (See Figure 2)
A13063
Figure 5 − Horizontal Right Installation