4 5
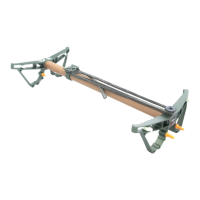
ATTACHING THE CLIMBING STICK TO THE TREE
ATTACHING THE STICK TO THE TREE (RIGHT SIDE OF STICK ATTACHMENT) CONT.
Before attaching the climbing stick to a tree make sure you a wearing an
appropriate fall-rated TETHRD® Saddle or full-body safety harness with
your lineman’s climbing belt fully secured to the tree and connected to your
harness. NEVER ATTEMPT TO CLIMB A TREE WITHOUT A TETHRD® SADDLE
OR FULL-BODY HARNESS AND A LINEMAN’S CLIMBING BELT.
FOR RIGHT SIDE STICK ATTACHMENT:
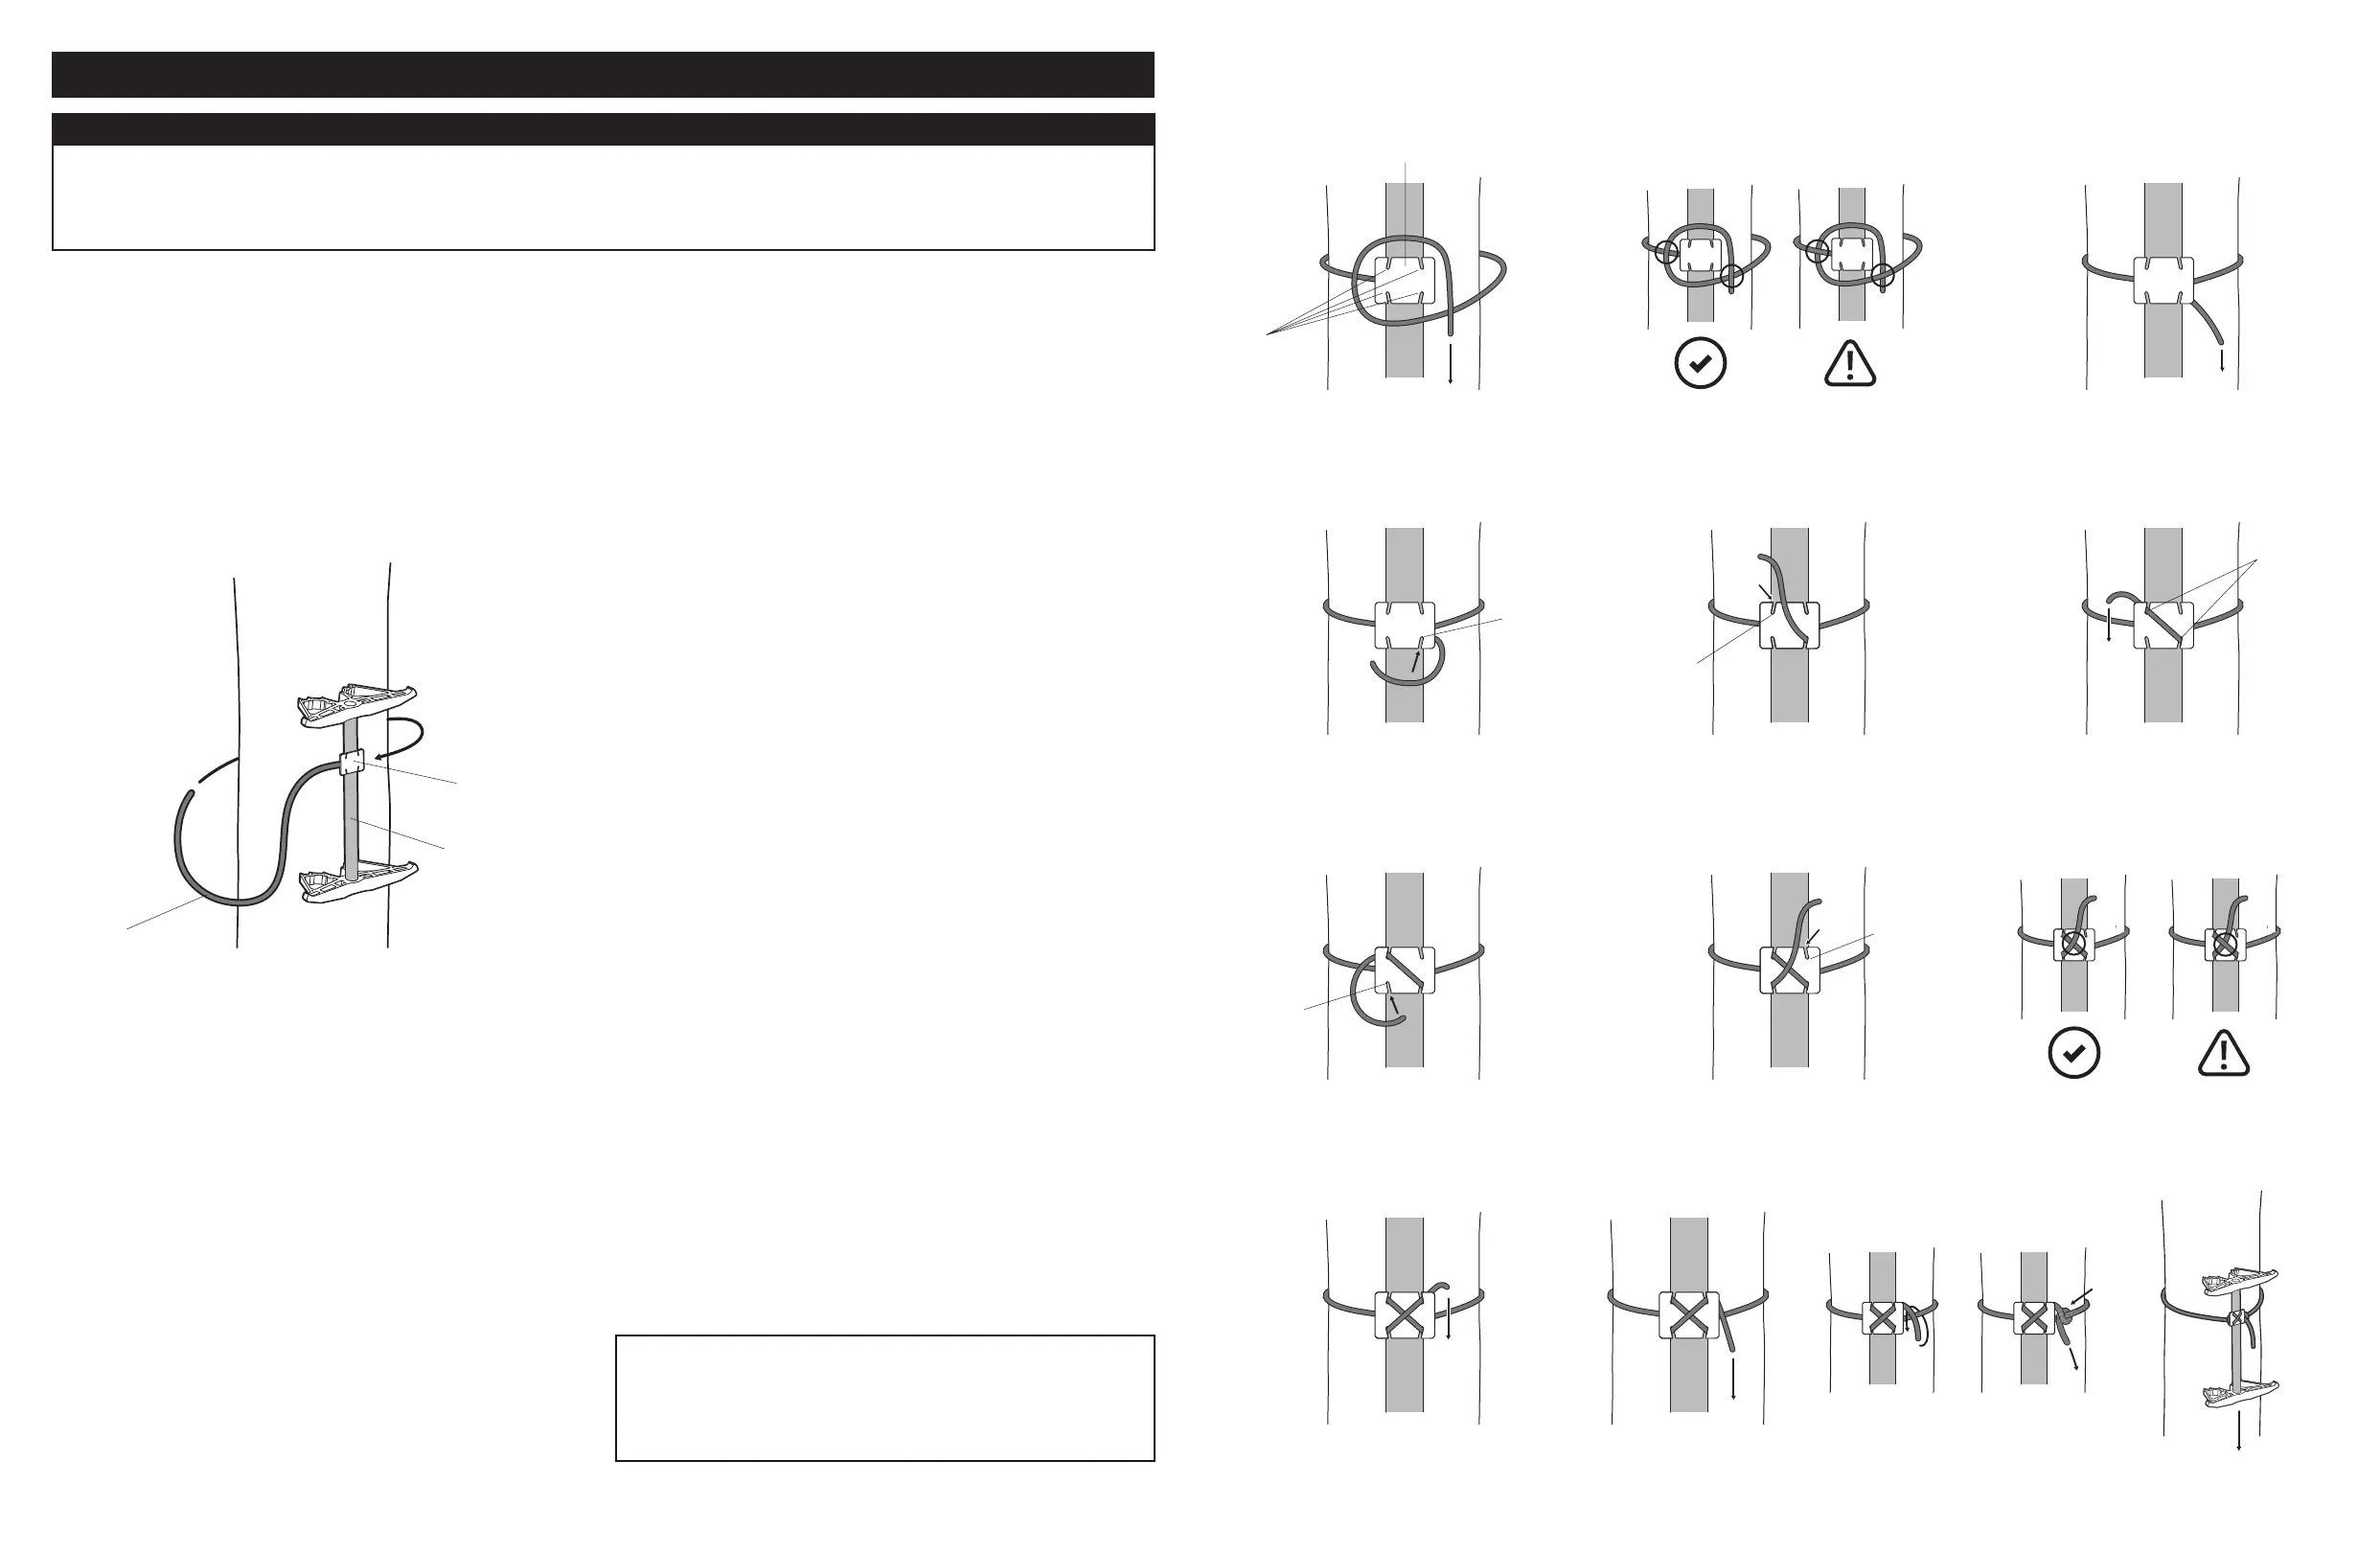
1. While holding the climbing stick (a) against the tree pass the DynaLITE™
Rope (b) around the back side of the tree (Fig. 1.1).
2. Pass the DynaLITE™ Rope below the DynaLOC™ Button (c) and loop it over
the top of the DynaLOC™ Button (Fig. 1.2), ensuring the tag end of the
DynaLITE™ Rope is passed over the top of the DynaLITE™ Rope. (Fig. 1.3).
NEVER PASS THE TAG END OF THE DYNALITE™ ROPE UNDERNEATH
ITSELF DURING THIS STEP (FIG. 1.3)
3. Firmly pull the tag end of the DynaLITE™ Rope down to tighten the loop
around the DynaLOC™ Button. (Fig. 1.4)
4. Feed the DynaLITE™ Rope through the bottom-right notch (d) of the
DynaLOC™ Button (Fig. 1.5).
5. Keeping the DynaLITE™ Rope taut, feed the DynaLITE™ Rope through the
opposite top-left corner notch (d) of the DynaLOC™ Button. (Fig. 1.6)
6. Once the DynaLITE™ Rope has been fully seated in both notches (d)
pull down on the DynaLITE™ Rope to tighten the DynaLITE™ Rope to the
DynaLOC™ Button. (Fig. 1.7). IF THERE IS SLACK IN THE DYNALITE™
ROPE AT THIS POINT REPEAT STEPS 1-5 TO REMOVE SLACK FROM THE
DYNALITE™ ROPE.
7. Feed the DynaLITE™ Rope through the bottom-left notch (d) of the
DynaLOC™ Button (Fig. 1.8).
8. Feed the DynaLITE™ Rope through the opposite top-right notch (d) on
the DynaLOC™ Button (Fig. 1.9), keeping the DynaLITE™ Rope in front of
itself during this process (Fig. 1.10). DO NOT PASS THE TAG END OF THE
DYNALITE™ ROPE UNDERNEATH ITSELF DURING THIS STEP (FIG. 1.10).
9. Once the DynaLITE™ Rope has been fully seated in the remaining notches
pull down rmly on the DynaLITE™ Rope to secure it to the DynaLOC™
Button. (Fig. 1.11, Fig. 1.12) IF THERE IS SLACK IN THE DYNALITE™ ROPE
AT THIS POINT REPEAT ALL PREVIOUS STEPS TO REMOVE SLACK FROM
THE DYNALITE™ ROPE.
10. Secure the tag end of the DynaLITE™ Rope to itself using a half-hitch knot
passed around the under side of itself. (Fig. 1.13).
11. Once the DynaLITE™ Rope has been secured to the DynaLOC™ Button
press down rmly on the climbing stick. You are now ready to climb using
the climbing stick. The DynaLITE™ Rope should form an “X” through all four
notches in the DynaLOC™ Button (Fig. 1.14).
12. When installed properly the climbing stick should be secured TIGHTLY
against the tree and there should be NO SLACK in the DynaLITE™ Rope. IF
THERE IS SLACK IN THE DYNALITE™ ROPE AT THIS POINT REPEAT ALL
PREVIOUS STEPS TO REMOVE SLACK FROM THE DYNALITE™ ROPE.
13. The steps above can be mirrored for left side attachment.
Figure 1.1
Figure 1.2
Figure 1.3
Figure 1.4
For hunting from an elevated position only. Hunting with a saddle is dangerous. Understand and accept the risks involved before participating. You are
responsible for your own actions and decisions. Before using this product, read and understand all instructions and warnings that accompany it and
familiarize yourself with its capabilities and limitations. We recommend that every individual seek qualied instruction before use. Failure to respect any of
these warnings can result in severe injury or death!
WARNING
INSTRUCTIONS - SAFETY WARNING – READ BEFORE USE
If there are any questions, DO NOT use the product
and contact TETHRD® for support:
Phone: (612) 605-7782
Email: hello@tethrdnation.com
Figure 1.5
Figure 1.6
Figure 1.7
Figure 1.8
Figure 1.9
Figure 1.10
Figure 1.12
Figure 1.13 Figure 1.14
Figure 1.11
a
c
b
d
d
c
d
d
d
d
 Loading...