Do you have a question about the The Learning Journey Techno Gears Marble Mania Slingshot 3.0 and is the answer not in the manual?
| Recommended Age | 6 years and up |
|---|---|
| Number of Pieces | 80+ |
| Power Source | Battery |
| Manufacturer | The Learning Journey |
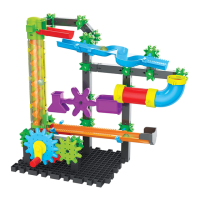
| Product Type | Marble Run |
| Features | Marble run, slingshot feature, gears |
| Educational Focus | STEM, Engineering, Problem Solving |
| Batteries Required | Yes |
| Motorized Components | Yes |
Instructions for carefully separating and counting all toy pieces before assembly.
Guidance on locating the necessary pieces for each assembly step as shown on the page.
Emphasizes the importance of using only the exact part number indicated in the instructions.
Ensures the unit is constructed on a stable, flat surface for proper assembly and function.
Detailed method for connecting part 73 to channel pieces for secure connections.
Guidance for specific placement and direction when using a 10-way connector with a red dot.
Explanation of the red arrow on the compass icon indicating base top edge direction.
Signifies attention needed for direction changes, clip placement, or connection points.
Instructions on how to properly use the removal tool for disassembling the toy.
Recommendation for a minimum of 1 to 2 hours for completing the construction.
Initial assembly of the base plate with vertical support pieces using connectors.
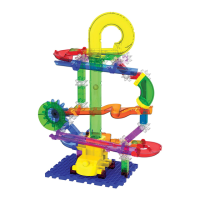
Attaching the primary yellow support structure (part 80) to the assembled base.
Connecting blue and red curved track pieces to the central structure.
Incorporating purple track segments and connectors into the existing assembly.
Attaching the orange, twisted track pieces to the structure using connectors.
Adding the green vertical tube and connecting it to the assembly.
Connecting yellow loop tracks and additional support pieces.
Securing the yellow loop and green curved tracks with specific base connectors.
Connecting the blue straight track segment and final curved pieces.
Attaching the final yellow and red curved track sections to complete the structure.
Alert regarding small parts and marbles, not suitable for children under 3 years.