Quick Start Guide EN
2. Select "Diagnose" and click "OK" to enter the system diagnosis.
3. Enter the "Monitor status" interface, select "DTC s in this ECU" and click "OK".
4. Enter the "Diagnostic Menu" interface, select "Read Code", and click "OK" (you can view Freeze Frame,
I/M Readiness, O2 Sensor Test, On-Board Monitor Test, EVAP Test =EVAP, Vehicle Information=VIN
Others Data flow of the diagnostic module).
5. Enter the "select car Brand" interface to select the car model to be diagnosed.
6. View the fault status after diagnosis.
7. Return to the "Diagnostic menu" interface to select "Erase codes" to clear the fault cod.
1. For non-human quality problems, we accept return in one month without any reason. Within one year,
free warranty.
2. Before replacement, please ensure complete packaging; Before replacement/repair, please call the
service number to get the shipping address.
3. Product warranty starting date is based on the payment date.
Service Line: 1-833-692-2766
Customer Service Email: support@thinkcarus.com
Products tutorial, videos, FAQ and coverage list are available on Thinkcar official website.
1. The tool can be updated via a USB cable.
Note: Make sure that the computer has an Internet connection.
1.1 Please go to http://www.thinkcar.com official website to find the "THINKOBD Updata TOOL"
download tool "Product Updata Tool Setup.exe" to the computer. Unzip and install it on your
computer (compatible with Windows XP, 7, 8, and 10).
1.2 After the installation is complete, connect one end of the USB data cable to the USB port of the
computer, Mini USB port on the other end of the tool.
1.3 First insert the device into the computer identification port, then open the OBD100 upgrade tool, find
the "COMFLG.INI" file to open, and change the "Serial Name" in the file to the computer and device
port "USB-COM name" consistent
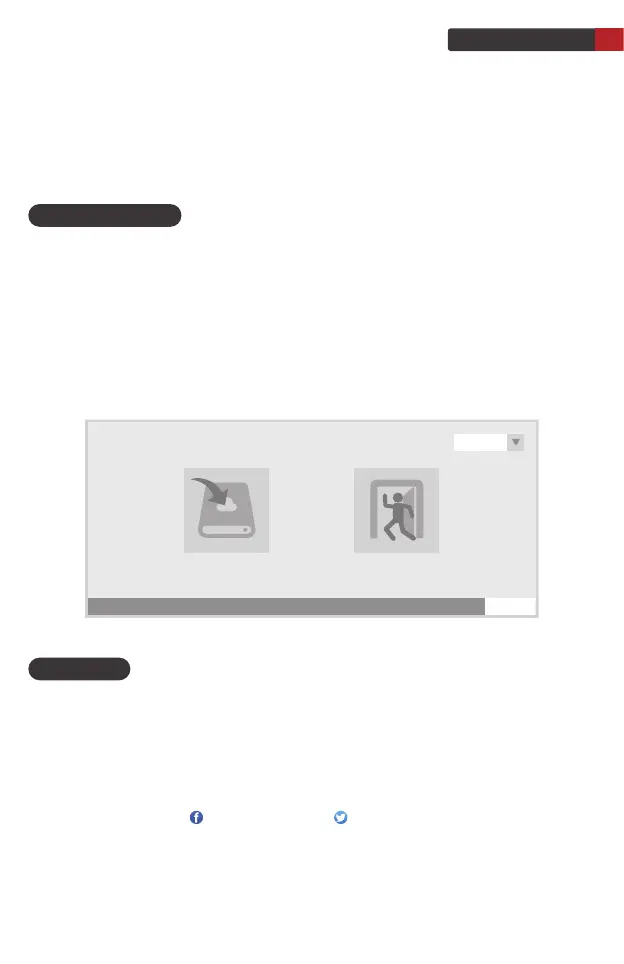
1.4 Finally, open the "Creaderv Plus Upgrade Tool.exe" of the OBD100 installation package file, and
click "start upgrade" to complete the upgrade.
Prerequisite conditions
Warranty Card
Note: This Quick Start Guide is subject to change without written notice.
@thinkcar.official @ObdThinkcar
80%
language
Start Upgrade Exit
English