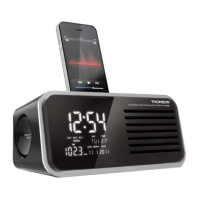
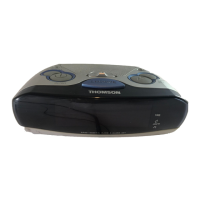
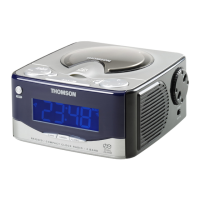
ALARM CLOCK RADIO WITH iPhone/iPod DOCKING STATION
CT400i
POWER SUPPLY
Plug the power cable into a mains socket.
BACK-UP SYSTEM
The back-up system ensures that the clock continues to function even
in the event of a power cut.
• Open the battery compartment on the underside of the unit.
• Insert 2 LR6-type (AA) 1.5 V batteries, ensuring that the polarity
is as indicated.
• Close the battery compartment.
SETTING THE CLOCK AND THE DATE
The radio must be switched off.
• Hold down the TIME SET button for 2 seconds: the hours display
æBTIFT
• Press s TUNING / ADJUST w to set the hours.
• Press TIME SETUPDPOåSNUIFNJOVUFTEJTQMBZæBTIFT
• Press s TUNING / ADJUST w to set the minutes.
• Press TIME SETUPDPOåSNUIFZFBSEJTQMBZæBTIFT4FUUIFZFBS
• Press TIME SETUPDPOåSNUIFNPOUIEJTQMBZæBTIFT4FUUIF
month.
• Press TIME SETUPDPOåSNUIFEBUFEJTQMBZæBTIFT4FUUIF
date.
• Press TIME SETUPDPOåSNUIFTDSFFOTIPXTUIFOPSNBMEJTQMBZ
again.
Note: the short form for the day is set automatically above the date.
MO: MONDAY/TU: TUESDAY/WE: WEDNESDAY/TH: THURSDAY/FR:
FRIDAY/SA: SATURDAY/SU: SUNDAY
Note: the date must be set correctly for AL3 to function properly.
ALARM
The unit functions with 3 alarms, including a WEEKEND mode.
AL 1: 1
st
alarm active every day of the week
AL 2: 2
nd
alarm active every day of the week
AL 3: WEEKEND mode alarm: alarm active during the week and
inactive at weekends.
SETTING THE ALARM AND CHOICE OF ALARM MODE: RADIO/
BUZZER
• Press AL. SELECT / SOURCE: AL1æBTIFT
• Hold down the ALARM SET / AL.MODE button for 2 seconds:
UIFIPVSTEJTQMBZæBTIFT
• Press s TUNING / ADJUST w to set and then ALARM SET /
AL.MODEUPDPOåSNUIFGPMMPXJOHTFUUJOHT)PVSTNJOVUFTBMBSN
mode (radio) (alarm bell) or (iPhone/iPod)/volume from
7 to 20.
• Press ALARM SET / AL.MODEUPDPOåSNBOESFUVSOUPUIF
normal display.
• Then go to the AL2 and AL3 settings (same procedure as AL1).
• Press ALARM SET / AL.MODEUPDPOåSNBOESFUVSOUPUIF
normal display.
Reminder of the alarm time:
• Press SELECT MENU repeatedly: the screen displays each alarm
time for a few seconds and returns to the original display.
ACTIVATING/DEACTIVATING THE ALARM
• Press SELECT MENUSFQFBUFEMZFWFSZUJNFUIFEJTQMBZæBTIFT
AL1 / AL2 / AL3CSJFæZQSFTTALARM SET / AL.MODE to
activate or deactivate the alarm. Repeat the procedure for each
alarm.
Note: the screen displays the indicator AL1, AL2 or AL3 depending on
the mode selected.
"-"3.3&1&"54/00;&
• Press SNOOZE to temporarily interrupt the alarm; it will sound
automatically again after 9 minutes. The SNOOZE indicator is
displayed on the screen.
SWITCHING OFF THE ALARM
• The alarm is programmed to function for 60 minutes.
• Press AL.SELECT / SOURCE or q to turn off the alarm. It will
sound again the next day (after 24 hours).
USE
RADIO
• Press q to switch on the radio and the LCD screen will display
the FM frequency.
• Press s TUNING / ADJUST w to search for the frequency.
The frequency increments are of 0.05 MHz; press and hold for
2 seconds to start an automatic search. The search will stop
automatically when a radio station is tuned into correctly.
• Turn the VOLUME - / +XIFFMUPBEKVTUUIFWPMVNF
• Press q to turn off the radio.
Note: use the wire aerial to improve reception.
.&.03:VQUPSBEJPTUBUJPOT
When the radio is switched-on:
• Select a radio frequency.
• Press 12/MEMORYUIF1EJTQMBZæBTIFT1SFTT12/MEMORY
again to save the radio frequency.
• By repeating this procedure, you can save up to 20 stations.
ACCESSING THE MEMORISED STATIONS
• Switch on the radio.
• Press PRESET/3 : the radio will play the most recently played
station. Press the PRESET/3 button repeatedly to go from
one saved station to another (P01 to P20).
SLEEP FUNCTION
• Switch on the radio.
• Press SLEEP: the screen displays SLEEP.
• Press SLEEP repeatedly to set the duration: 90, 80, 70, 60, 50,
40, 30, 20, 10 minutes.
• The radio switches off automatically at the end of this duration.
Press q to cancel the function.
AUXILIARY FUNCTION
• Press q to switch on the radio: the screen will display the radio
frequency.
• Press AL.SELECT / SOURCE: the screen displays AUX.
• Plug the headphone socket of a peripheral device (Mp3 player,
smartphone, etc.) into the connection plug on the back of the unit
VTJOHBNNEPVCMFKBDLDBCMFOPUQSPWJEFE
• Directly use the controls of the peripheral device.
TEMPERATURE
The room temperature is displayed in °C below the time display.
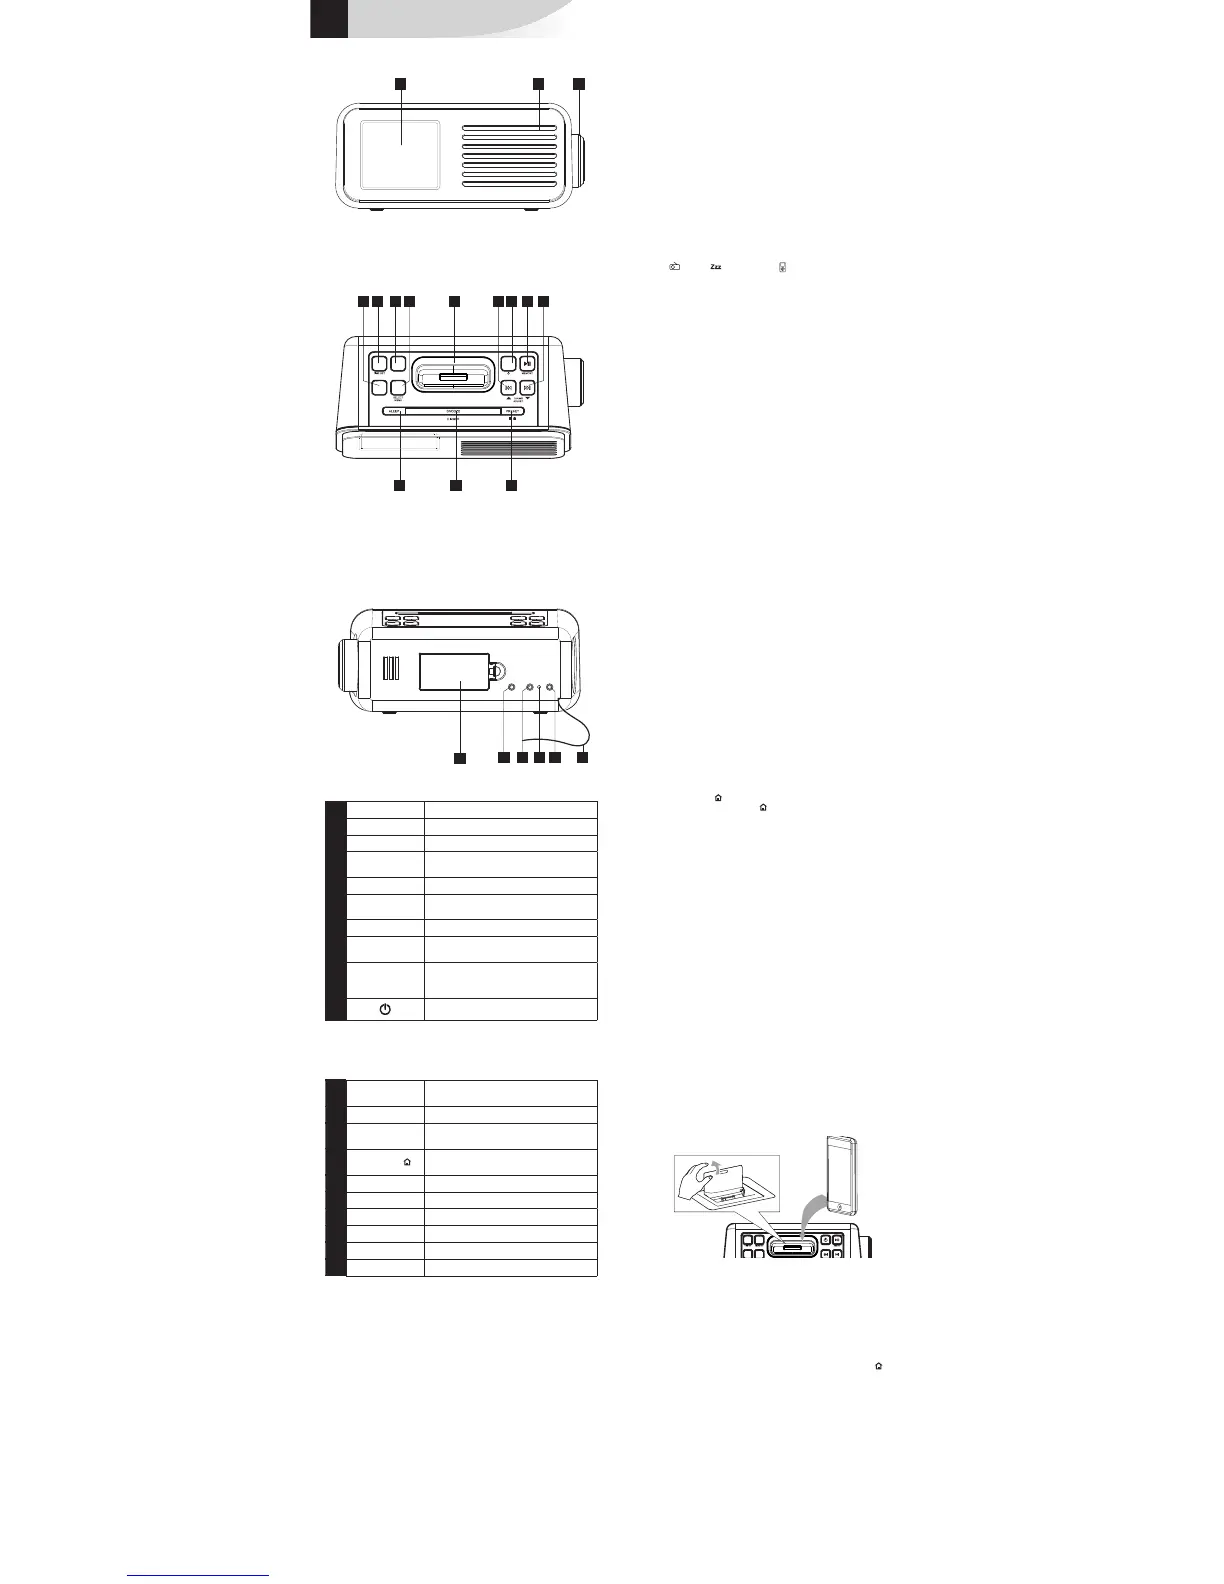
1
12 13
14
5 106 117 94 9
32
16
15
17 18 19 20
ALARM SET
AL. MODE
AL. SELECT
SOURCE
8
1 LCD Screen
2 Loudspeaker
3
VOLUME
Volume setting - / +
4
AL.SELECT /
SOURCE
Select alarm mode / FM / AUX / iPod
5
TIME SET
"EKVTUTUJNFTFUUJOH
6
ALARM SET /
AL.MODE
Sets alarm
7
SELECT MENU
In stand-by mode: Set alarms
8 Connector for iPhone/iPod docking
station.
9
s TUNING /
ADJUST w
7 8
"EKVTUTDMPDLSBEJPGSFRVFODJFT
10
Radio On/Off
11 MEMORY/
12
In radio mode: Manually preset stations
In iPod/iPhone mode: Play Pause
12
SLEEP
Sleep function
13
SNOOZE/
DIMMER
Repeat alarm / Reduce screen brightness
14
PRESET/3
In radio mode: Display preset stations.
In iPod/iPhone mode: Stop
15 Battery compartment
16
PHONES
Headphones socket
17
AUX IN
Input for auxiliary devices
18 Heat sensor
19
DC socket
Mains adaptor connection lead.
20 Wire antenna
IPOD/IPHONE
iPod/iPhone compatible
All the iPod and iPhone models with Apple 30-pin connector are
compatible except the following 2 models:
qJ1PETIVGæFJ1PE(
Listening on the iPod/iPhone:
• Remove the cover on the top panel.
• Connect the iPod/iPhone to the docking station.
• Press q to switch on the device.
• Press AL.SELECT / SOURCE to switch to iPod/iPhone mode; the
tracks are played automatically.
• To pause or resume playing, press 12.
• To access a track when browsing an album, press 7 or 8.
• To forward or rewind while playing: press and hold 7 or 8, then
release to continue normal playing.
• To stop the music currently being played, press PRESET/3 .
• To return to the previous menu, browse the menu bar of the iPod/
iPhone and press SELECT/MENU for 2 seconds.
• Use 7 or 8 to go through the iPod/iPhone menu, press
SELECT/MENU to validate and start playing.
Charging the iPod/iPhone
When the device is plugged in, the iPod/iPhone placed on the docking
station begins to charge automatically.
 Loading...