7
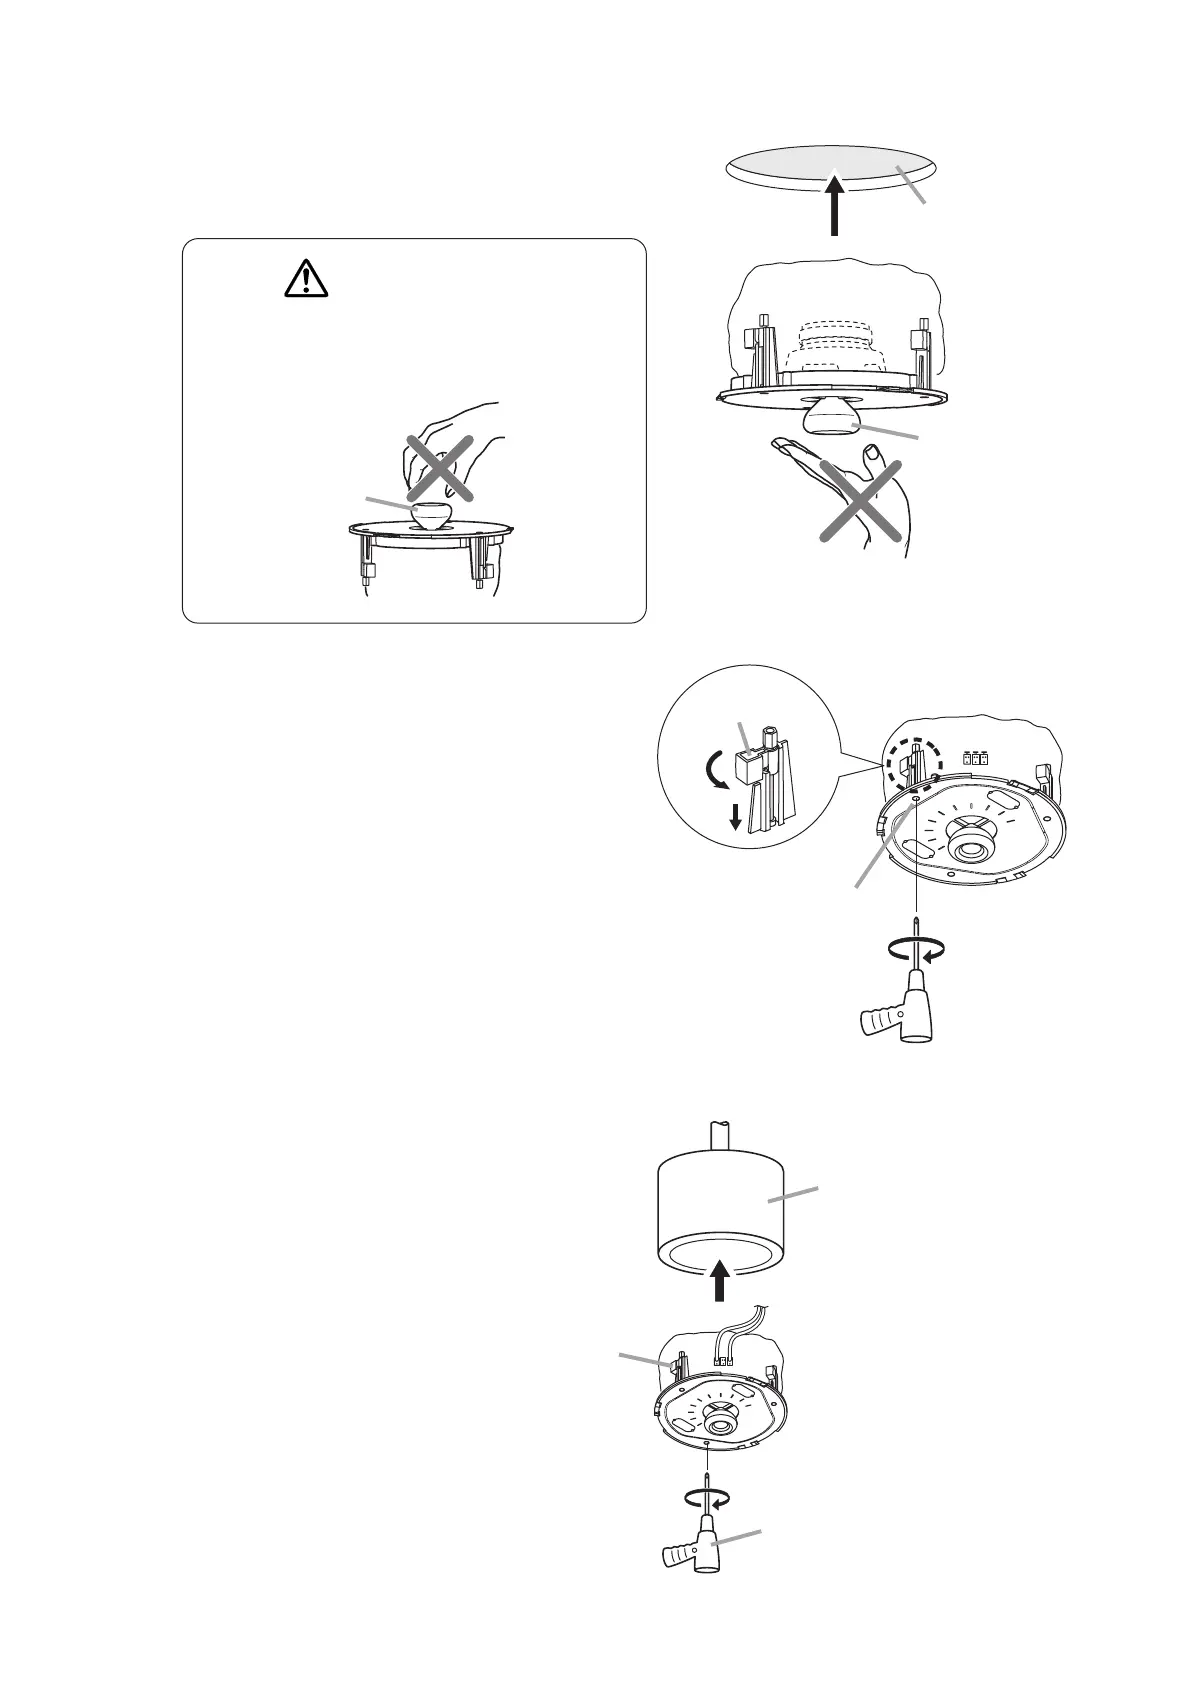
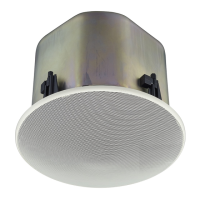
4-1. Flush ceiling mounting (in the cases except for Step 2-5)
Insert the speaker through the mounting hole till it
contacts the ceiling panel. While doing so, avoid
directly touching the speaker's diaphragm and
diffuser section.
WARNING
Never grab the diffuser section as a hand hold.
The speaker could fall due to damage,
resulting in possible personal injury.
Rotate and tighten the mounting tab axis screws
(3 places) on the unit clockwise to their full stop
in order to grip the ceiling panel with the
mounting tabs.
Use an electric screwdriver to tighten.
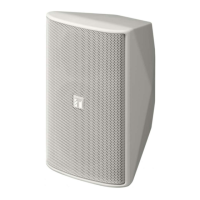
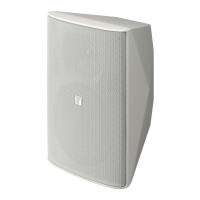
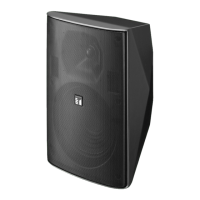
4-2. Exposed mounting (in the case of Step 2-5)
Use the optional HY-BC1 Back Can.
To mount, follow Step 4-1.
the speaker cable.