■
東日シグナル式トルクレンチ
QSP・QSP
−
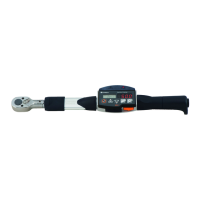
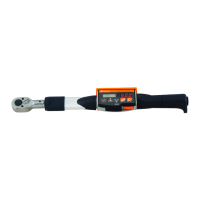
MH・CSP・CSP
−
MH
7
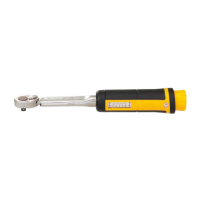
QSP3・QSP4・QSP
①トルクの調整を行ってください。
トルク調整の仕方については、前項を
ご参照ください。
(トルク指定されて購入された場合はト
ルクセット表示値をご確認の上お使い
ください。
)
②ソケットを角ドライブに取り付ける。
③ソケットをボルト又はナットに勘合さ
せる。
④トルクレンチを右に回して締付けを行
う。
⑤カチンと音がしたら締付け完了です。
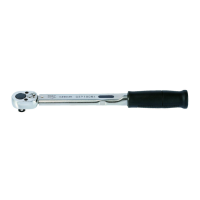
CSP3・CSP4・CSP
①トルクの調整を行ってください。
トルク調整の仕方については、前項を
ご参照ください。
(トルク指定されて購入された場合はト
ルクセット表示値をご確認の上お使い
ください。)
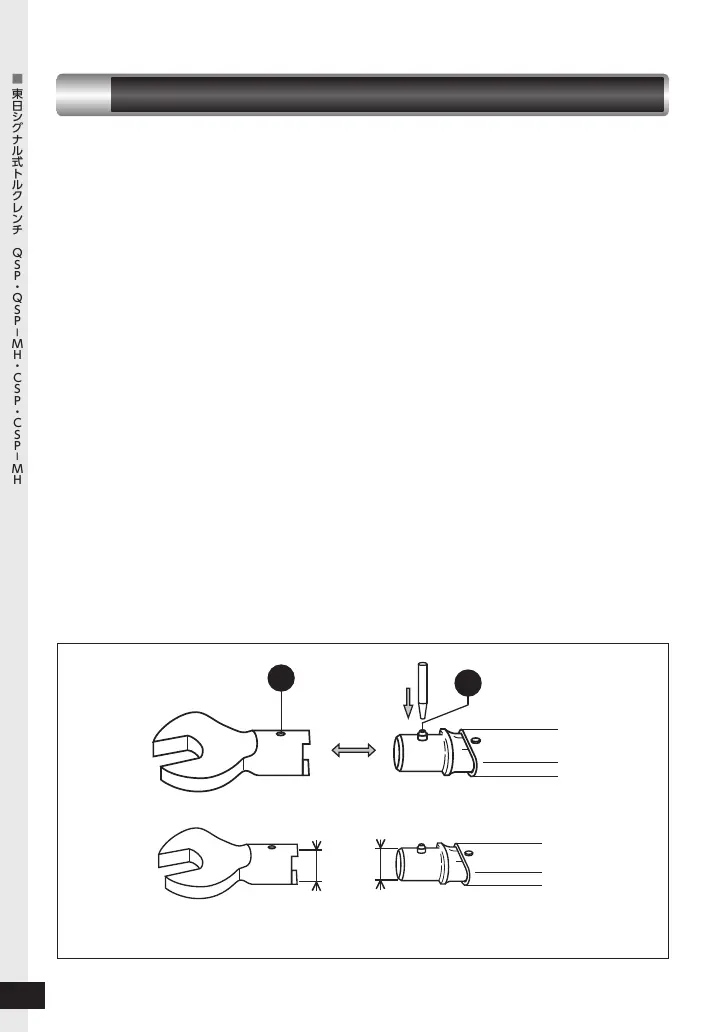
②交換ヘッドをトルクレンチ本体に取り
付ける。(図6)
交換ヘッドは東日専用です。カタログ
等からお選びください。
③交換ヘッドをボルト又はナットに勘合
させる。
④
トルクレンチを右に回して締付けを行う。
⑤カチンと音がしたら締付け完了です。
For QSP3, QSP4, QSP model
① Set the proper torque. Refer to "How to
set the torque."
② Insert the square drive into a socket,
making sure it is the proper size for the
bolt or nut being tightened.
③ Place the socket onto the bolt head or
nut.
④ Turn the wrench colckwise to fasten the
bolt or nut.
⑤ Tightening is complete when a click is
heard or felt.
For CSP3, CSP4, CSP model
① Set the proper torque. Refer to "How to
set the torque."
② Plece interchangeable head over the
round root end of the wrench, until the
spring pin snaps into place.
③ Place the open part of the head onto
the bolt or nut to be tightened.
④ Turn the wrench clockwise to fasten the
bolt or nut.
⑤ Tightening is complete when a click is
heard or felt.
A
B
着脱方向
On&Off
15Dのトルクレンチには15Dの交換ヘッドが接続できます。
15D=φ15
例)
SH15D×19
e.g.)
例)
CSP100N3×15D
e.g.)
Headandwrenchmodelnamesincludethediametersizesso
headscanbematchedtowrenchesthatwillacceptthoseheads.
図6
Fig.6
6
使用方法
Usage
シグナル式トルクQSP3他-取説.indd7シグナル式トルクQSP3他-取説.indd7 2016/11/1518:44:552016/11/1518:44:55
 Loading...