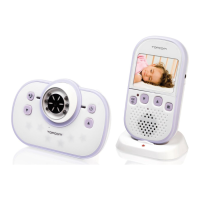
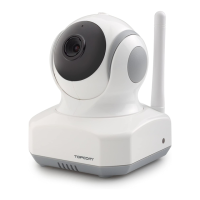
Topcom KS-4241 - Babyviewer 4100 - Annex
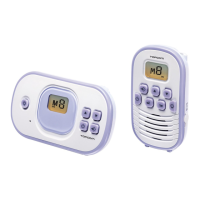
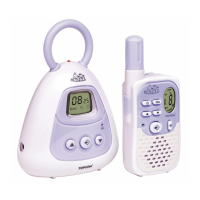
UK - No communication - Registration of the parent unit on the baby unit.
In case there is no communication between parent- and baby unit, it is possible that the parent unit is not registratered on the baby unit.
Follow the next registration procedure to solve the problem.
1. Press and hold the power button of baby unit to switch the baby unit on.
2. Slide switch
on the parent unit to switch on ( I )
3. Press and hold the up buttons on both parent-
and baby unit at the same time.
4. The red LED
on the parent unit will blink, while the green LED on the baby unit green is also blinking.
5. Wait for few seconds to estalish the link. The registration procedure is confirmed when the green LED will light continuously.
ES - Sin comunicación – Registro de la unidad paterna en la unidad para bebés.
Si no se produce comunicación entre la unidad paterna y la del bebé, es posible que la unidad paterna no esté registrada en la unidad
del bebé. Siga este proceso de registro para solucionar el problema.
1. Presione y mantenga el botón en la unidad del bebé para encenderla.
2. Deslice el interruptor de la unidad paterna a (I).
3. Presione y mantenga los botones arriba de la unidad paterna
y la del bebé simultáneamente.
4. El LED rojo de la unidad paterna parpadeará, mientras el LED verde de la unidad del bebé también parpadea.
5. Espere unos segundos para que se establezca la conexión. El proceso de registro se confirmará cuando el LED verde quede
fijo.
NL - Geen communicatie – Registratie van de oudereenheid op de babyeenheid.
Indien er geen communicatie is tussen de ouder- en de babyeenheid, is het mogelijk dat de oudereenheid niet is geregistreerd op de
babyeenheid. Volg de volgende registratieprocedure op om het probleem op te lossen.
1. Druk op de power knop en houd deze knop ingedrukt om de babyeenheid in te schakelen.
2. Schuif aan de schakelaar
op de oudereenheid om deze in te schakelen (I).
3. Druk op de omhoog knoppen op zowel de oudereenheid
als de babyeenheid en houd deze tegelijk ingedrukt.
4. Het rode LED-lampje
op de oudereenheid zal gaan knipperen, net als het groene LED-lampje op de babyeenheid .
5. Wacht een aantal seconden tot de verbinding in stand is gebracht. De registratieprocedure is bevestigd als het groene LED-lampje
voortdurend brandt.
FR - Pas de communication - Inscription de l'unité parent sur l'unité bébé.
Au cas où la communication ne se fait pas entre l'unité parent et l'unité bébé, il est possible que l'unité parent ne soit pas inscrite sur l'unité
bébé. Suivez la procédure d'inscription suivante pour résoudre le problème.
1. Maintenez le bouton d'alimentation enfoncé sur l'unité bébé pour mettre l'unité bébé en marche.
2. Faites coulisser l'interrupteur
de l'unité parent pour la mettre en marche (I).
3. Maintenez enfoncés les boutons à la fois sur l'unité parent- et sur l'unité bébé au même moment.
4. La DEL rouge
sur l'unité parent clignotera et la DEL verte sur l'unité bébé se mettra également à clignoter.
5. Attendez quelques secondes que le lien soit établi. La procédure d'inscription est confirmée lorsque la DEL verte reste allumée.
VOX
1
2
3
4
5
6
7
8
9
10
13
14
15
16
A
1
0
17
18
19
20
21
22
23
24
25
26
29
30
31
28
27
B
12
11
+
1 x AAA
5
19
4
19
4
29
5
29
6
4