EasyManuals Logo

Topcon AT-B4 User Manual

Topcon AT-B4
33 pages
To Next Page IconTo Next Page
To Previous Page IconTo Previous Page
Page #23 background imageLoading...
Page #23 background image
7. CHECKS AND ADJUSTMENTS
20
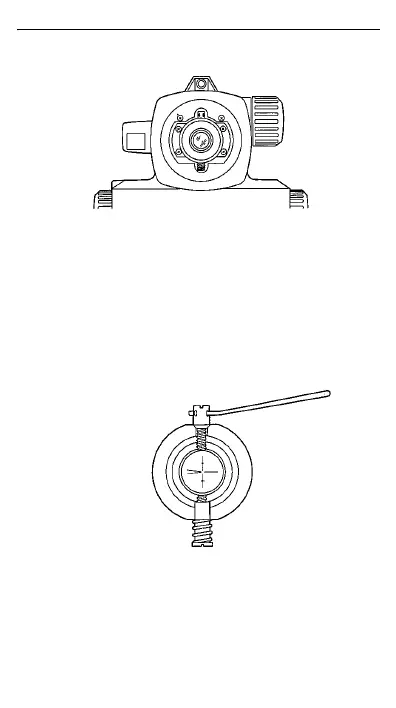
3 Unscrew and remove the adjusting screw cover.
4 Use the adjusting pin to eliminate the difference
between b2’ and b2. (See "8. STANDARD
EQUIPMENT".) In the example shown in step 2
b2’ is larger than b2. The horizontal line needs to
be lowered. To lower the horizontal line, carefully
loosen the adjusting screw by a small amount
using the adjusting pin. To raise the horizontal
line, tighten the adjusting screw.
5 Repeat steps 1 and 2 of the adjustment
procedure until the difference between b2’ and b2 is
small.

Other manuals for Topcon AT-B4

Questions and Answers:

Question and Answer IconNeed help?

Do you have a question about the Topcon AT-B4 and is the answer not in the manual?

Topcon AT-B4 Specifications

General IconGeneral
BrandTopcon
ModelAT-B4
CategoryTools
LanguageEnglish

Related product manuals