InstallingtheEngine(continued)
9.Securethedriveshafttothehubswiththebolts,washers,andangenuts.
Tightenthedriveshaftmountingfastenersto34to37N·m(25to27.5ft-lb).
10.Securetheenginegroundconnector,wireharnessground,andnegative
batterycabletotheenginewiththescrewandlockwasher(Figure12).Coat
theringterminalswithBatteryTerminalProtector;refertoSpecialTools
(page2–12).
11.Connectthemulti-pinwireharnessconnectortotheengine.
12.Connectthepositivebatterycabletothestartermotorstud.
13.Removeanycapsorplugsandconnectthefuelevaporativecontrolhoseto
theintakemanifoldwithahoseclamp.
14.Removeanycapsorplugsandconnectthefuelsupplyhosetothefuelpump
withahoseclamp.
15.Installthe2fastenerssecuringthemufertothemufermount.
16.Installthetopgrill.
17.Connectthenegativebatterycabletothenegativebatteryterminal.Tighten
thenutthatsecuresthebatterycableto14to20N∙m(10to15ft-lb).Install
thebatterycover.
18.Checktheengineoillevelandadjustasnecessary.
19.Startandoperatetheenginecontrolsbeforereturningthemachinetoservice.
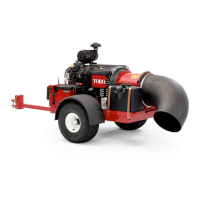
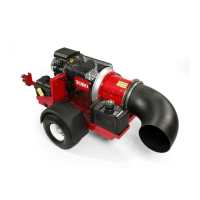
ProForce®DebrisBlower
Page4–15
Engine:ServiceandRepairs
18237SLRevA
 Loading...