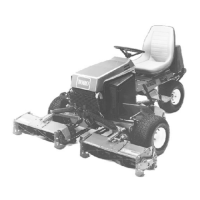
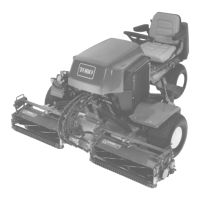
Hand Brake Adjustment (Fig. 2)
(Reelmaster 216, S/N 20001 & Up, Reelmaster 216-D)
1. Jack up front of machine and support under frame
with jack stands. Remove both front wheels.
2. Make sure brake is in OFF position.
3. Loosen jam nut on clevis. Remove cotter pin securing
of clevis to lower brake lever. Rotate clevis, one turn at
a time, to decrease distance between upper and lower
brake levers.
4. Install clevis to lower brake lever and tighten jam nut.
Repeat procedure on opposite side of machine.
5. Check brake adjustment and adjust again if
necessary.
Figure 2
2
1
6. Install wheels and tighten wheel nuts evenly in a
1. Lower brake lever
crossing pattern to a torque of 45 to 65 ft-lb.
2. Clevis
7. After any brake adjustment, operate vehicle at low
speed (one MPH or less) and check that brakes engage
equally on both wheels. Adjust again as necessary.
Steering Column Adjustment (Fig. 3)
1. Unlatch and raise hood.
2. Remove capscrew securing steering column to frame
bracket.
3. Adjust steering column to desired operating position
and install capscrew. Do not use top set of mounting
holes in frame bracket.
Figure 3
1. Steering column
2. Frame bracket
Adjustments Page 7 - 4 Reelmaster
®
216/216-D

 Loading...


