41
8
40
42
43
46
45
Figure 42
14. Properly orient the end cap (Item 45) and housing
(Item 8). Align the O-rings (Item 44) with the mating
holes in the housing.
15. Press bearing (Item 42) into end cap leaving 3/32 to
1/8 inch protruding beyond face. The valve plate
(Item 40) pilots on this bearing.
16. Insert locating pin (Item 41) into end cap. Lubricate
the slotted side of the pump valve plate (Item 40) and
slip it over the pin and protruding bearing.
17. Place the gasket (Item 42) on housing (Item 8) then
install end cap and valve plate. Hold the valve plate so
it does not drop off during assembly.
18. Install four (4) screws (Item 46) and tighten alter-
nately until the end cap and housing are pulled com-
pletely together. Torque to 27-37 ft. lbs. Check for proper
internal assembly by slowly rotating pump and control
shafts while tightening these screws.
19. The remaining components (charge pump, charge
relief valve, seals, etc.) can now be assembled de-
scribed on previous pages.
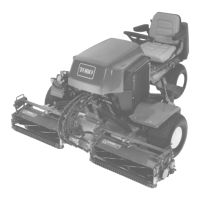
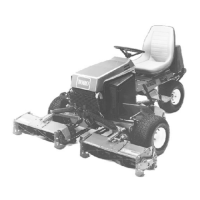
Reelmaster
®
216/216-D Page 5 - 39 Repairs
 Loading...