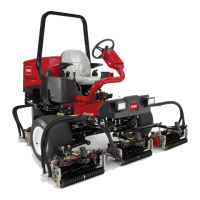
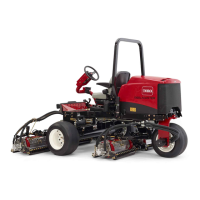
Reelmaster 3550--D
DPA Cutting Units
Page 7 -- 19
Bedknife Grinding
Since there can be variations in the mounting surface of
the bedbar, a new bedknife will not be perfectly flat after
it is installed to the bedbar. Because of this, it is neces-
sary to grind a new bedknife after installing it to the bed-
bar. Follow the existing angle that was ground into the
bedknife and grind only enough to make sure the top
surface of the bedknife is true (Fig. 24).
NOTE: When grinding the bedknife, be careful to not
overheat the bedknife. Remove small amounts of mate-
rial with each pass of the grinder. Also, clean and dress
grinding stone often during the grinding process.
1. Use Toro General Service Training Book, Reel Mow-
er Basics (part no. 09168SL) and grinder manufactur-
er’s instructions for bedknife grinding information.
Bedknife Grinding Specifications (see Fig. 24)
Front Angle (all bedknife types) 5
o
Relief Angle (most bedknife
types)
5
o
Relief Angle (22” Low cut
EdgeMax)
15
o
Minimum bedknife lip height (all
bedknife types)
0.190” (4.8 mm)
2. After grinding bedknife, check lead--in chamfer on
bedknife (see Cutting Unit Operator’s Manual). Regrind
bedknife lead--in chamfer if necessary.
3. After bedknife grinding is complete, install bedbar to
cutting unit (see Cutting Unit Operator’s Manual).
Figure 23
124 635
# TOR510880
Figure 24
Relief Angle
Front Angle
Top Fa ce
Front
Face
Remove
Burr
Bedknife
Lip
Height

 Loading...


