59
3-13.Installation work
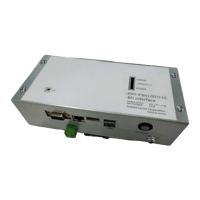
Installs the main unit. For the installation method, refer to the installation manual that came with the product.
3-14.Trial operation
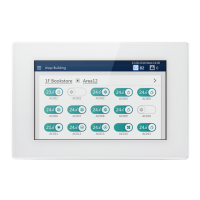
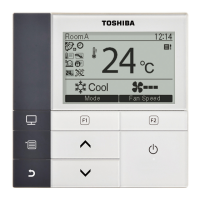
(1) Confirm that the settings are reflected on the TouchScreenController(CT256series) screen normally by switching ON/OFF,
changing the set temperature, and changing the Mode from the remote control of each air conditioner.
(2) From the TouchScreenController(CT256series) screen, switch ON/OFF, change the set temperature, and change the
Mode and confirm that the air conditioners operate normally.
[Initialize settings and create new]
5 Tap [5-(1)]
The automatic registration settings start (takes a maximum of
about 10 minutes).
Refer to <Indoor unit automatic registration selection items>
below, for a detailed description.
[Add, change without initializing
settings (for expansion, relocation)]
<Indoor unit automatic registration selection items>
Item Content
Initialize settings and create new
• Initialize settings and create a setting file based on connection information.
• All items such as indoor unit names and area information are deleted.
* All of the following items are initialized.
• Schedule settings
• Check Code history
• Graph date
• Layout Date
Add, change without initializing settings (for
expansion, relocation)
• Change the setting file based on connection information without initializing
the setting file.
• The names for newly added indoor units are configured automatically.
• Items such as indoor unit names and area information are retained.
• Items that are not included in the newly acquired information are deleted from
the setting file.
* If there are many connections, the schedule file may disappear after setting
the connection. Please refrain from setting the schedule.
* When using the layout display function, it is necessary to rearrange the
added or changed indoor units on the layout screen.
 Loading...