25EN 25EN
Disc
Management
Recording
PlaybackIntroduction Connections
Basic Setup
Editing Function Setup
Others
CLOCK SETTING
SE-R0265
OPEN/
CLOSE
INPUT
SELECT
HDMI
.@/: ABC
GHI
PQRS TUV
SPACE
SETUP DISPLAY AUDIO
TOP MENU
CLEAR RETURN
MENU/LIST
WXYZ
JKL MNO
DEF
ENTER
SKIP REV
PLAY
REC MODE ZOOMRECREPEAT
PAU S E
TIME SLIP
1.3x / 0.8x PLAY
INSTANT SKIP
STOP
FWD SKIP
TIMER
PROG.
SATELLITE
LINK
.@/: ABC
GHI
PQRS TUV WXYZ
JKL MNO
DEF
SETUP
ENTER
1
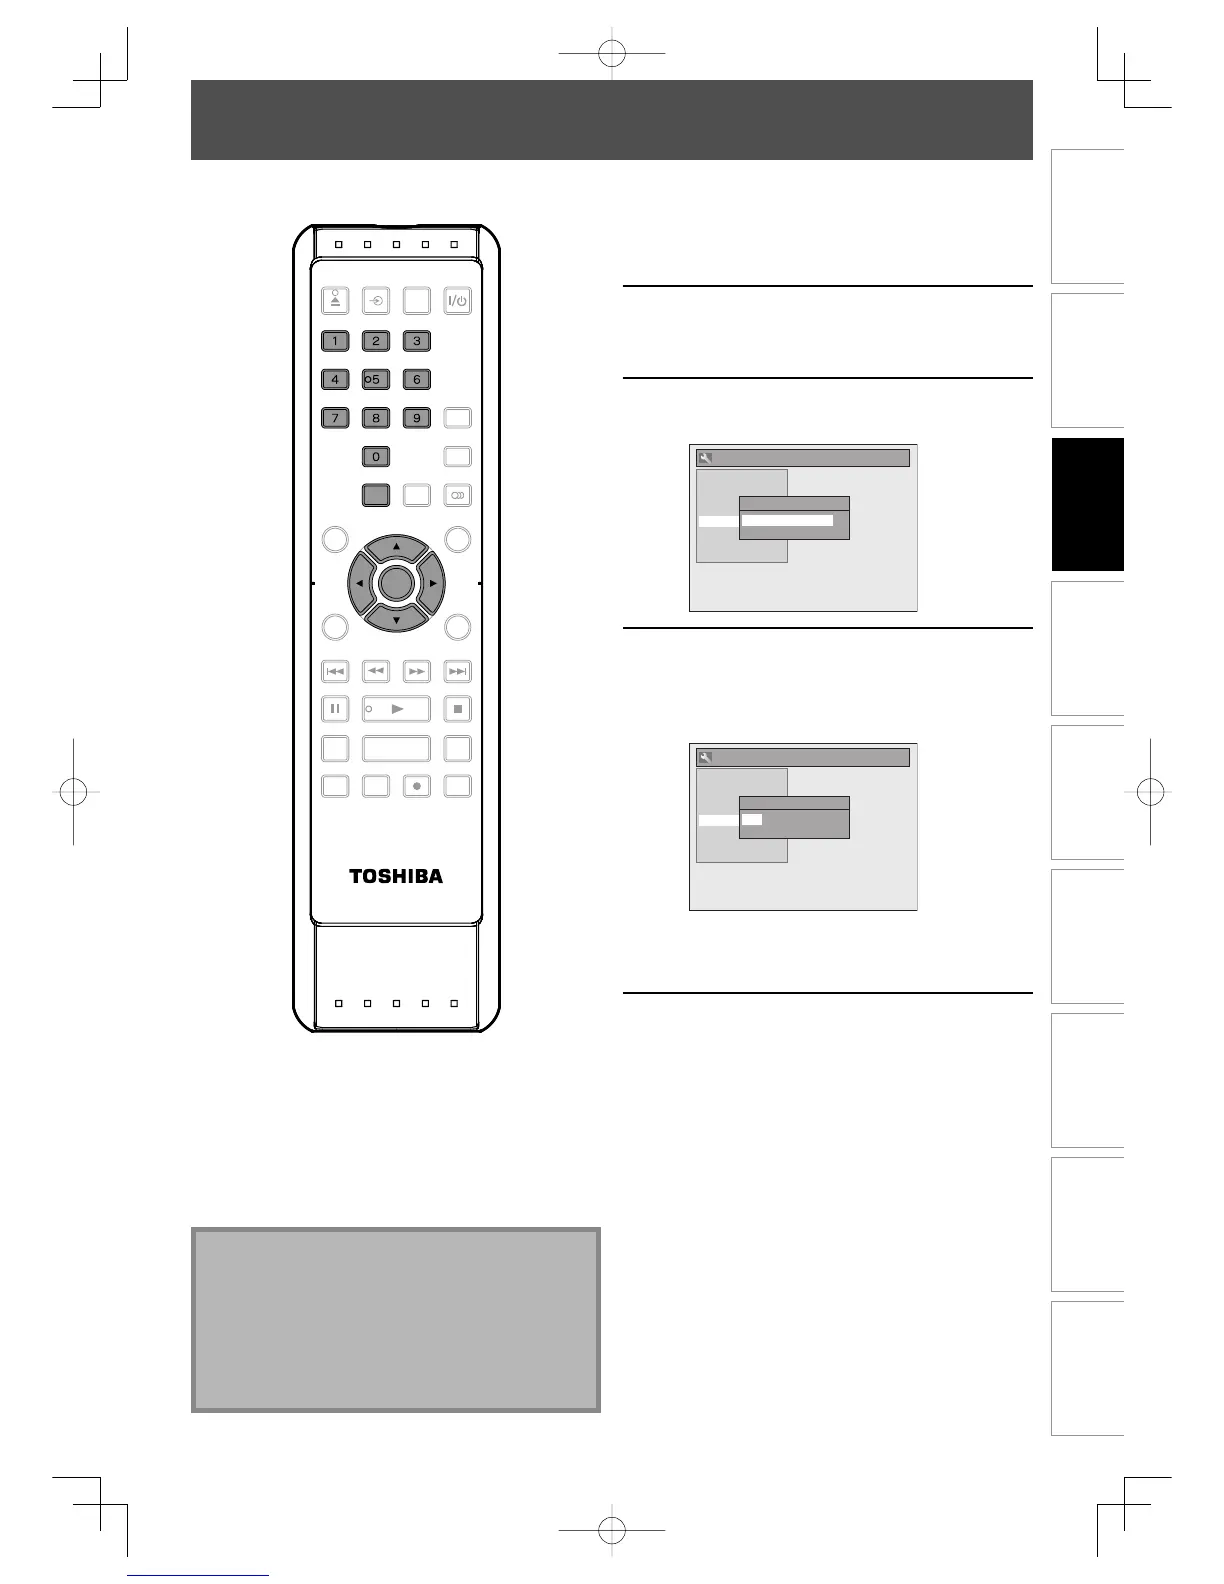
Press [SETUP] and use [K / L] to
select “General Setting”, then press
[ENTER].
2
Use [K / L] to select “Clock”, then
press [ENTER].
3
Use [K / L] to select calendar or time,
then press [ENTER].
General Setting
Playback
Display
Video
Recording
Clock
DivX
HDMI
Reset All
Clock Setting
JAN / 01 / 2007 ( MON )
12 : 00 AM
4
Use [{ / B] to select an item to set,
and use [K / L] to select the contents
to suit your preference, then press
[ENTER].
General Setting
Playback
Display
Video
Recording
Clock
DivX
HDMI
Reset All
Clock Setting
JAN / 01 / 2007 ( MON )
12 : 00 AM
Your setting will be activated.
The clock start counting when you press
[ENTER].
5
Press [SETUP] to exit.
Note
• Your clock setting will be lost if either there is a power
failure or this unit has been unplugged for more than
30 seconds.
• For setting the day, year, hour and minute,
[the Number buttons] can also be used.
• You can set the built-in calendar from the year 2007
up to 2056.
E7E7AUDEN.indb25E7E7AUDEN.indb25 2007/01/2919:03:502007/01/2919:03:50

 Loading...