4 SCAN FUNCTIONS
106 Scan Settings
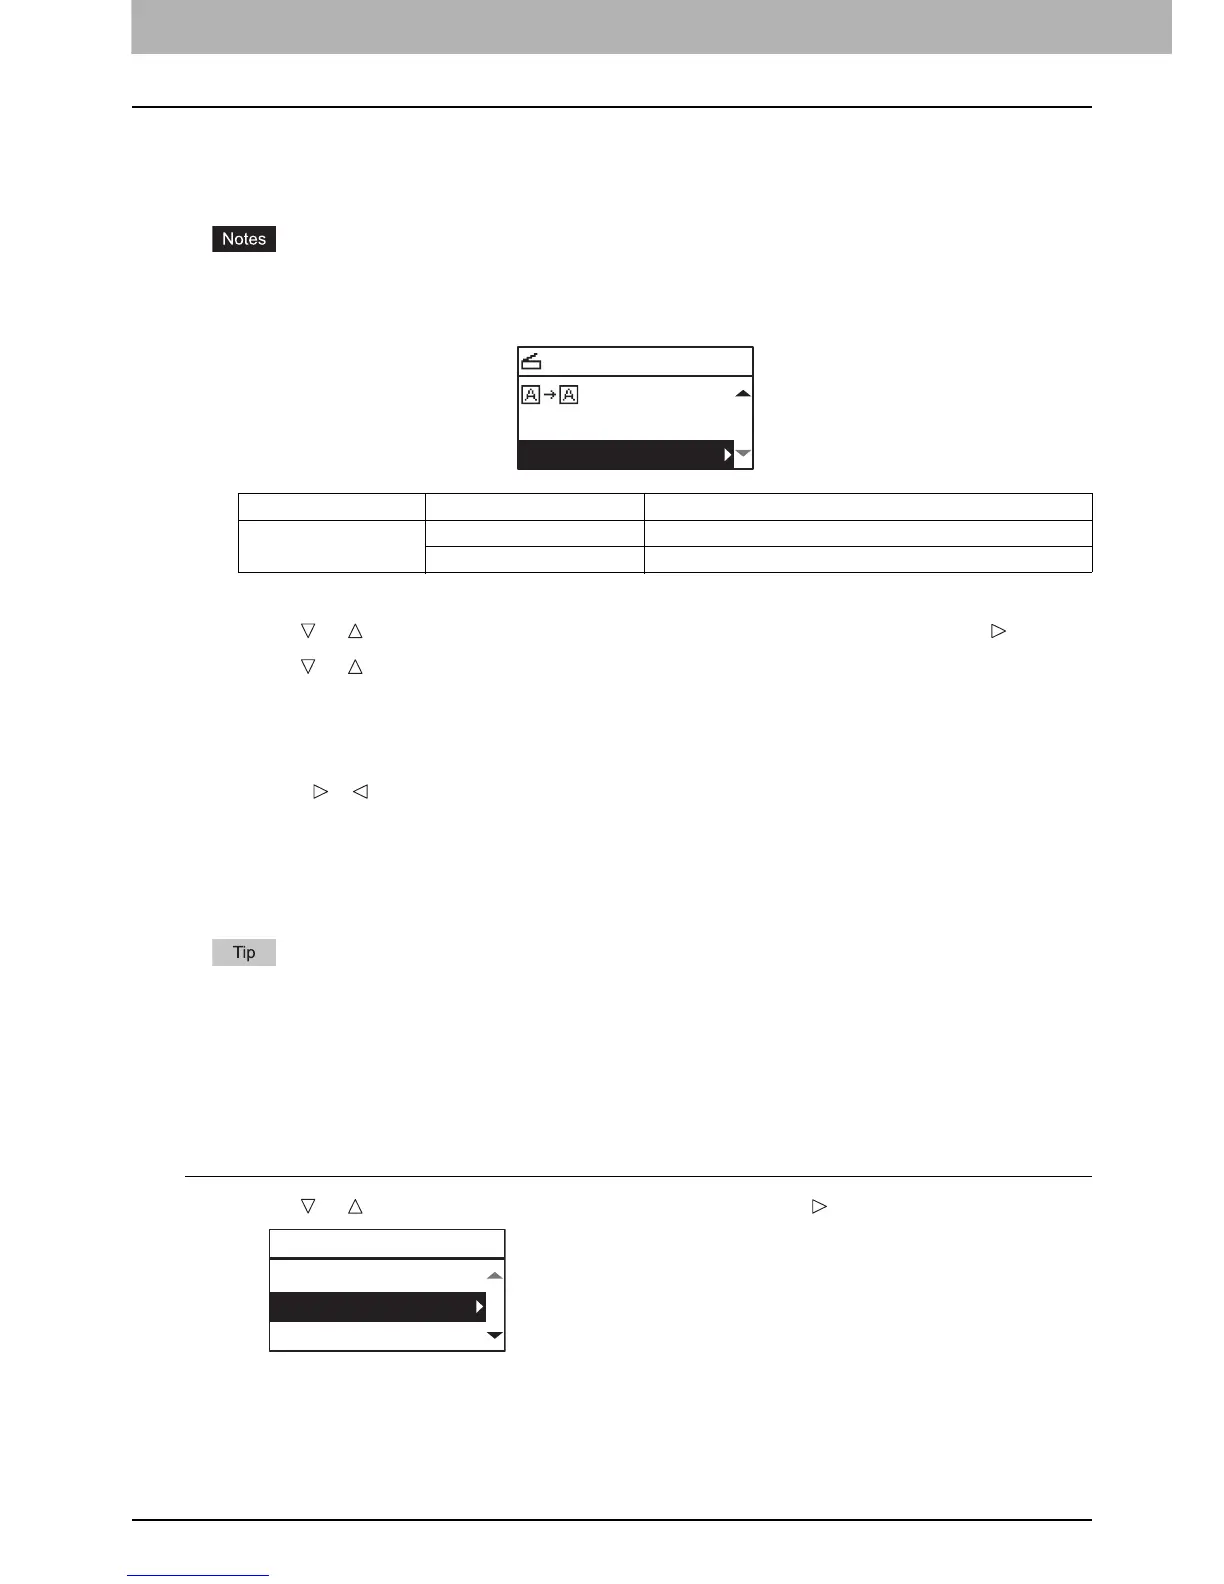
Adjusting the exposure
You can adjust the density to make scans lighter or darker in nine levels from -4 to +4. The auto density setting can
represent the scan image in the middle density status.
y This function is not available when “GRAY SCALE” is selected in the “COLOR MODE” function.
y “AUTO” is available only when “BLACK” is selected in the “COLOR MODE” function and “TEXT” or “TEXT/PHOTO”
is selected in the “ORIGINAL MODE” function.
1
Press [SCAN].
2
Press or to select the item displayed on the LCD screen, and then press .
3
Press or to select the setting item.
4
Adjust the density as follows.
For “AUTO”:
Press [OK].
For manual:
1) Press or to increase or decrease the density level.
2) Press [OK].
Specifying E-mail Addresses
To specify e-mail addresses for the Scan to E-mail function, you have the following options:
Up to 220 addresses can be specified.
P.106 “Entering an e-mail Addresses”
P.107 “Selecting from the address book”
P.107 “Searching the address book with single numbers”
P.108 “Searching the address book with group numbers”
P.108 “Viewing/Deleting specified e-mail addresses”
Entering an e-mail Addresses
1
Press or to select “INPUT ADDRESS”, and then press .
Menu Functions Settings Description
EXPOSURE AUTO Adjusts the density automatically.
Manual Adjusts the density manually.
SELECT SCAN TYPE
AUTO EXPOSURE
COMPRESS:LOW
TO(ADDRESS)
REVIEW LIST
INPUT ADDRESS
SEARCH

 Loading...


