Toshiba XXXXXXX(<SanSerif1>X/X)
–30–
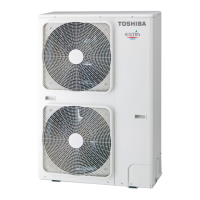
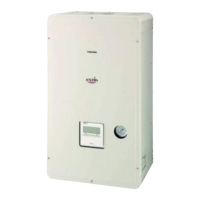
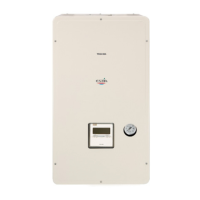
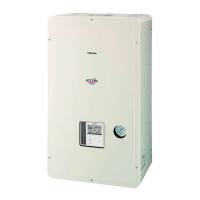
Hydro Unit
Installation Manual
• Set DIP SW2 to ON (Room temperature) on the
remote control which you will control the room
temperature with.
DIP SW2 of optional remote control is preset to ON
(Room temperature).
Either one of header or second remote control must
be set as room temperature control.
• To control room temperature instead of water
temperature with this remote control, set function
code “40” of hydro unit to “1”.
8 START UP AND CONFIGURATION
Set the DIP switches and function codes.
Setting DIP Switches on the Board in the Hydro Unit
• Detach the front cover and the electric parts box cover of the Hydro Unit.
• Set the DIP switches on the main board.
SW No. DIP No. Description Default
After
Commissioning
Change 1 Change 2 Change 3
02
1
Boiler install location
OFF = Heating side after 2 way valve
ON = Before 3 way valve
OFF
2 Not Used – – – – –
3 Not Used – – – – –
4
Used to when an external room thermostat is
connected
OFF = No external room thermostat;
ON = External room thermostat connected
OFF
10
1
P1 Pump operation for hot water
OFF = synchronised with heat pump
ON = Normally run
OFF
2
P1 Pump operation for heating
OFF = Normally run
ON = Stopped at the outside temperature over 20°C
OFF
3
Synchronisation of Pump P2.
OFF = P2 continuous operation(pump off when
remote controller switched off)
ON = P1 synchronised with pump P1
OFF
4 Not Used – – – – –
+00EF99805101_01EN.book Page 30 Monday, June 21, 2010 3:45 PM

 Loading...