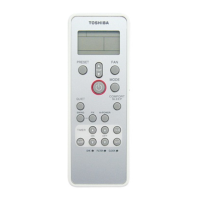
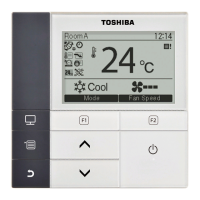
Wireless remote controller kit Installation Manual
3) Remove a screw, move the side panel toward you (direction of arrow), and then remove the side panel.
(Fig. D)
4) Lap the end of flat head screw driver with vinyl tape, and forcedly insert it into the groove at the side under
circle mark on the cover. (Be careful not to damage the panel.) (Fig. E)
5) Pass the lead wire through the panel, and install
the signal receiving unit to the panel hole. (Projection of the signal receiving unit is fixed by the panel hole.)
6) Fix the lead wire of the signal receiving unit to the cord clamp which fixes the cables of the louver motor.
(Fig. F)
7) Install the side panels, with screws as original.
8) Put the lead wire from the signal receiving unit along cables of the louver motor and others, and then fix it
with the cord clamp. (Fig. G)
It's connected to a connection of Remote control wire through a hole for Remote control wire. (Fig. H)
9) After all connections have been made, install wire guard and suction grill before doing the "TEST RUN".
Fig. D Fig. E
Fig. F
Fig. H
Panel
i
Screw
Suction grille
lamp
Signal receiving unit
Fig. G
Insert it into groove at
\ the side under circle
rk on the cover._
Flat head screw driver
(Lap it with vinyl tape.)
Cover
Hole for signal receiving unit wires / signal receiving unit
NOTE 1
Cord clamp v
Cord clamp
Avoid to twist cables of the sensor with the
power cables, otherwise a malfunction is caused.
For cabling and TEST RUN, refer to "HOW TO
PERFORM CABLING OF SIGNAL RECEIVING
UNIT" of these sheets and "TEST RUN" of the
Installation manual attached to the indoor unit.
English-3 3

 Loading...

