27
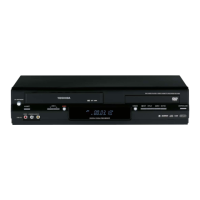
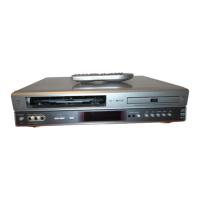
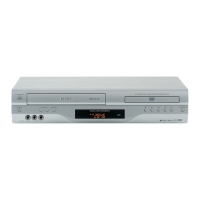
Recording (VCR)
Preparation:
Connect the AUDIO (L/R)/VIDEO IN jacks on the rear
panel (LINE IN 1) to the AUDIO (L/R)/VIDEO OUT
jacks of the Cable/Satellite box.
14
Turn ON the TV and select to the corresponding
video input.
Press VCR DVD selector to select the VCR mode. (The
VCR mode indicator will light.)
Example: One-touch Timer Recording for 30 minutes.
•
•
•
1
Load a cassette tape with the erase prevention
tab intact.
The VCR will automatically turn on.
2
Press SP/SLP to select the desired tape speed
SP or SLP.
The tape counter and “SP” or “SLP”
will appear on the screen for about
4 seconds.
00 : 00 : 00 SP
3
Press INPUT SELECT to select “LINE1” input
position.
“L1” will appear on the display.
One-touch Timer Recording (OTR)
The One-touch Timer Recording feature provides a simple and
convenient way to make a timed recording.
One-touch Timer Recording (OTR)
INPUT SELECT
REC/OTR
SP/SLP
VCR DVD
STOP
4
Select the channel you wish to record on your
cable/satellite box.
5
Press
REC/OTR
. Recording begins. Press the
button again to continue recording after 30
minutes. Each additional press of
REC/OTR
will
increase recording time as shown in the chart
below, up to a maximum of 6 hours.
Press Recording time Press Recording time
once NORMAL REC 6 times 3:00
twice 0:30 7 times 4:00
3 times 1:00 8 times 5:00
4 times 1:30 9 times 6:00
5 times 2:00 10 times NORMAL REC
The OTR and recording time will
appear on the screen for about 4
seconds, then change to “ ”.
LINE1
INDEX
OTR 0 : 30
To cancel OTR
Press STOP or turn off the power.
“ ” will appear on the screen for about 4 seconds.
Note:
If you wish to watch the DVD playback during OTR or
standard recording, press VCR DVD selector to change to
DVD mode and perform the DVD playback
32
.
2K10101A.indb 272K10101A.indb 27 12/22/2006 5:07:34 PM12/22/2006 5:07:34 PM
 Loading...