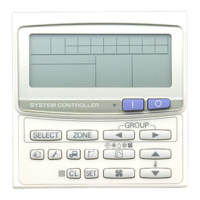
Central Remote Controller Installation Manual
27
-EN
Changing the External Input Function (External Input Settings)
1 On the "Servicing Menu" screen, select "External
Input Settings" then press [ ] (Confirm)
The "External Input Settings" screen appears.
2 Press [˄] and [˅] to select the input terminal to set
then press [ ] (Confirm)
The "Select function" screen appears.
3 Select the function with [˄] and [˅], press [ ]
(Confirm), then press [ ] (Control) to go to the next
screen
The "Select signal" screen appears.
• It is necessary to set the control contents for "Locking" and "Power peak
cut".
• When "Void" is set, the display returns to the "External Input Settings"
screen.
4 Select the input signal with [˄] and [˅], press [ ]
(Confirm), then press [ ] (Control) to go to the next
screen
The "Select Zone" screen appears.
5 Press [<] [˄] [˅] [>] to select the target zone, then
press [ ] (Confirm)
Press [ ] (Confirm) to select/cancel " ".
• In the initial setting, all zones are selected.
• Zones where indoor units are not registered are not displayed.
6 Select the target zones and press [ ] (Control)
The settings are completed and the display returns to the "External Input
Settings" screen.
 Loading...