54
Priority: The priority for the stack member. The priority ranges f
rom 1 to 15.
The new priority value takes effect immediately but does not affect
the current stack master. The new priority helps determine which
stack member is elected as the new stack master when the
current stack master or the switch stack resets.
Status: Displays the state of the stack member.
Stack Port Config
UN IT: Displays the stack ports’ information of the selected unit.
Stack Port
Displays the stack port number.
Stack Port Group: Displays the group that the stack port belongs to. Stack feat
can only be enabled in one group at a time.
Stack Capability: Enable/Disable the stack feature on this stack port.
Status: Displays the state of the stack port.
5.2 Application Example for Stack
Network Requirements
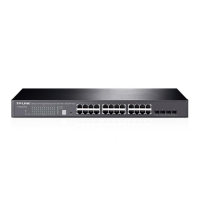
Establish a stack of ring topology with four T1700G-28TQ switches.
Network Diagram
Configuration Procedure
Configure switch A, B, C and D before physically connecting them:
Step Operation Description
1
Enable the stack port. Required. On Stack→Stack Management→Stack Config
page, configure the stack port capability as "Enable".
2
Configure unit number Optional. On Stack→Stack Management→Stack Config
page, configure the new unit number of switch A, B, C and D
as 1, 2, 3 and 4 respectively, and then reboot them.
Connect the switches:
Connect switch A, B, C and D as the network diagram shows, and then power the switches on to
establish a stack.
Return to CONTENTS

 Loading...


