Connect to a Computer
1
For Windows
Note:
In Windows XP or Windows Vista, a Found New Hardware
Wizard window will appear when the adapter is detected.
Please click Cancel.
This USB Adapter can only be powered by computers
that comply with Limited Power Source (LPS).
2
Install Driver and Utility
Insert the CD and run the Autorun.exe
from the pop-up Autoplay window.
Select TL-WN725N and click Install
Driver, then follow the InstallShield
Wizard to complete the installation.
Notes:
1. You can also download the driver and utility at
http://www.tp-link.com.
2. In some operating systems, the CD screen will pop
up automatically. Otherwise, run the CD manually.
a.
b.
3
Join a Wireless Network
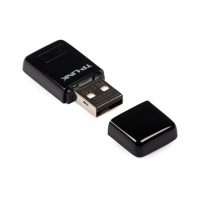
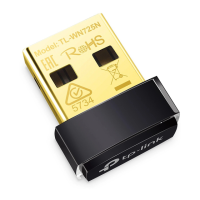
Insert the adapter into a USB port on your
computer directly.
For more information, please visit our website
http://www.tp-link.com
©2016 TP-LINK
Click or (Network icon) on the task bar,
select your Wi-Fi network, and click Connect.
Note:
In Windows XP, you need to close the TP-LINK Utility before
using the Windows Wireless Utility.
Option 1: Via Windows Wireless Utility
TP-LINK_XXXX
TP-LINK_TEST_Device
TP-LINK_0903
Option 2: Via TP-LINK Utility
Select your Wi-Fi network from the utility
window and click Connect. The symbol
indicates a successful connection.
Note:
During the installation, select TP-LINK Wireless
Configuration Utility and Driver if you want to use
TP-LINK Utility and WPS function.
Setup Wizard
Browse CD
EXIT
TL-WN723N
TL-WN725N
Install Driver
User Guide
 Loading...