Quick Installation Guide
Faster and Stronger
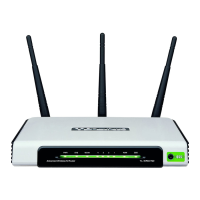
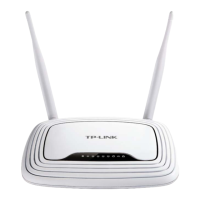
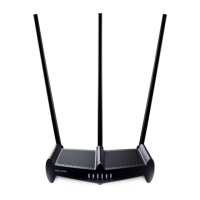
Install the Antennas
Configure the Router
If you have customized the SSID (network name) and wireless password during the
configuration, you have to reconnect your wireless devices to the new wireless network.
Connect your device to the router and check the LEDs.
Configure the router.
Launch a web browser and enter http://tplinkwifi.net or http://192.168.0.1 in the
address bar. Create a login password for secure management purposes, follow Quick
Setup and choose Router to complete the configuration.
Wired:
Connect your computer to
the router’s Ethernet port
via an Ethernet cable.
Wireless:
Connect wirelessly by using the SSID
(network name) and wireless password
printed on the label of the router.
Turn off the modem, and
remove the backup battery if
any.
Turn on the modem and wait
about 2 minutes for it to
restart.
Connect the modem to the
router’s Internet port via an
Ethernet cable.
Modem Router
1
3
6
2
5
Router Mode
1.
B. Make sure that the
adjustable elbow is
facing up when
attached.
A. Insert and screw the
antenna into the antenna
socket.
2.
Slide the cap onto the
antenna until it fixes into place.
3.
Position the antenna
vertically for best Wi-Fi
performance.
Please note that the router provides three working
modes: Router, Range Extender and Access Point.
You can choose the mode to better suit your
network needs and follow the guide to complete the
configuration.
WPSRE Wi-Fi
ON
PWR
ON
WAN
ON
LAN
ON
WPSRE Wi-Fi
ON
PWR
ON
WAN
ON
LAN
This mode enables multiple users to share internet connection via an ADSL/Cable Modem. If your internet connection is through an Ethernet cable directly from the wall instead of through a
modem, connect the Ethernet cable to the router’s Internet port, and skip Step 1, 2 and 3.
Connect the power adapter to
the router and turn on the router.
4
TL-WR941HP