©2000 Trace Engineering
Installation
Required Tools
Wire strippers
Phillips screw driver
Slotted screw driver
Torque wrench
Mounting
Place the T240 Autotransformer in a convenient location, close to the input
source (inverter, generator or utility). The T240 must be mounted horizontally
on a flat surface (such as a wall) in a clean, dry environment. Do not mount the
autotransformer where it will be exposed to the weather or in a wet location.
NOTE: The T240 weighs approximately 50 pounds. Use appropriate wall
anchors or backing material (plywood, 2 x 4s, etc.) that will support its weight.
Procedure:
Use a level and mark the location for mounting the unit on the wall.
Measure out the four mounting screw holes according to Figure 3.
Drill out the mounting holes using a #18 (0.170 inch) drill bit.
Remove the front cover of the autotransformer by removing the four
Phillips screws. Do not lose the screws!
Use a #10 x 3/8 (or 1/2) inch long screw and washer (and appropriate
anchors if necessary) and mount the autotransformer securely to the wall
or backing material (plywood, 2 x 4s, etc.).
Remove the appropriate knockouts for the conduit. Install the conduit
between the autotransformer and input source (inverter, generator, etc.)
and output to load. Use separate conduit for input and output wiring.
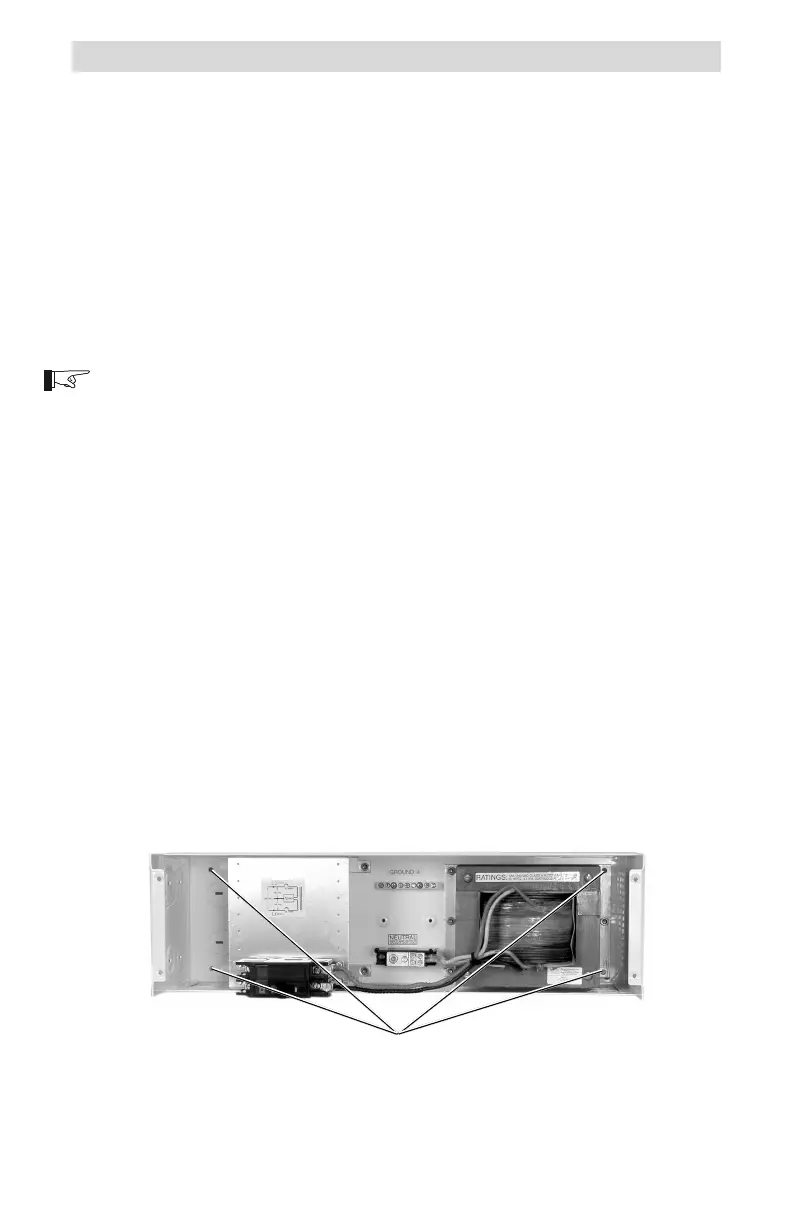
Figure 2
Mounting Holes
2.0 INSTALLATION
2
Mounting Holes
 Loading...