
J
Jesse CobbJul 31, 2025
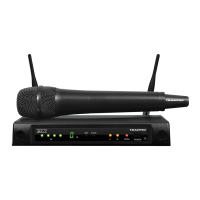
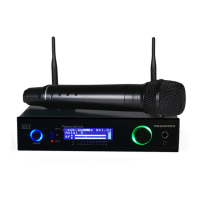
What to do if Trantec Microphone system has poor range or sound dropouts?
- GGabriel CampbellAug 1, 2025
To address poor range or sound dropouts with your Trantec Microphone system: * Ensure the system is within the recommended range and the transmitter is in line of sight with the receiver. * Perform a channel scan to check for interference, and switch both the receiver and transmitter to a different channel if necessary. * Verify the mute level setting, a setting of 4-6 is recommended for normal range. * Check the battery indication and replace the transmitter battery if needed.