© Copyright 2015 TRENDnet. All Rights Reserved.
Day: Check the day(s) to implement the schedule.
Time: Specify the time period.
Configure Spanning Tree
1. Log into your management page (see “Access the management page” on page 16).
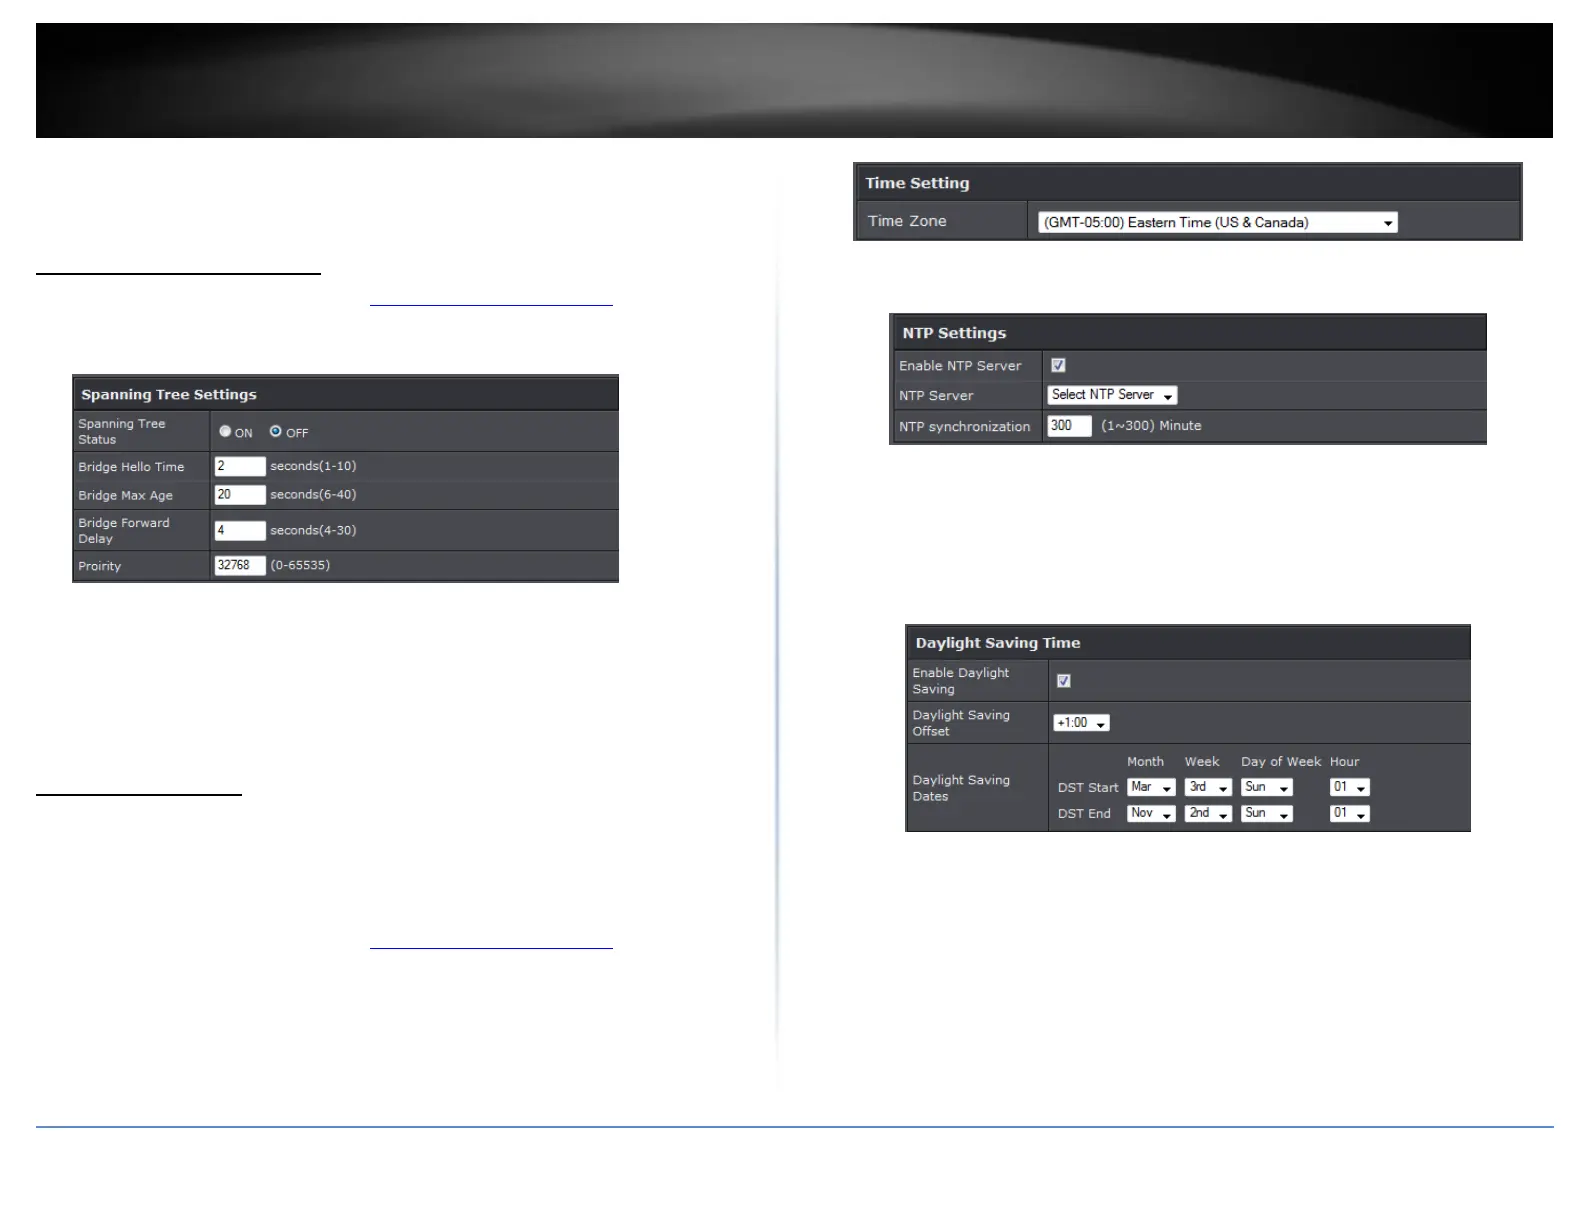
2. Click on the System tab and click Spanning Tree Settings.
3. Review the settings and click Apply to save changes.
Spanning Tree Status: Select On or Off to enable or disable spanning tree feature.
Bridge Hello Time: Enter the bridge duration
Bridge Max Age: Enter the max duration
Bridge Forward Delay: Enter the delay duration
Priority: Enter the priority
Set date and time
Management > Time and Date Settings
There are two ways to set the router’s date and time. NTP (Network Time Protocol) is
based on time servers. You can also manually set the router’s date and time.
Note: It is important that the time is configured correctly before setting any schedules.
1. Log into your management page (see “Access the management page” on page 16).
16).
2. Click on the Management tab and click Management VLAN.
3. Next to Time Zone, click the drop-down list to select your time zone.
NTP
1. Review the settings below and click Apply to save settings.
Enable: Check option to enable NTP feature
NTP Server: Select the NTP server to use
NTP synchronization: Enter the time of when the router will continue to check for
NTP updates.
When using NTP time settings you may also configure Daylight Saving feature.
Enable: Check option to enable daylight savings
Daylight Saving Offset: Select the offset amount for daylight savings to apply
Start/End Time: Configure the start and end time of daylight savings.
Manual
1. Manually set the date and time of the access point by selecting from the pull down
menus. Click Sync Time to synchronize with your computer’s current time.

 Loading...