10
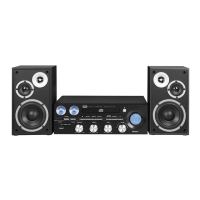
HCX 10F6
ENGLISH
SUPPLY
Connect the power cord (13) to 100-240V 50/60Hz power outlet.
Do not connect the appliance to electrical outlets other than those indicated.
Note: Unless otherwise specified, the descriptions of the commands apply to both the device and the remote control.
ON/OFF
1. Press the main switch (1) on the unit to turn on the unit. It will turn on to the CD-MP3 player function;
2. Press and hold the STANDBY/MODE button (2) to put the unit into Standby mode;
3. Press the STANDBY/MODE button (2) to turn the unit back on;
4. Press the main switch (1) to turn off the unit completely.
Note: In CD, USB or AUX source, if no operation is performed within 10 minutes, the unit will automatically enter STANDBY mode.
VOLUME CONTROL AND EQUALIZER FUNCTION
1. Turn the Volume control (6) on the appliance or press the VOL +/- keys (25) on the remote control to increase or decrease
the volume;
2. Press the EQ button (18) on the remote control several times to select one of the preset audio dynamics (Off, Classic, Rock,
Pop, Jazz).
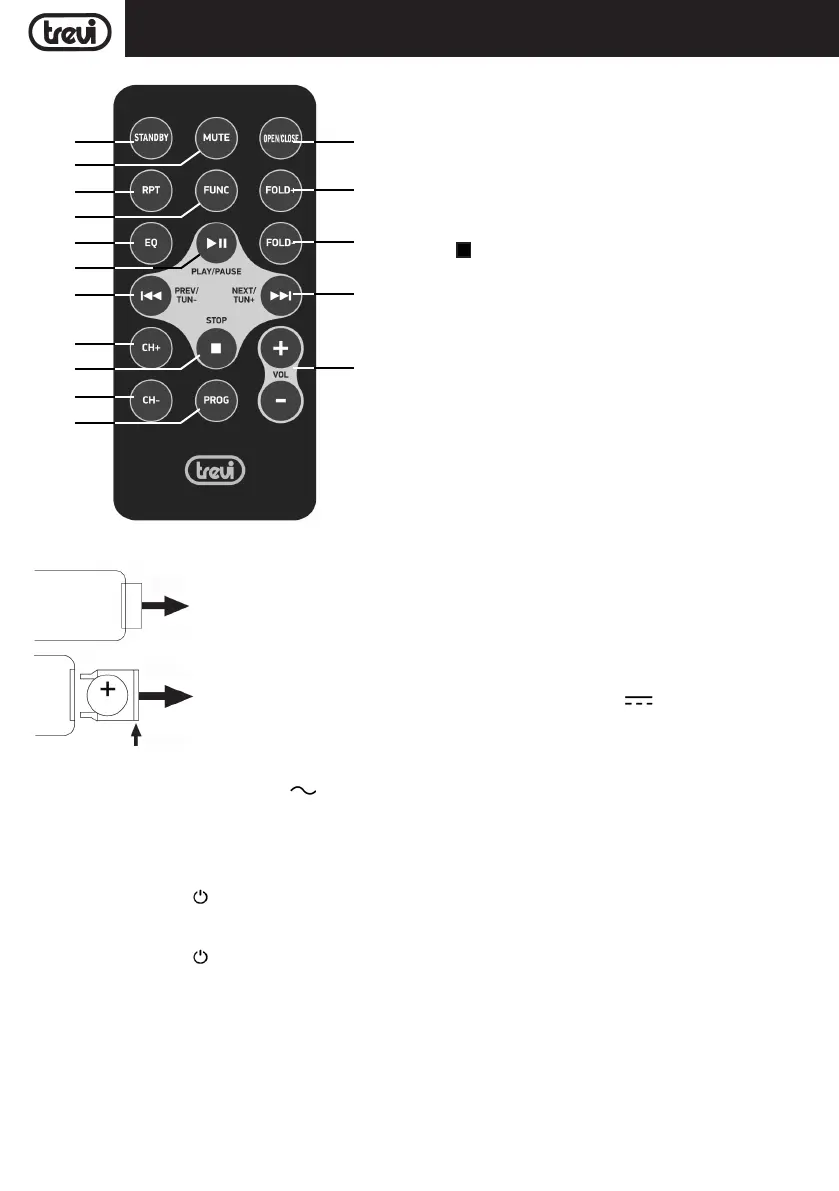
DESCRIPTION OF CONTROLS
14. Standby button
15. MUTE button, device sound exclusion
16. RPT button, repeat mode
17. FUNC button, source selection
18. EQ button, selection of various preset sound modes
19. button, Play/Pause/ confirm selection
20. 9 button, previous track
21. CH+ button, preset radio station
22. button, Stop
23. CH- button, preset radio station
24. PROG button, programming
25. VOL +/- buttons, volume adjustment
26. : button, next track
27 FOLD-, previous folder in CD or USB mode
28. FOLD+, next folder in CD or USB mode
29. OPEN/CLOSE button, open/close CD tray
REMOTE CONTROL
ACTIVATION AND REPLACEMENT OF REMOTE CONTROL BATTERY
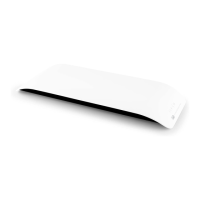
The remote control has a cell battery already installed. To activate the battery,
remove the transparent tab at the bottom of the remote control. The remote
control is now ready to use.
To Replace Battery:
1. Remove the battery compartment cover as per the illustration on the right.
2. Observe the correct polarity and install a 3V lithium battery (CR2025).
3. Close the cover.
PULL THE TAB
PULL
PUSH
14
15
16
17
18
19
20
21
22
23
24
26
25
27
28
29
 Loading...