33
IP 360 HDTV
5 Application: Uninstall the application, check the program running status, debug the USB
device,
6 Accounts & sync: sync the Google account,
7 Privacy: backup the data and do factory restore(please note that all the applications you
installed will be erased also,so you need reinstall it later),
8 Storage: check the space information of Sd card and Nand ash,
9 Language & keyboard: setup the system language and keyboard input,
10 Accessibility: system accessibility tesing
11 Date & time: set the date/time/time zone/time format etc.
12 About Device: the version of the current system.
DVB-T Operations
DVB Install
If it’s the rst time you got this IP box,or you ever did a factory reset in Settings->Privacy-
>Factory data reset,you need run Applications-> DVBInstaller to install the DVBEpgBookMa-
nage, DVBProgramManage, DVBEpg, DVBPlayer, DVBScan, DVBService one by one(after
the former one Install nished,you need select Done to go to the next one), otherwise you
can’t enjoy all the DVB features later.
DVB Player
After the DVBPlayer is installed, there are 3 ways to DVB viewing mode:
nPress DTV hotky in home page, nHighlight the DVB item in home page then press OK button,
nHighlight the App item in home page then press OK button, then choose DVBPlayer in
Applications menu,
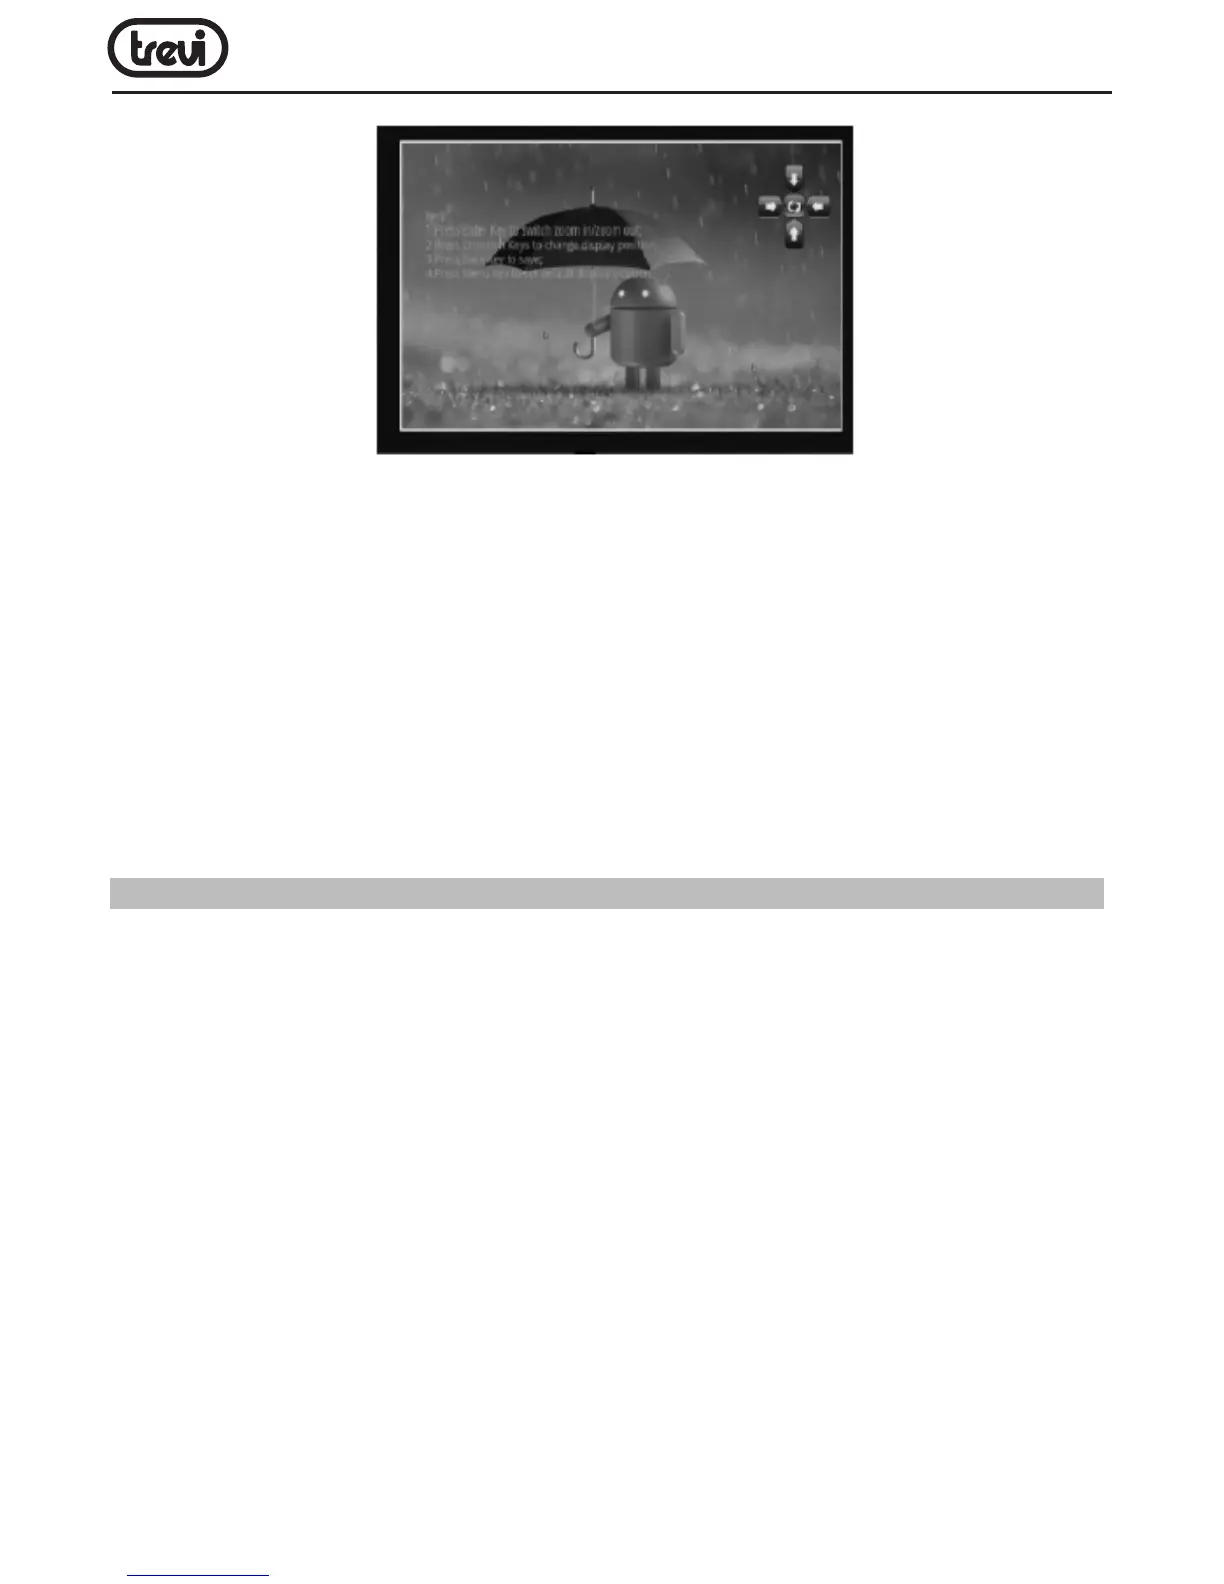
If it’s the rst time you enter DTV mode, you will be asked to start an auto
scan for all channels.it will start to play the rst chnnel in the list after scan
nished.
 Loading...