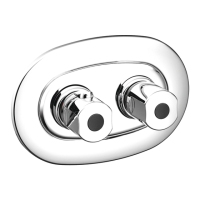
TREVI TRADITIONAL BUILT-IN E3115
Trevi Traditional is supplied as per position
3 (Figure 8) and should only be installed in this
orientation. Connections are the same as for
Trevi Therm and Trevi Outline.
Build-in guide
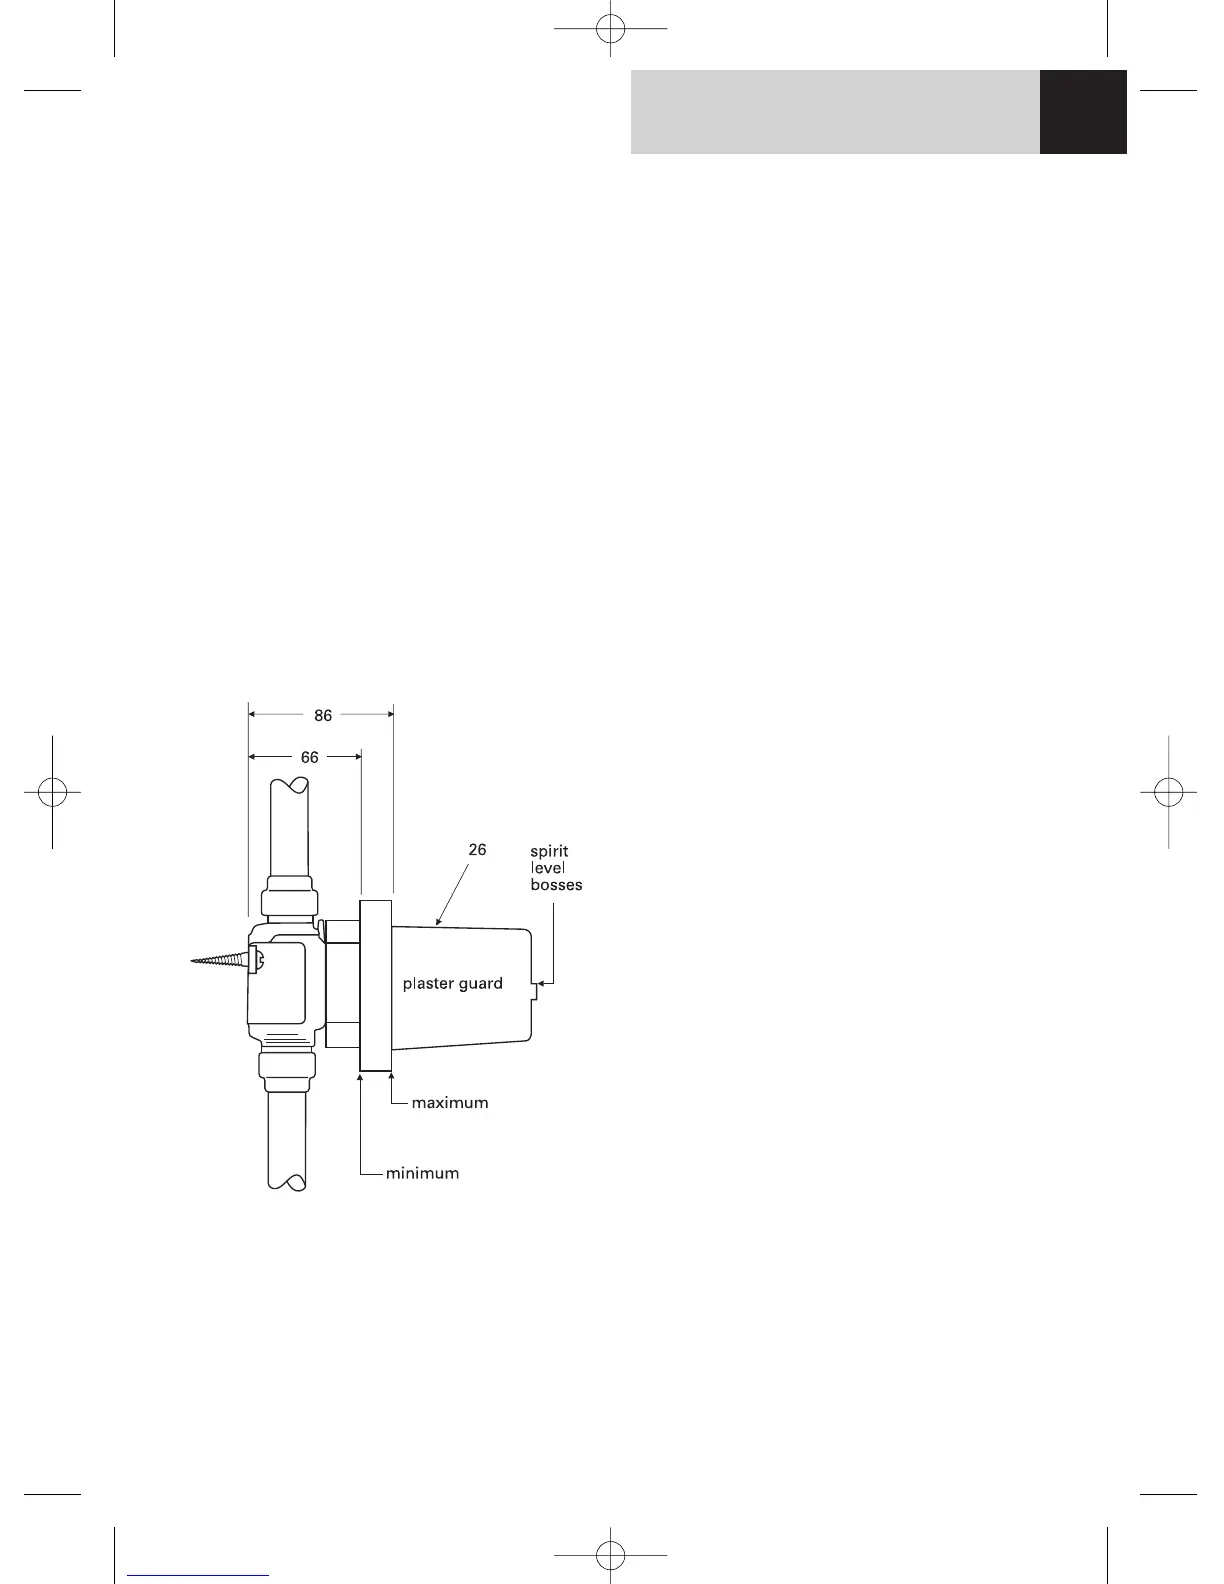
1. All the fittings covered by this instruction are
designed to be recessed into the wall. The depth
of the recess should be measured from the
finished wall surface to the rear of the valve
body. There is an adjustment of 20mm in the
installation depth. Recess depth is in the range
66mm minimum to 86mm maximum. These
minimum and maximum depths are marked on
the plaster guard (26).
2. Chase out wall for mixer body and pipe work.
3. Remove plaster guard (26).
4. Fit blanking plug to appropriate port of
the valve body and connect pipe work. (Do not
solder near the valve body)
5. Replace plaster guard and check that the
valve is horizontal (or vertical if positions 3 or 4
have been selected). The two bosses on the
front of the plaster guard allow a spirit level to
be placed on or against it. Check also that the
valve is parallel to the wall surface.
6. Make good the wall by plastering around the
valve up to the plaster guard.
7. Once the plaster has set the wall can be tiled
and the plaster guard removed.
8. The temperature control handle can now be
positioned so that the button is to the top (Trevi
Therm and Trevi Outline Thermostat). If the valve
is not being fitted in the position as supplied then
the temperature adjustment carrier will have to
be repositioned as described on Page 8 under
thermostatic cartridge replacement.
9. The pipe work and valve body must
now be flushed out. Failure to do so will
cause the thermostatic cartridge filters to
become blocked resulting in reduced or erratic
performance. The procedure for this is
described on Page 7 under replacement of
cartridges.
10. Fit the back cover plate and secure using
the fixing screws (3). (These may need to be cut
if valve is installed close to the minimum depth).
Push front cover plate into position and fit
operating handles.
Figure 9
INSTALLATION GUIDE 6
trevi showers.qxd 04/12/03 13:21 Page 7
 Loading...