ASSEMBLY INSTRUCTIONS
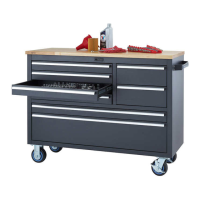
Position SIDE HANDLE (B) over pre-installed nuts
on the side of WORKBENCH (A). Insert HANDLE
BOLTS (C) through the WASHERS (D) first, then
the holes on SIDE HANDLE (B). Use a 10mm
wrench to tighten HANDLE BOLTS (C) to
WORKBENCH (A).
Repeat these instructions to install the other SIDE
HANDLE (B).
© 2017 TRINITY - 800.985.5506
2
STEP 1
STEP 2
10mm
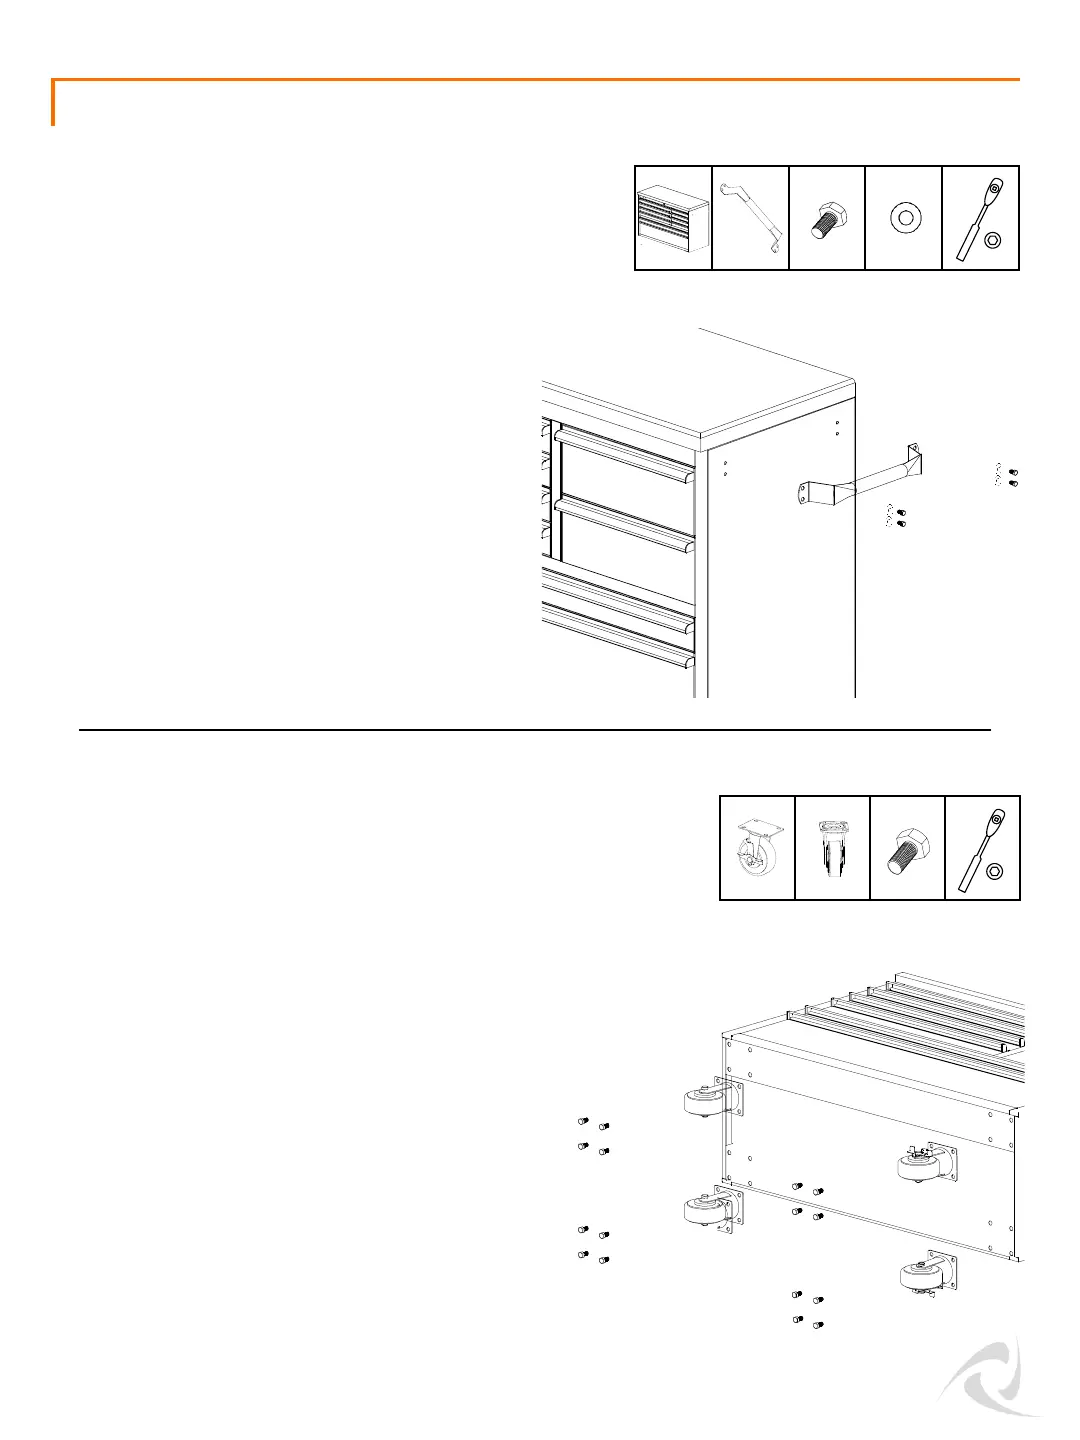
E (2) F (2)
G (16)
A (1) B (2)
C (8)
Carefully lay WORKBENCH (A) on its backside.
Position LOCKING CASTERS (E) on the same side of the
WORKBENCH (A) and align holes to pre-installed nuts
on the underside of WORKBENCH (A). Use a 14mm
socket wrench to tighten CASTER BOLTS (G) to
WORKBENCH (A).
Repeat above step to install the NON-LOCKING CASTERS
(F) on the other side of the WORKBENCH (A).
Notes:
* For ease of use, place LOCKING CASTERS (E) on the
side you will regularly push or pull.
** If you plan to push the Workbench against a wall,
place LOCKING CASTERS (E) on the front long side for
ease of access.
14mm
D (8)