18
1
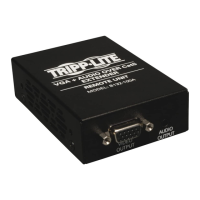
Make sure that the VGA and audio* source is powered off.
2
Connect the VGA and audio* source to the INPUT port(s) on the
transmitter unit using a VGA and audio* cable.
3
(Optional – B132-004-2 and B132-004A-2 only) – Connect a local
monitor and speakers* to the LOCAL port(s) on the transmitter unit.
4
Connect the external power supply to the transmitter unit, and then
plug it into a Tripp Lite Surge Suppressor, Power Distribution Unit
(PDU) or Uninterruptible Power Supply (UPS).
5
UsingCat5e/6cable,connectanavailableRJ45OUTPUT port on the
transmitterunittotheRJ45INPUT port on a receiver unit.
6
Repeat step 5 for each receiver unit you are connecting to the
installation.
7
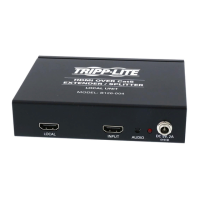
Connect a monitor and speakers* to the OUTPUT port(s) on the
receiver unit using a VGA and audio* cable.
8
Repeat step 7 for each receiver unit in the installation.
9
Connect the external power supply to the receiver unit, and then plug
it into a Tripp Lite Surge Suppressor, Power Distribution Unit (PDU) or
Uninterruptible Power Supply (UPS).
10
Repeat step 9 for each receiver unit in the installation.
11
Turn on the power to the monitor and speakers.*
12
Turn on the power to the monitor and audio* source.
13
Ifnecessary,adjusttheequalization and gain controls using the
included screwdriver to improve the video image.
Installation continued
*If this is a feature of your extender kit.
13-04-119-93-3289.indd 18 4/26/2013 2:00:24 PM
 Loading...